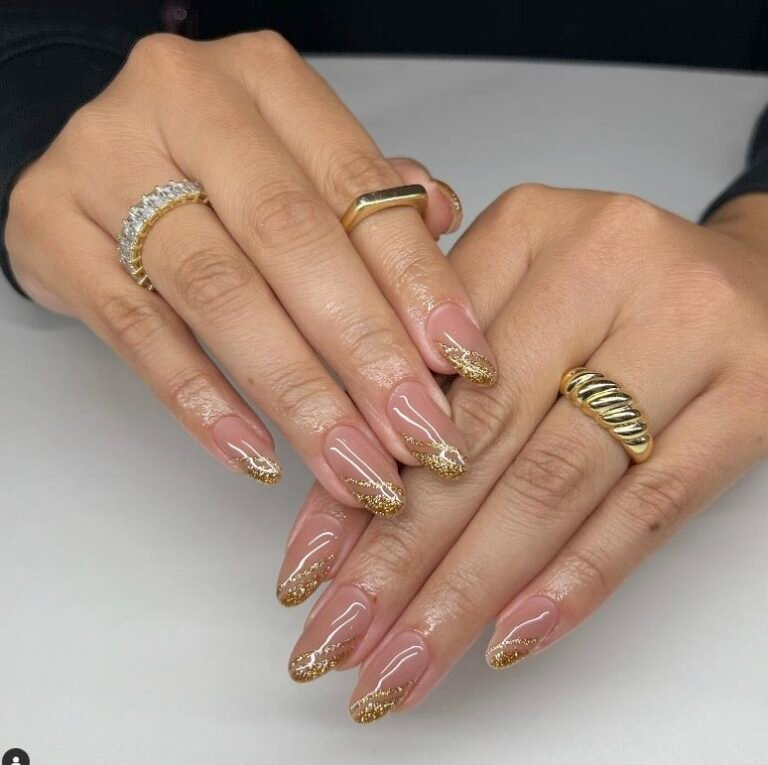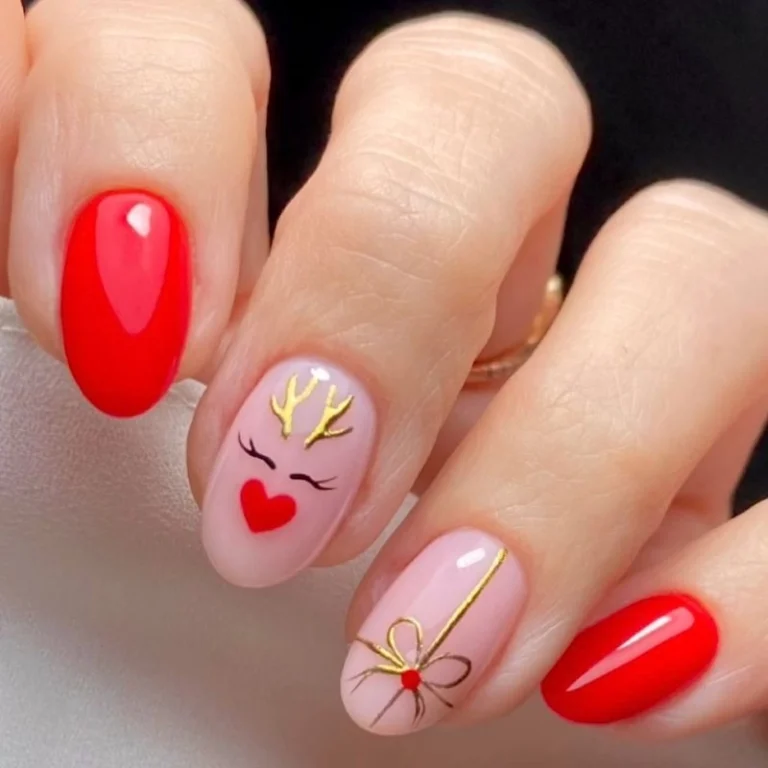
15 New Year’s Eve Nails 2026: Glitter, Gold and Glam
Introduction
Your new year’s eve nails should sparkle as brightly as the countdown itself. Whether you’re heading to a rooftop party, a candlelit dinner, or a night of dancing with friends, the right manicure turns a pretty outfit into an unforgettable one. This season’s party palette is unapologetically glamorous: liquid gold, champagne shimmer, molten copper, and starlit midnight blues, finished with glitter, foil, and chrome. We’ve gathered 15 New Year’s Eve nail designs, from full-coverage glitter that catches every camera flash to minimalist white-and-gold accents for the quiet-luxury crowd. If you adore a mirror-like shine, our pearl chrome nail ideas make the perfect companion read. So pour the fizz, dim the lights, and find the countdown-night manicure you’ll be wearing at midnight.
Full-Coverage Gold Glitter New Year’s Eve Nails
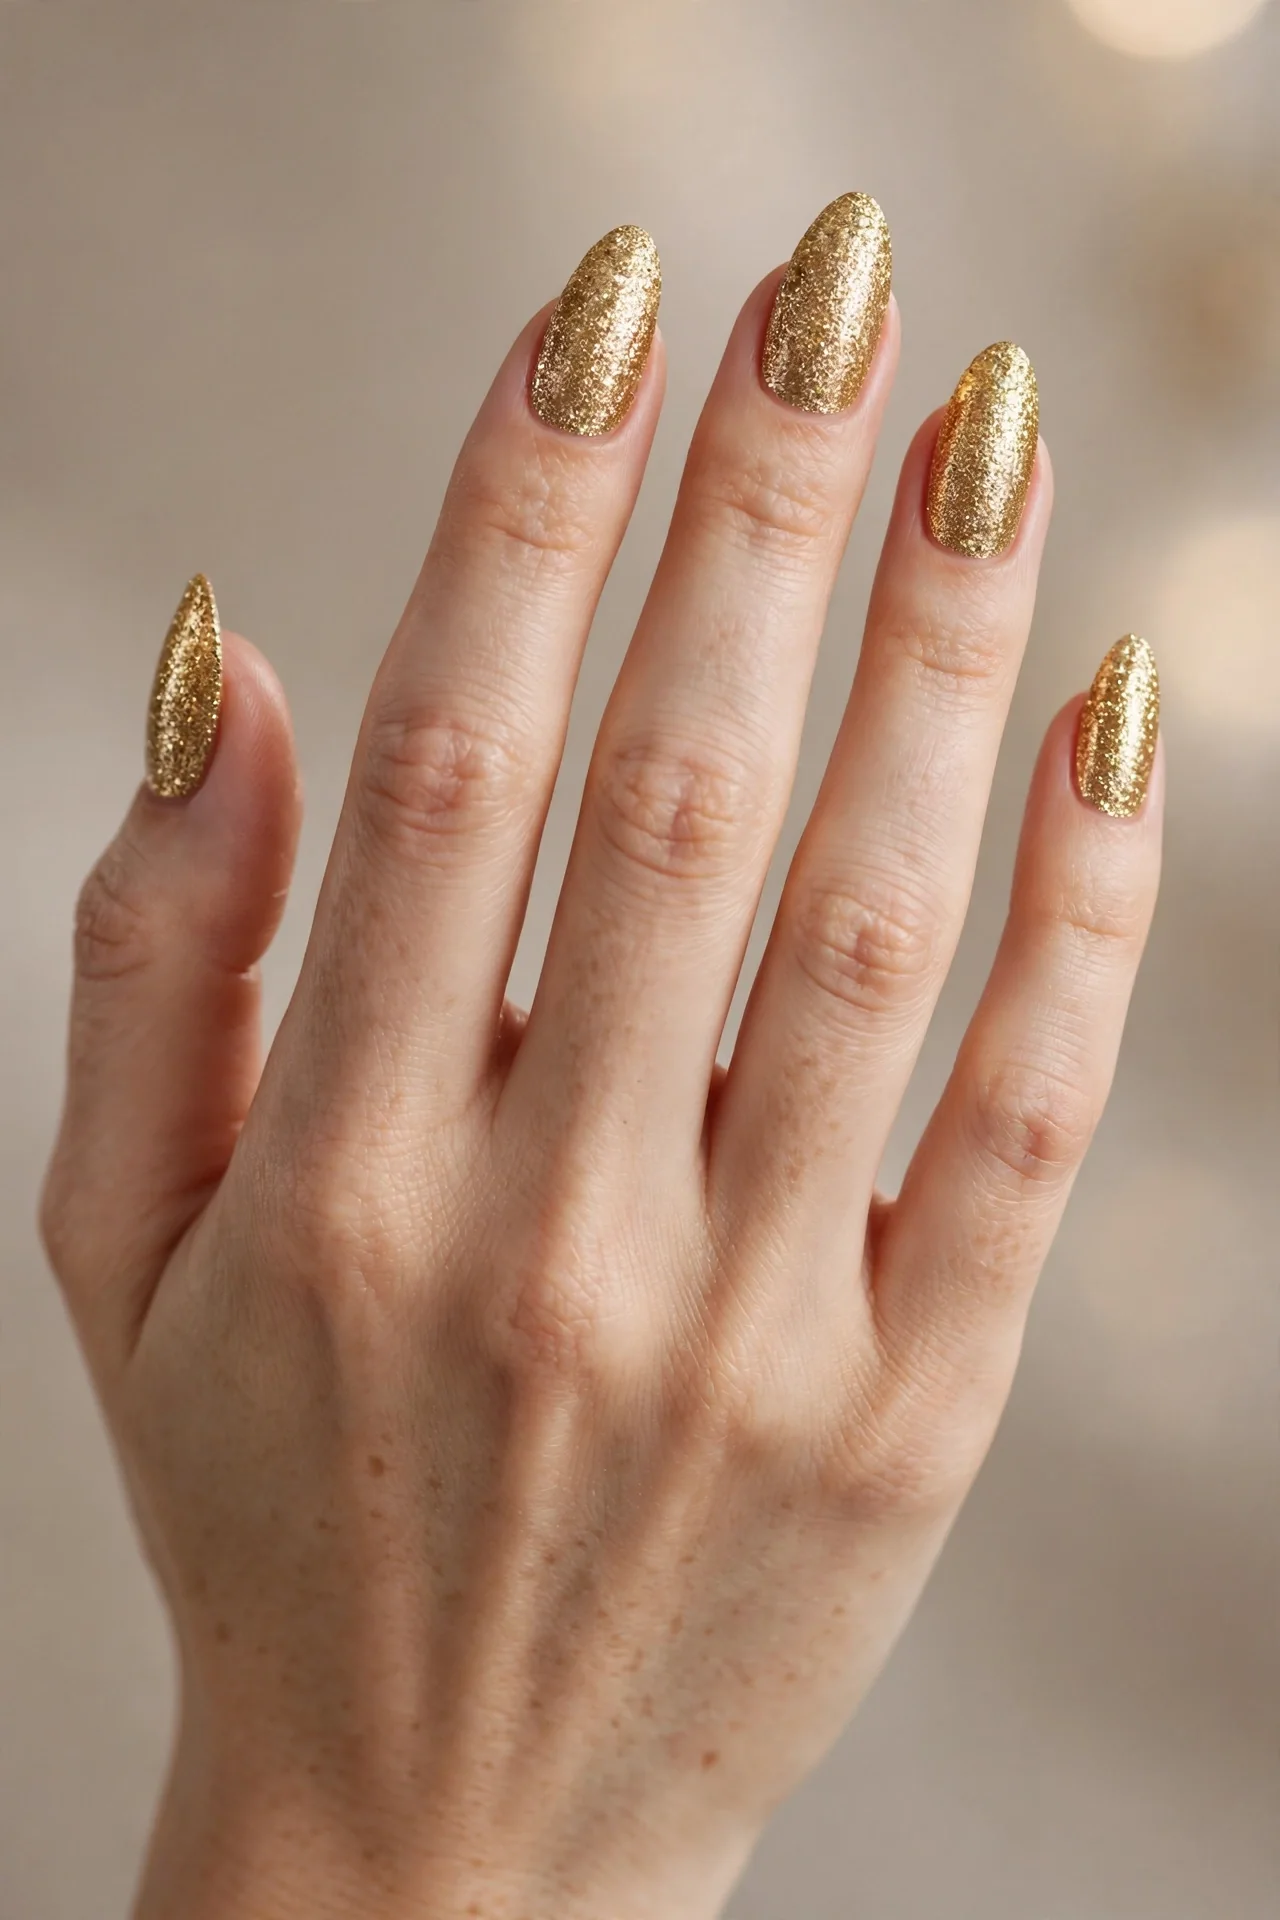
This is the maximalist’s dream: every nail coated tip to cuticle in dense, light-catching gold glitter. The finish reads like molten jewellery on your fingertips, throwing off sparks under party lights and camera flashes alike. Choose a fine-milled glitter for a smooth, liquid-metal look, or a chunky holographic mix for extra dimension. It suits every nail shape, though long almond and coffin nails give the glitter the most real estate to shine. Gold flatters warm and golden skin tones beautifully, and it pairs effortlessly with a little black dress or a sequinned gown. If you want your new year’s eve nails to do all the talking, this is the design.
- Apply two to three thin coats of gold glitter gel for full opacity.
- Layer a chunky holographic topper on the ring fingers for contrast.
- Seal with a high-gloss no-wipe top coat to lock in the sparkle.
- Ask your technician for an encapsulated finish so the surface stays silky smooth.
At the salon, ask for a full-coverage gold glitter gel manicure with encapsulated glitter, which should wear chip-free for two to three weeks. For a DIY version, start with a gold base coat, add two to three layers of your favourite glitter polish, and finish with a thick glossy top coat — reapply the top coat every three days to keep the shine alive. Removal needs patience: soak cotton pads in acetone, wrap each nail in foil for ten minutes, then gently push the glitter away with an orangewood stick. Keep cuticle oil handy afterwards, as glitter removal can dry out the nail bed.
Gold Foil Flecks on Midnight Black
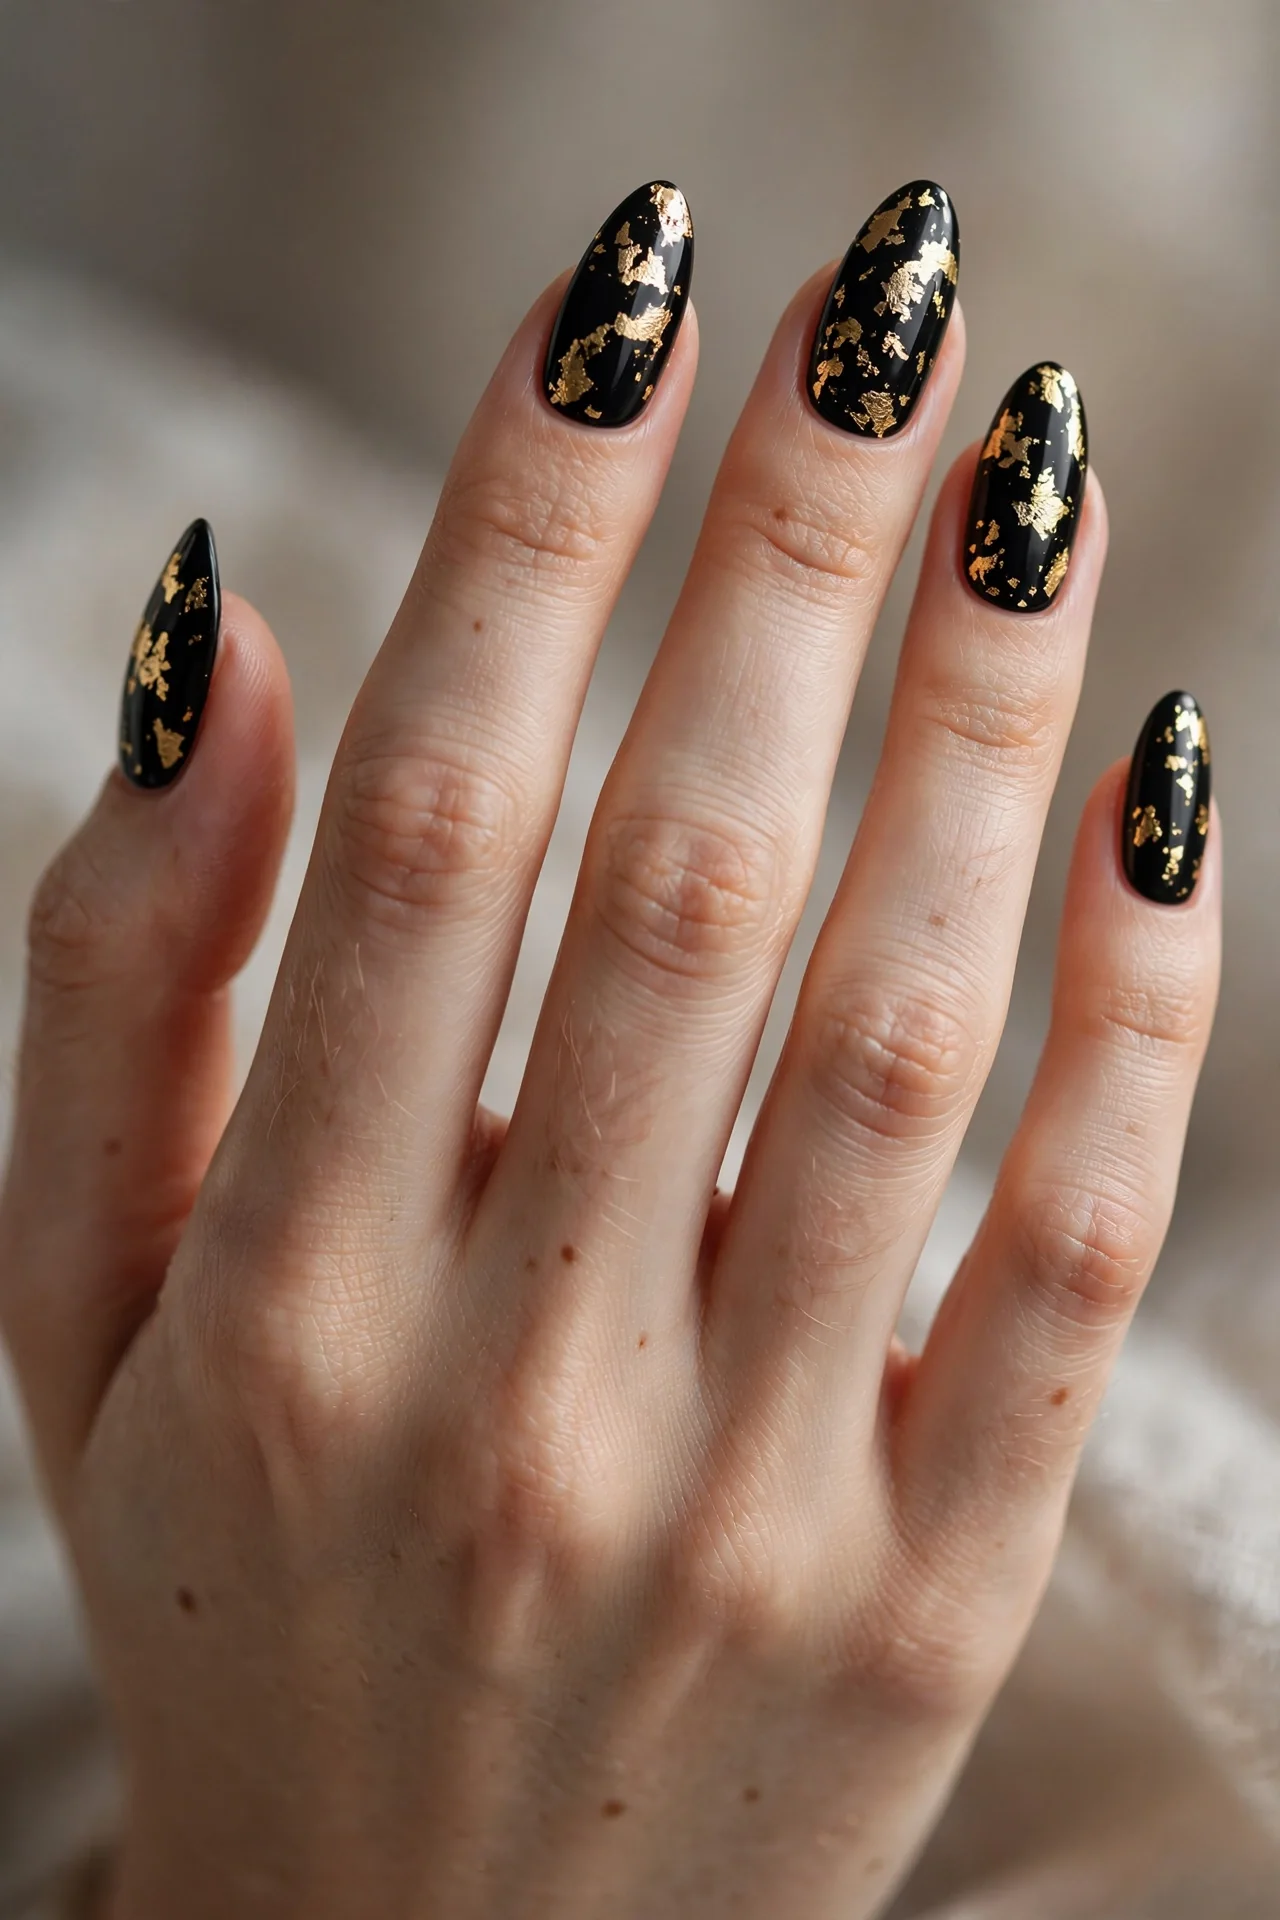
Jet-black nails scattered with torn pieces of gold foil create a look that is equal parts edgy and luxurious — like stars scattered across a midnight sky. The irregular foil edges catch the light at different angles, so the design shimmers as you move your hands. It works best on medium to long nails in almond or coffin shapes, where the black canvas gives the gold room to breathe. This pairing suits anyone who loves a dramatic, fashion-forward manicure, and it photographs beautifully against dark velvet or satin. For a softer take, concentrate the foil near the tips and leave the cuticle area clean.
- Apply a rich jet-black gel base in two even coats.
- Press torn gold foil flakes onto the tacky dispersion layer.
- Seal with two layers of top coat to smooth the foil edges.
- Ask for foil concentrated near the tips for an elegant fade effect.
In the salon, request black gel with gold leaf detailing and a glass-like top coat. DIY fans can buy gold nail foil sheets online: apply your black polish, let it get tacky, then press small torn pieces of foil on with tweezers. A toothpick helps nudge pieces into place without wrinkling them. Finish with two coats of a thick top coat — foil edges will lift if they are not fully sealed. This design wears well for up to two weeks, and the black base hides tip wear better than lighter colours. Keep a small bottle of top coat in your bag for a quick mid-party refresh.
Champagne Shimmer NYE Nails for the Midnight Toast
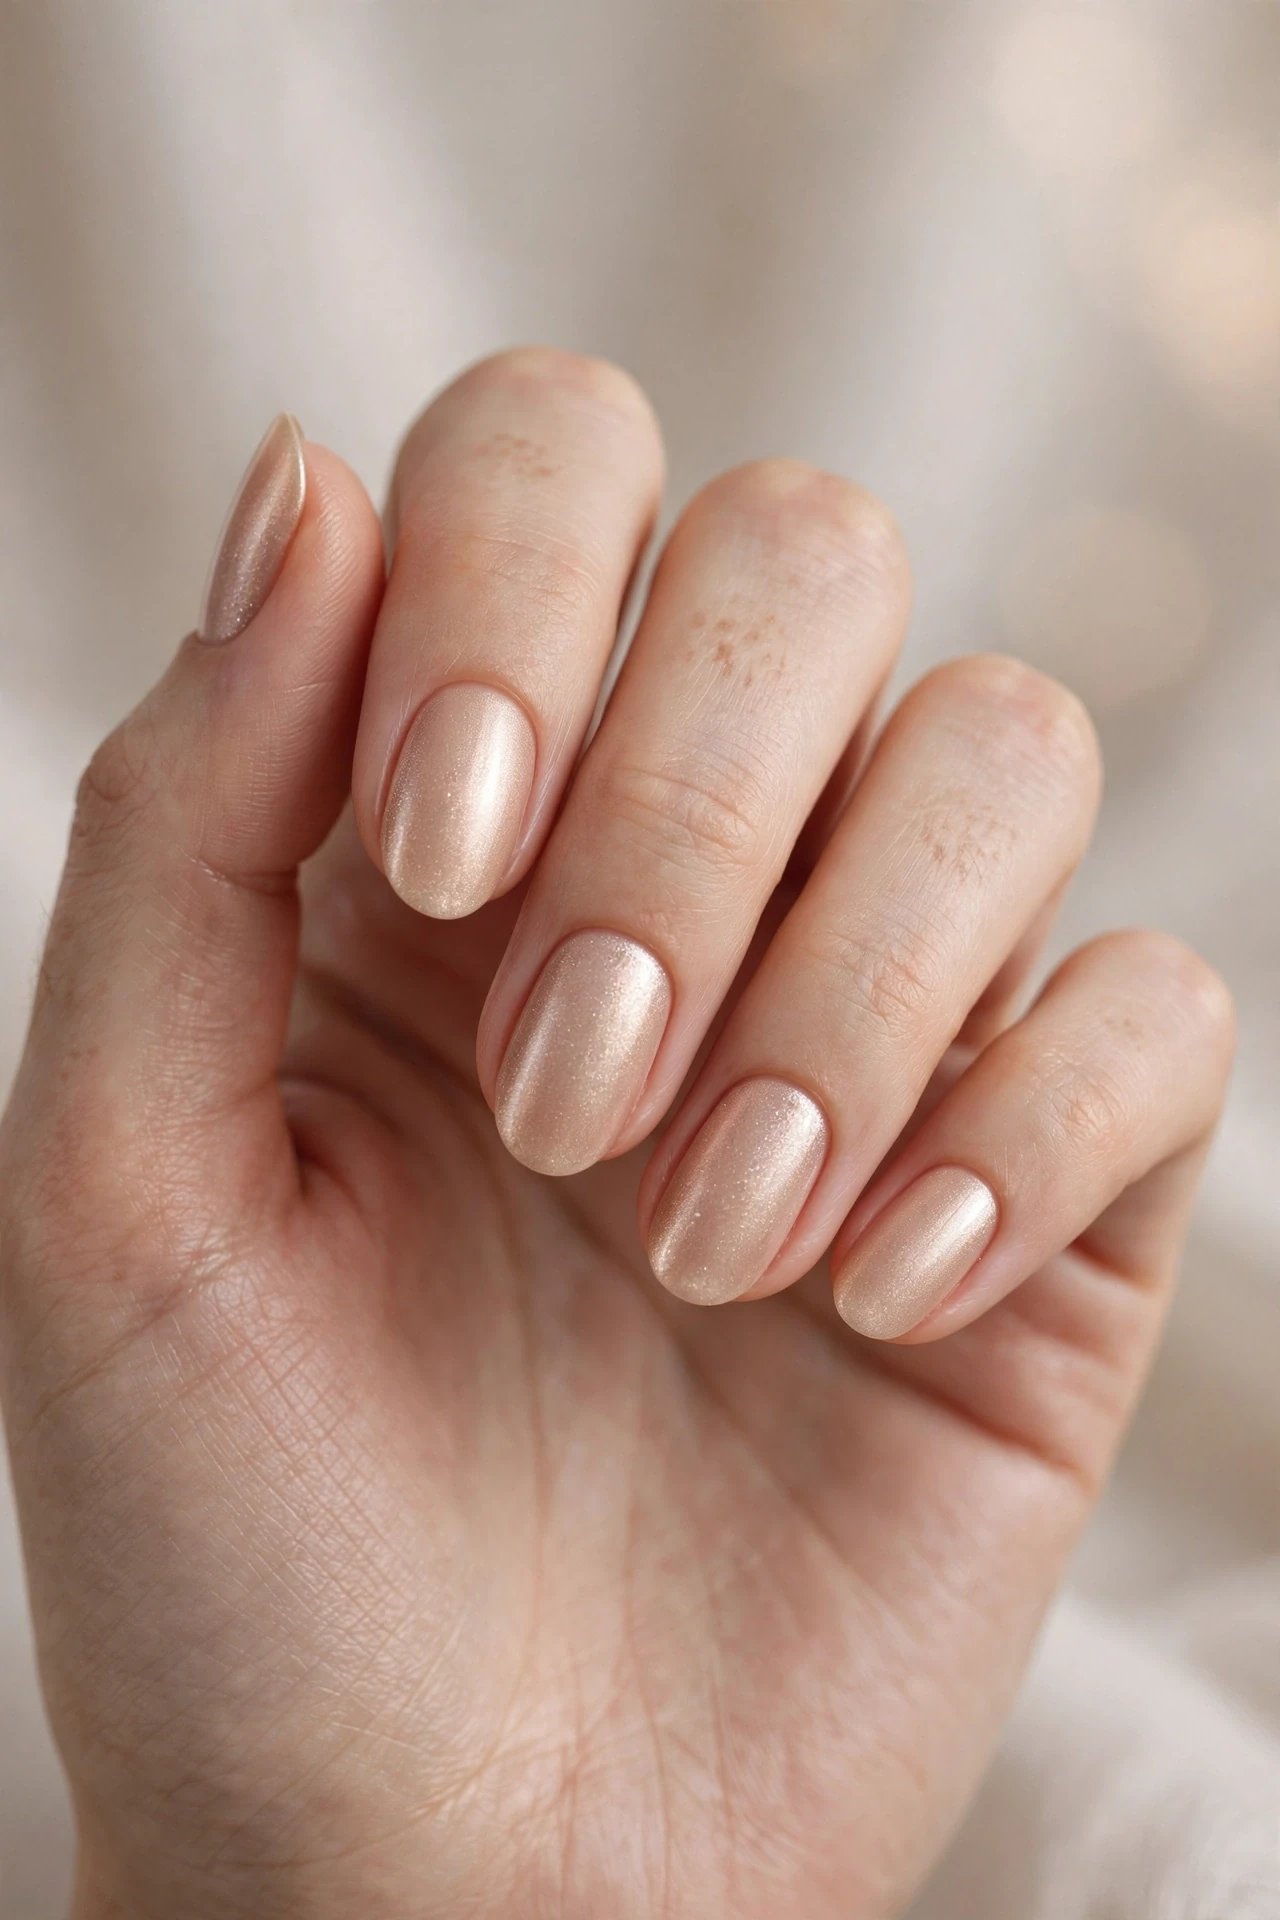
Soft, luminous, and endlessly elegant, champagne shimmer nails capture the exact colour of the bubbles in your glass. A fine pearl or duochrome shimmer suspended in a warm nude-champagne base gives nails a lit-from-within glow rather than a harsh glitter blast. It suits short to medium nails beautifully and flatters mature hands, as the soft finish never emphasises texture. This is the NYE look for silk dresses, satin blouses, and anyone who prefers quiet glamour over full sparkle. The shade also transitions gracefully into January, so you will love it long after the countdown ends.
- Choose a champagne gel with fine pearl shimmer, not chunky glitter.
- Apply three thin coats to build depth without streaking.
- Add a glass-finish top coat for that wet, luminous look.
- Ask for a sheer, buildable formula if you prefer a softer effect.
At the salon, ask for a champagne shimmer gel manicure — bring a reference photo, as “champagne” varies wildly between brands. For DIY, sheer shimmer polishes build best in thin layers; let each coat dry fully to avoid dragging. A peel-off base coat is a smart move if you change colours often, though shimmer is far easier to remove than glitter. Expect ten to fourteen days of wear from gel, or five to seven from regular polish. Touch up the tips with top coat mid-week to prevent the delicate shimmer from dulling at the edges.
Silver Glitter Ombré Fade
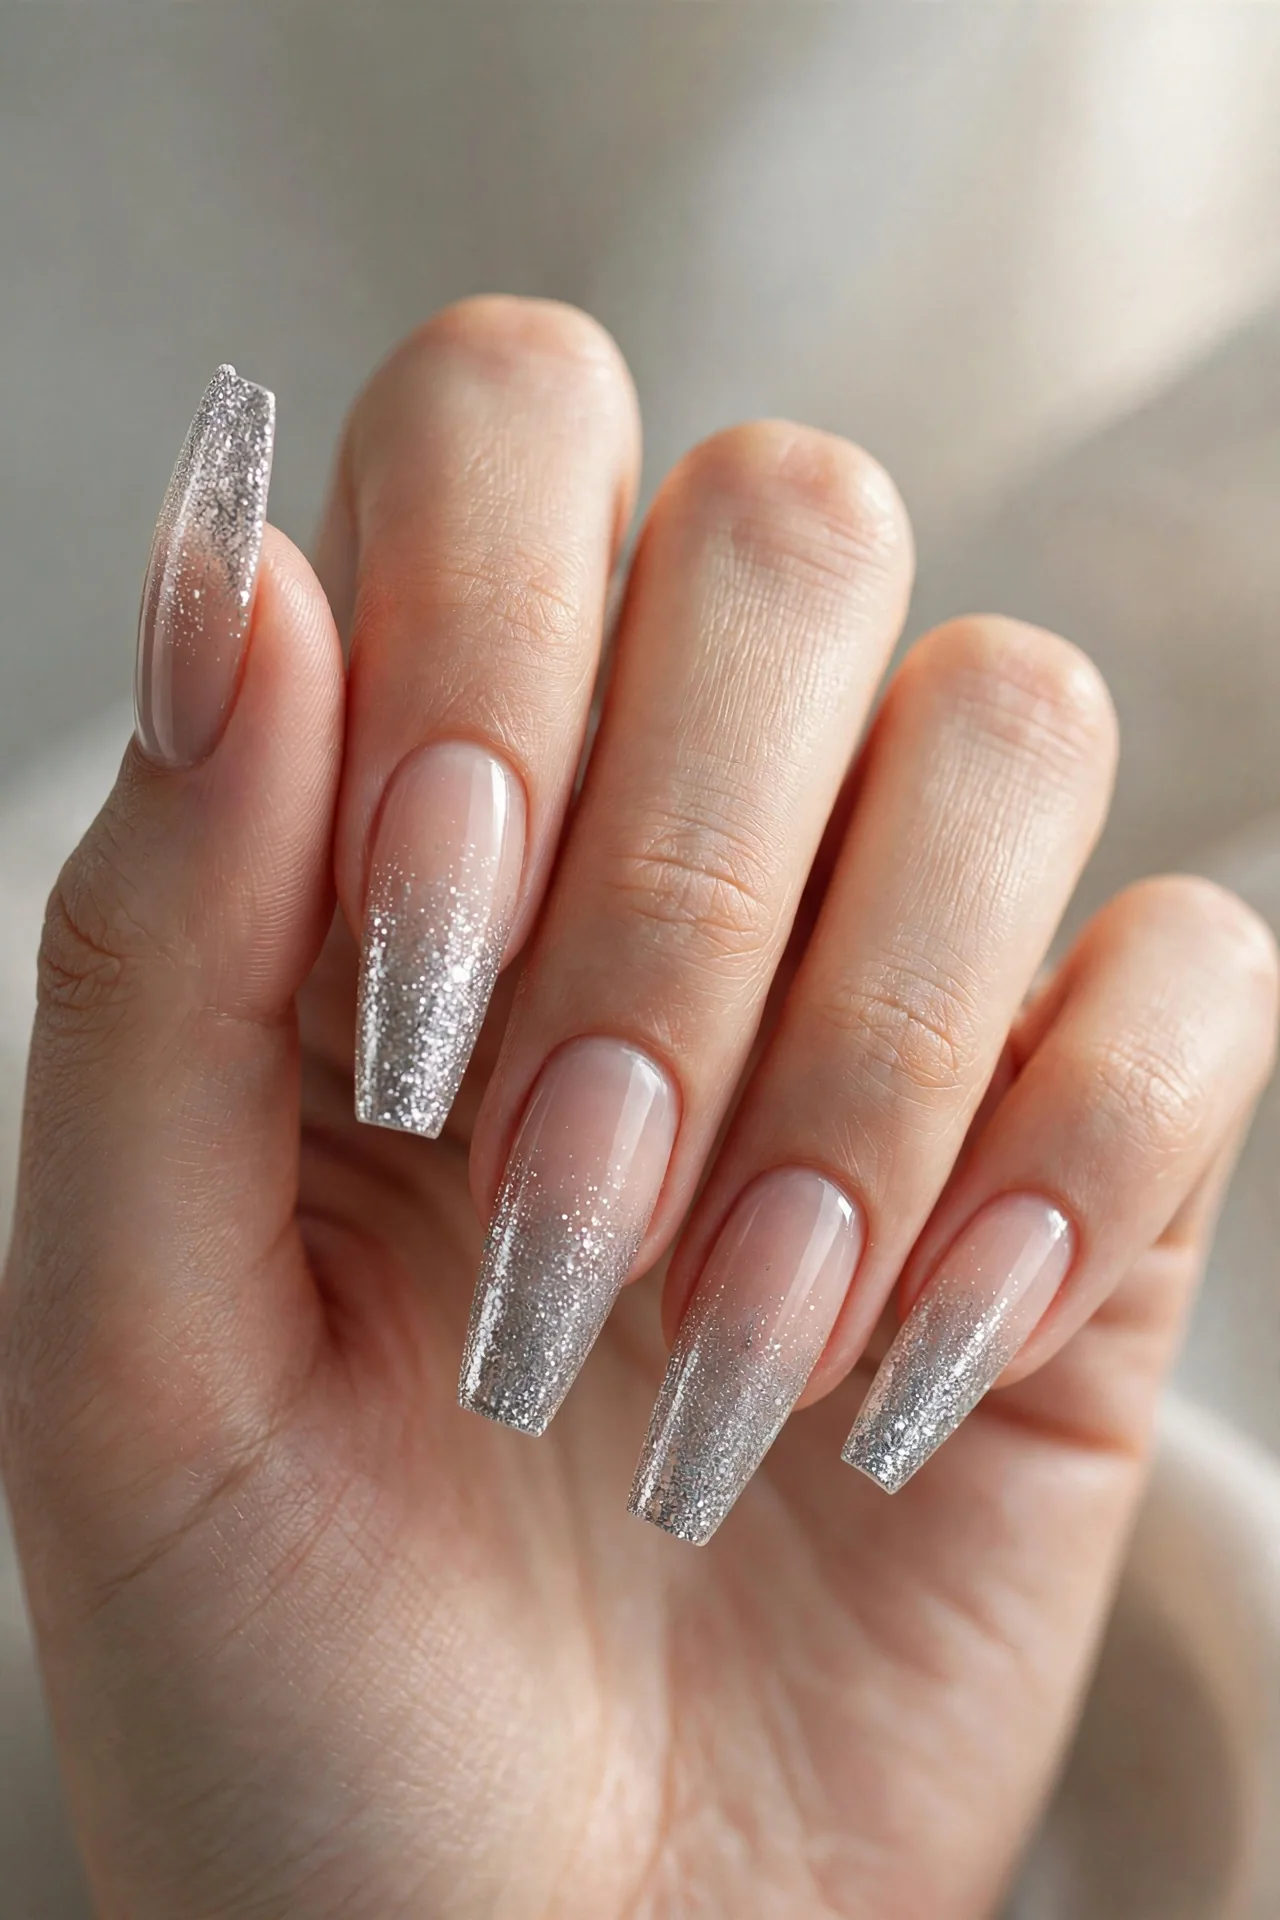
Cool-toned glamour lovers, this one is yours: a silver glitter ombré that starts dense at the free edge and dissolves into a sheer nude base near the cuticle. The gradient elongates the nail bed and looks like frost melting into moonlight — a perfect winter-party finish. Coffin and long almond shapes show off the fade best, and the icy silver flatters cool skin tones while adding contrast to jewel-toned outfits. It is dramatic enough for the dance floor yet soft enough at the cuticle to grow out gracefully, making it one of the most practical party designs on this list.
- Blend silver glitter densely from the free edge inward.
- Fade it gradually into a sheer nude base near the cuticle.
- Buff the transition smooth before applying top coat.
- Ask for a seamless gradient with no harsh glitter lines.
Salon technicians usually sponge the glitter on: ask for a silver glitter ombré over a nude gel base. At home, paint the nude base, then dab silver glitter polish onto the tips with a makeup sponge, building in layers until the fade looks soft. A thin coat of clear gel or polish between the nude and the glitter helps the blend melt together. Seal generously — sponged glitter has texture that needs levelling. Wear runs two to three weeks in gel, and regrowth is forgiving since the cuticle area stays sheer and natural-looking.
Gold and Nude Geometric Lines
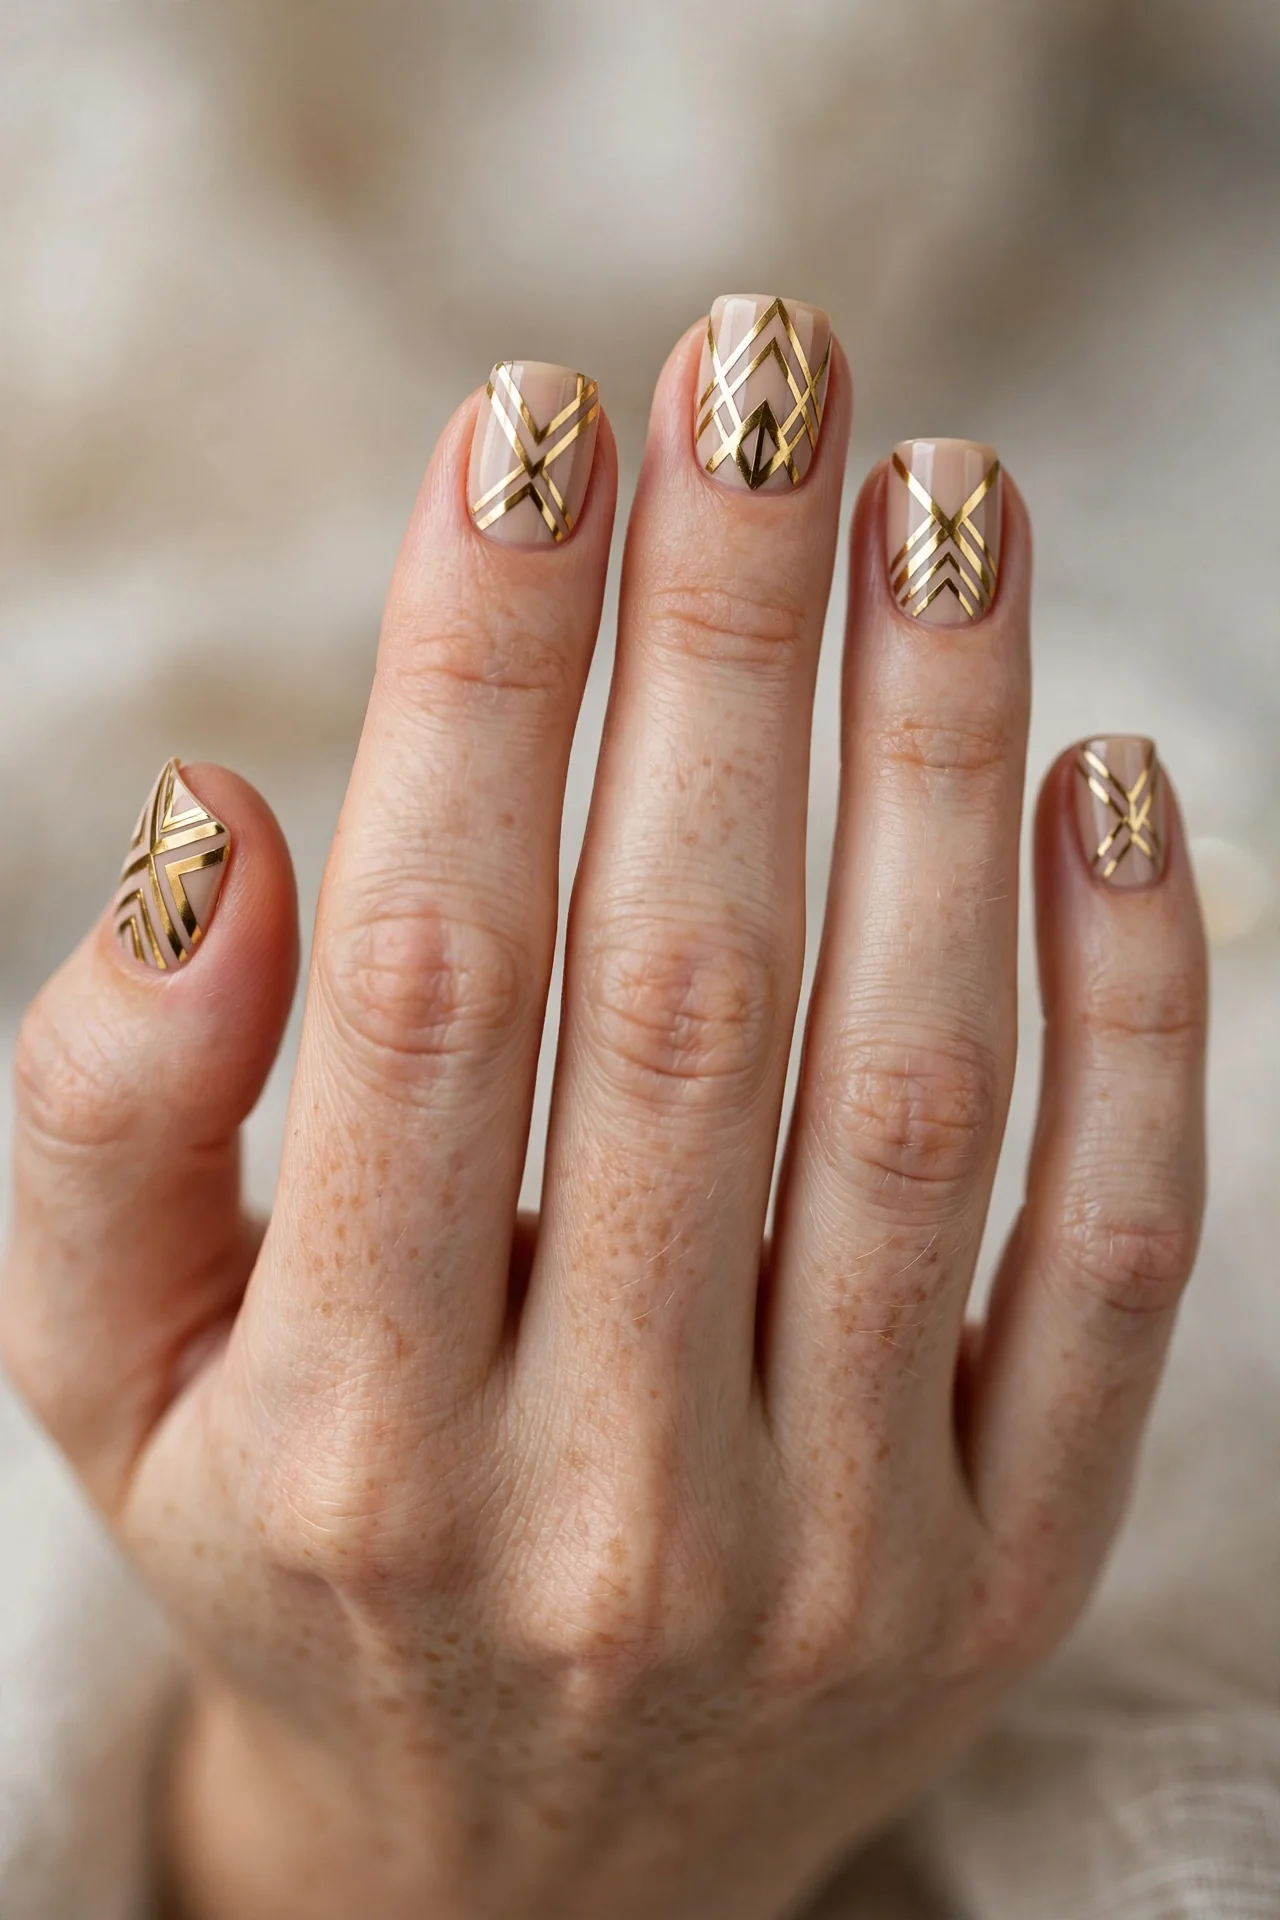
For the modern minimalist, crisp gold lines drawn over a nude base deliver NYE glamour with an art-deco edge. Think fine metallic stripes, chevrons, or asymmetric angles laid over a sheer, skin-tone nude — jewellery-inspired nail art that reads chic rather than flashy. It suits short square and squoval nails perfectly, since the clean lines look sharpest on a neat, even canvas. This design pairs beautifully with gold jewellery and tailored outfits, and it flatters every skin tone because the nude base can be matched to yours. Understated, graphic, and quietly festive.
- Paint a nude base coat matched closely to your skin tone.
- Lay gold striping tape or hand-paint fine geometric angles.
- Seal the edges of every line with a generous top coat.
- Ask for clean, sharp lines rather than freehand curves.
In the salon, show your technician a reference photo and ask for nude gel with gold striping-tape art. DIY is very achievable: apply the nude polish, let it dry completely, then place thin gold striping tape in your chosen pattern — press the ends down firmly with tweezers. Alternatively, use a long detail brush and metallic gold polish for hand-painted lines. The secret is a fully dry base, so nothing drags. Top coat twice to seal the tape edges, capping the free edge to prevent lifting. This look wears ten to fourteen days and suits anyone who wants festive nails that still look office-appropriate.
Black Nails Scattered with Gold Stars
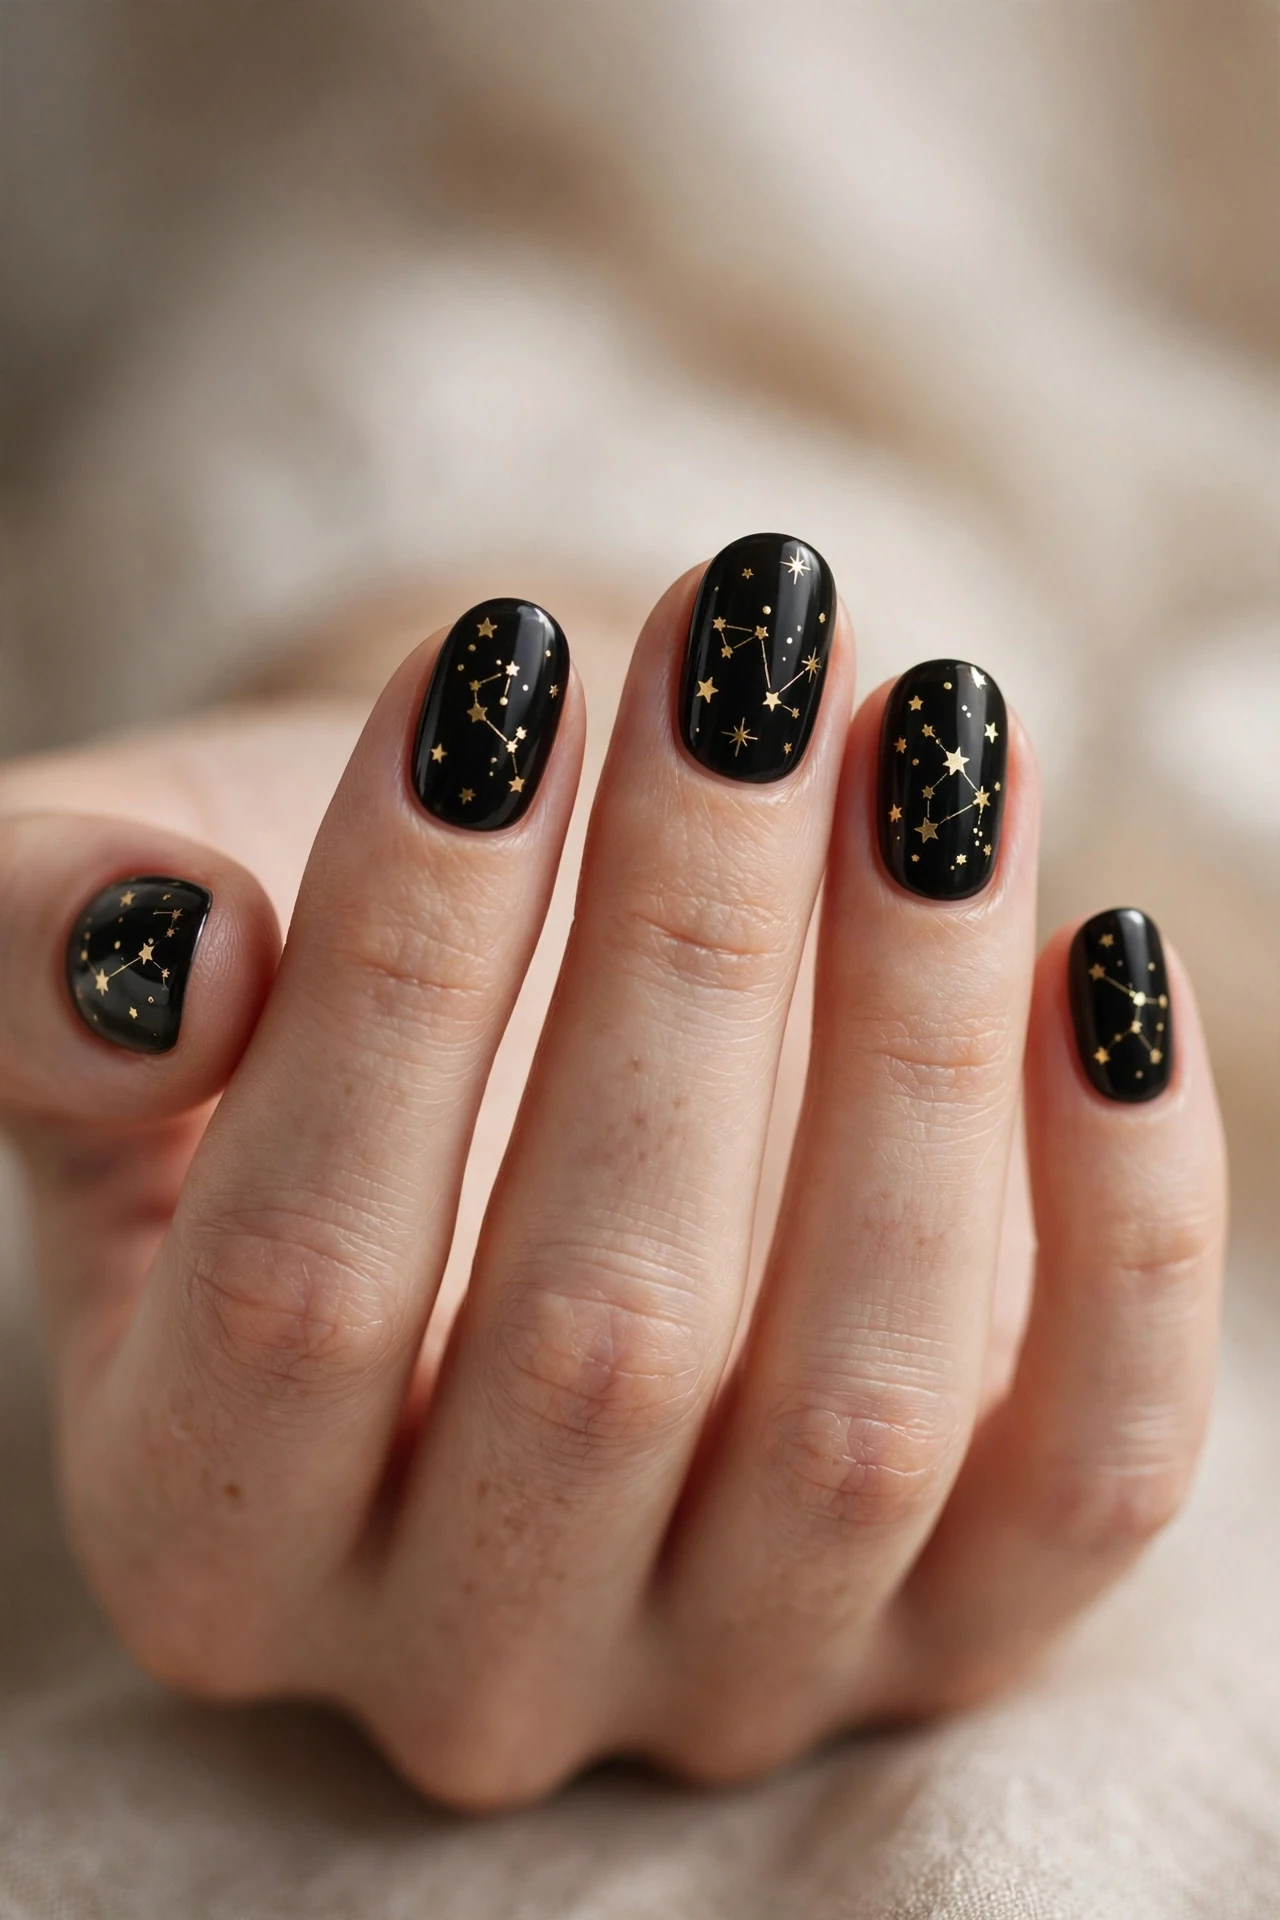
Channel the midnight sky with glossy black nails dotted with tiny gold stars — celestial nail art made for the year’s most magical night. The contrast is striking: deep, inky black makes every gold star pop like a constellation. Vary the star sizes across your nails, keeping one or two statement stars per nail and filling the gaps with micro-dots for depth. Oval and almond shapes suit this playful design best, and it works at any length. It is a brilliant choice if your NYE outfit is simple and you want your nails to be the star of the show — literally.
- Start with a glossy jet-black base in two smooth coats.
- Place gold star decals or hand-paint stars with a dotting tool.
- Vary star sizes across nails for a natural constellation effect.
- Seal everything with a high-gloss top coat for a lacquered finish.
Ask your salon for black gel with gold star nail art — decals give the crispest result, while hand-painting feels more artisanal. At home, star stickers are the easiest route: apply them to dry black polish with tweezers, then seal with two coats of top coat so the edges lie flat. For hand-painted stars, use a fine detail brush and metallic gold polish, practising on paper first. A matte black base with glossy stars is a chic alternative if you prefer texture play. Expect up to two weeks of wear, and keep the design away from harsh chemicals so the tiny decals stay put.
Rose Gold Chrome Sheen
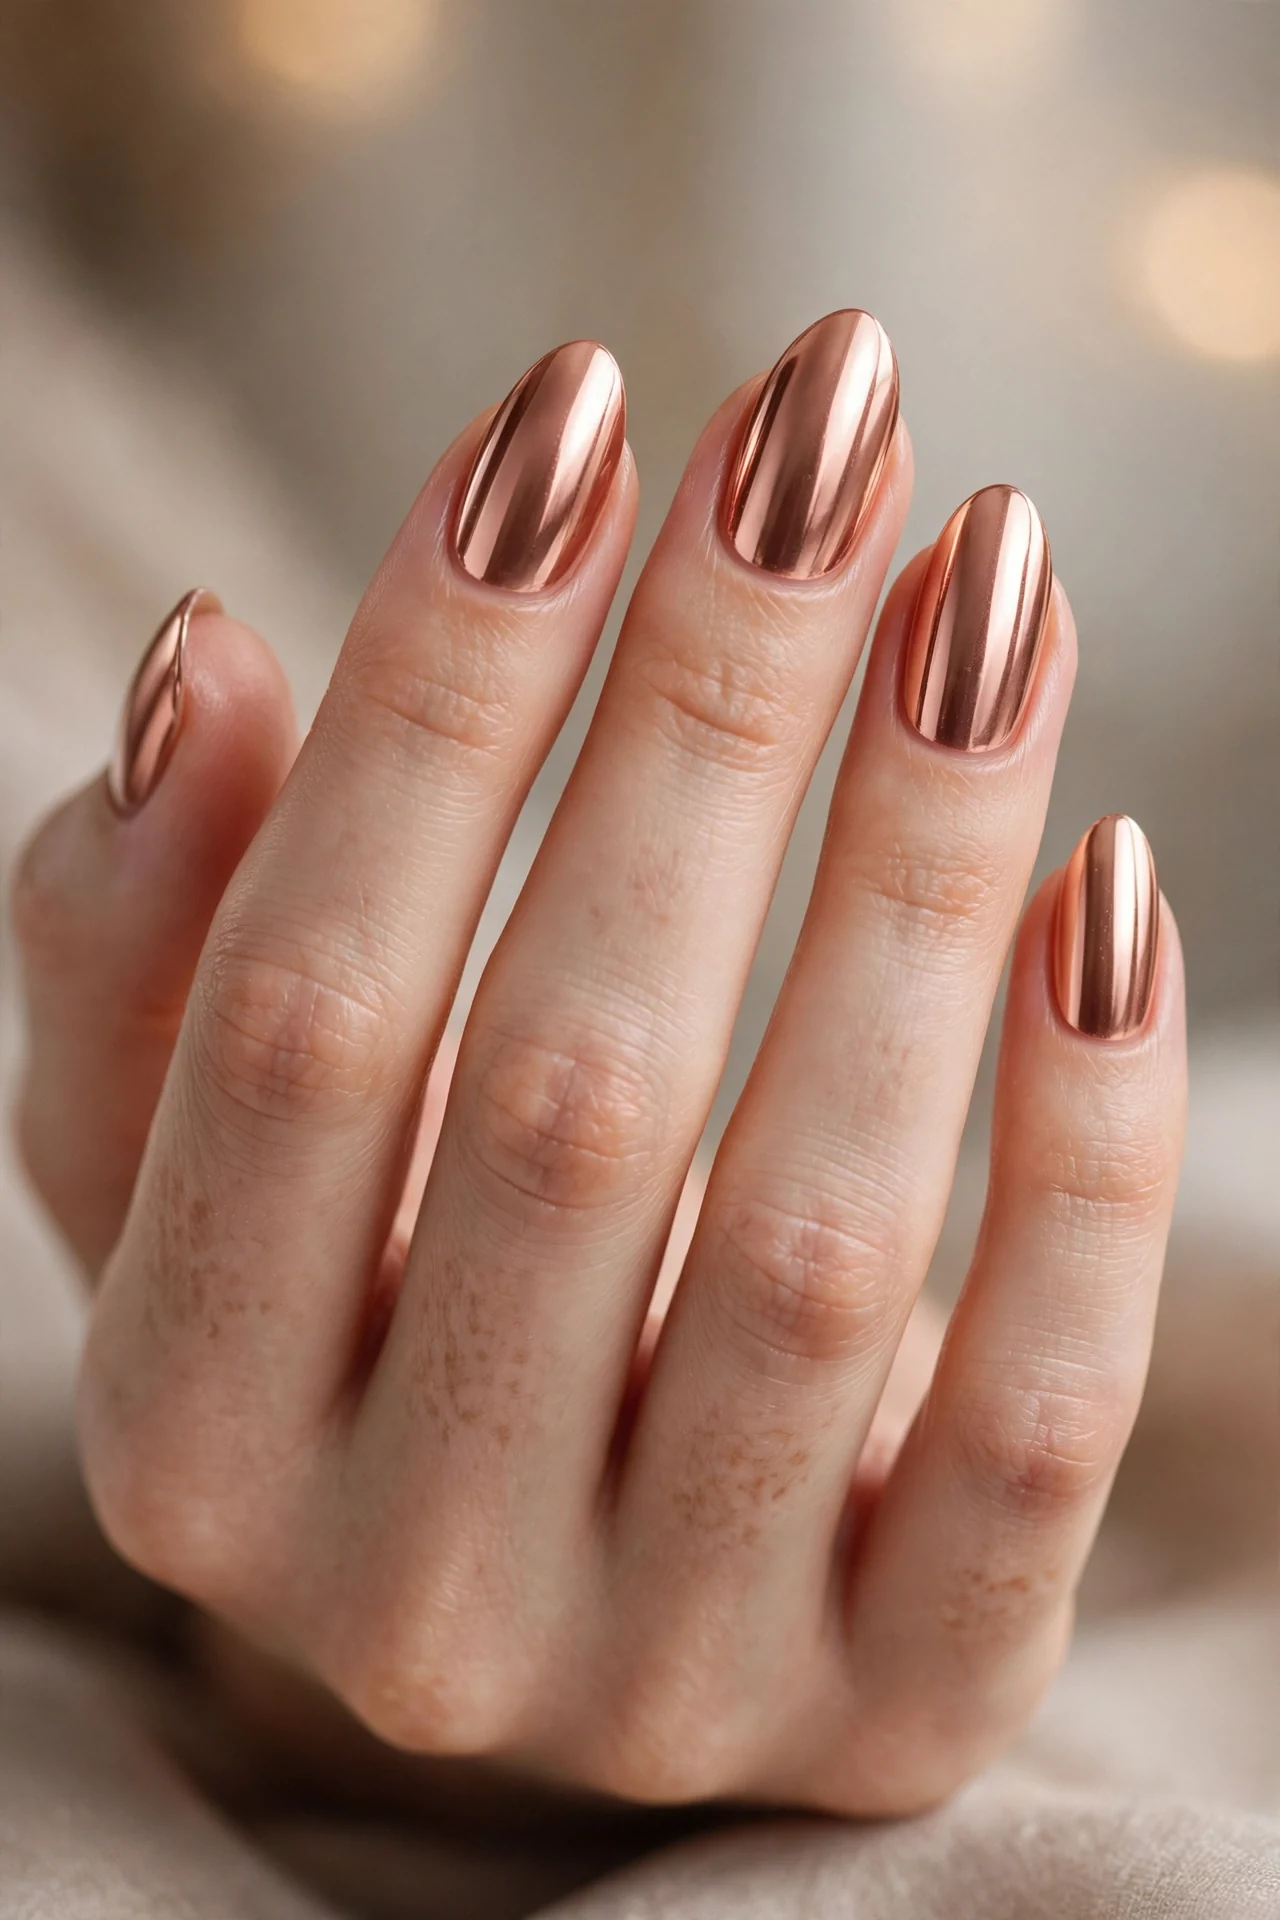
Rose gold chrome wraps your nails in a warm, mirror-like glow that feels both romantic and futuristic. The reflective finish shifts between blush pink and molten gold as it catches the light, giving you that coveted liquid-metal effect with a softer, more feminine edge than silver chrome. It flatters warm and neutral skin tones gorgeously and suits every nail shape, though almond and oval show off the mirror finish best. Metallic finishes are dominating the season — Coveteur’s roundup of fall 2026 nail trends flags chrome and molten metals as the defining looks of the moment — making this a perfectly on-trend NYE choice.
- Buff rose-gold chrome powder into a cured no-wipe gel base.
- Choose a true rose-gold pigment for warmth, not plain pink.
- Seal with a chrome-safe top coat to protect the mirror effect.
- Ask for an almond or oval shape to maximise the reflective surface.
At the salon, request a rose gold chrome manicure — the technician will apply a no-wipe black or nude gel base, cure it, then burnish the chrome powder on with a sponge applicator. For DIY, chrome powder kits work over any no-wipe gel top coat cured under a UV lamp; the key is buffing firmly until the powder melts into a mirror. Regular top coats can dull chrome, so use one formulated for chrome or dip powder. The finish wears two to three weeks and resists chipping well, but avoid picking at the edges, as lifting breaks the mirror illusion instantly.
Gold Glitter French Tips
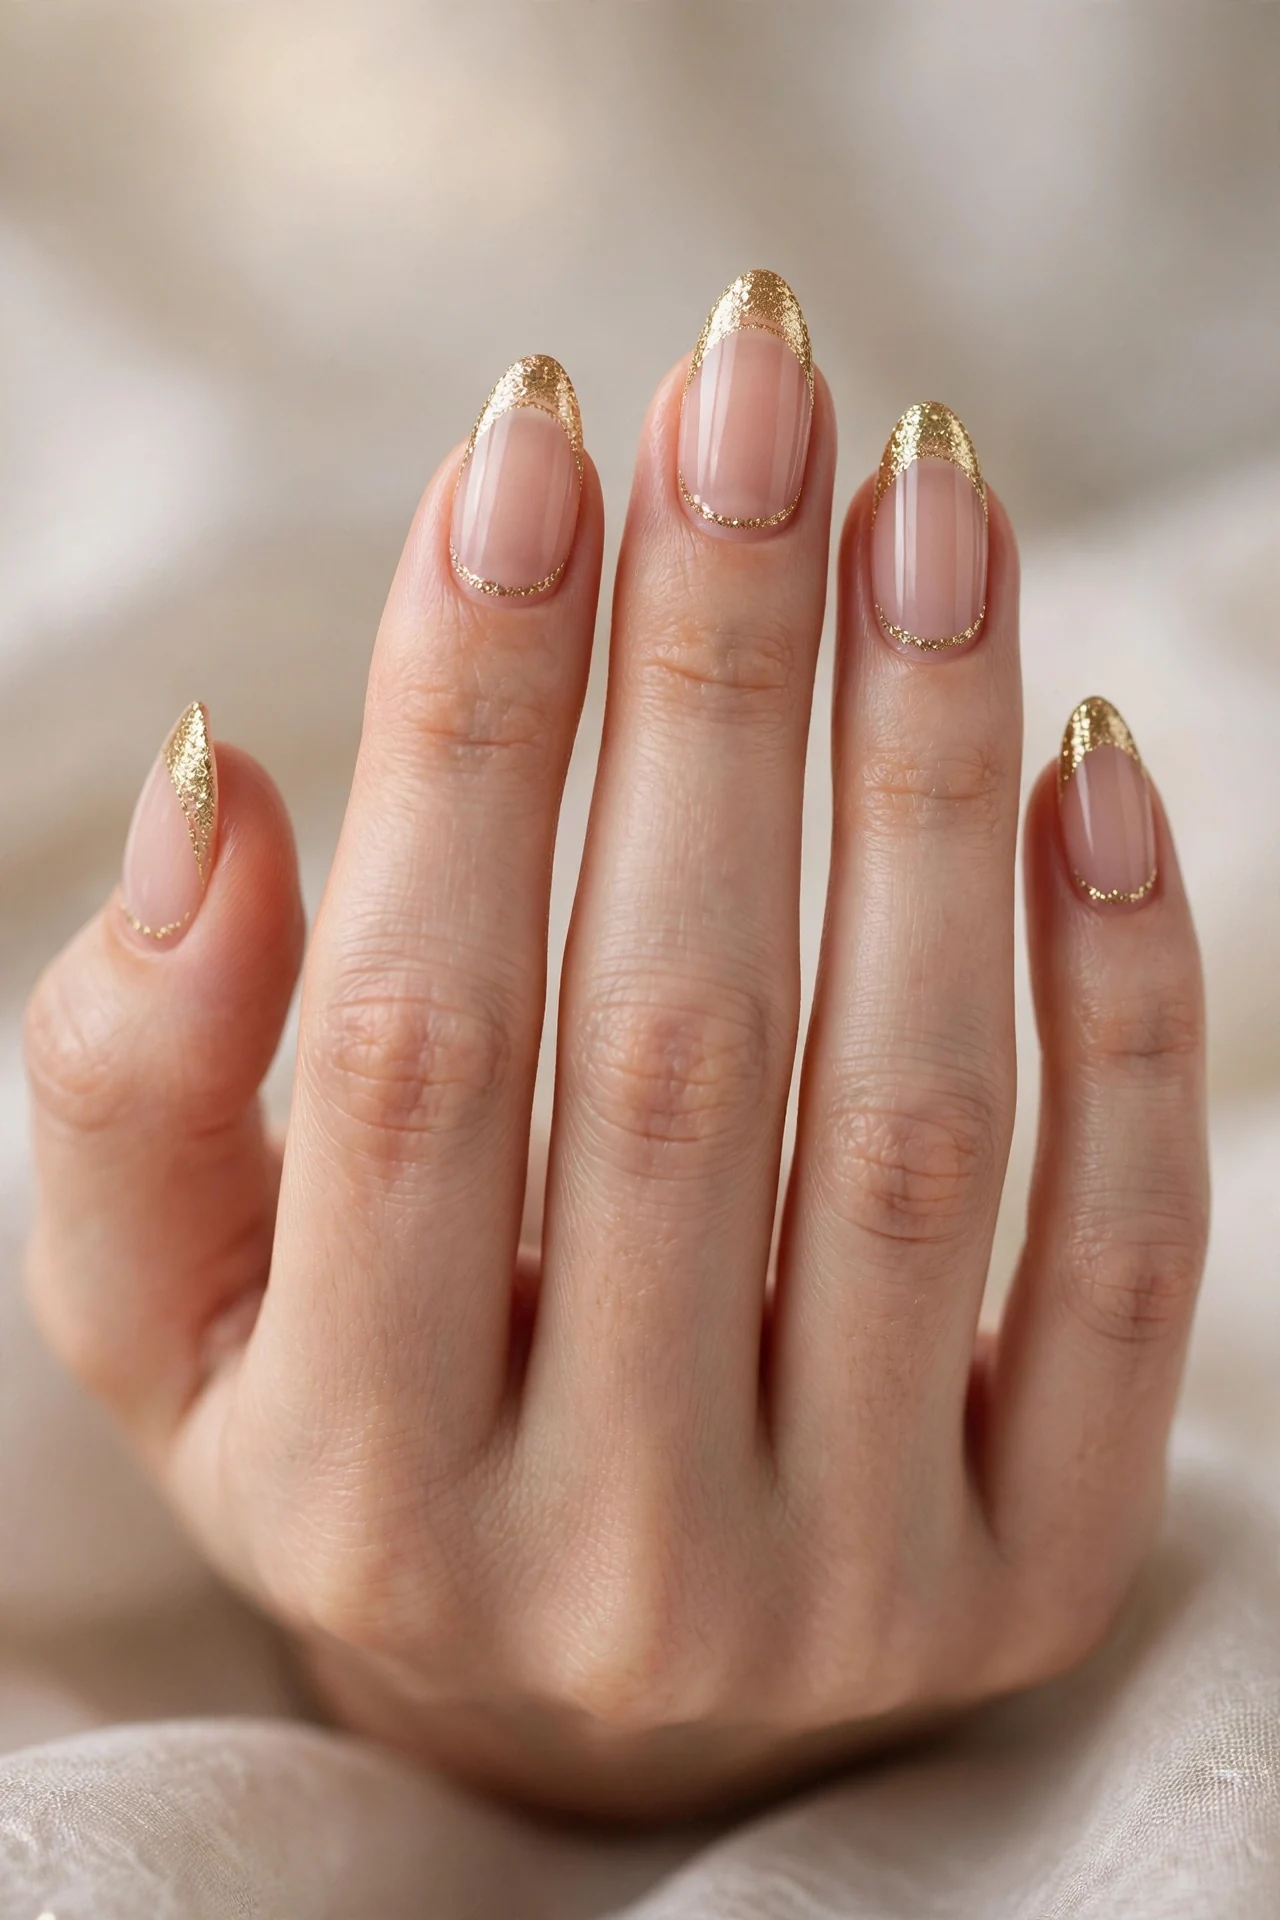
The classic French manicure gets a countdown-night upgrade: replace the white tips with a sweep of gold glitter. The sheer nude base keeps it timeless and elegant, while the sparkling smile line adds just enough festivity for the occasion. It suits medium-length almond and square nails, where the tip has enough width to show off the glitter. This is the perfect NYE design if you love refined, bridal-adjacent beauty but still want to join the party — it pairs with literally everything in your wardrobe and photographs beautifully holding a champagne coupe.
- Paint a sheer nude or soft pink base in two thin coats.
- Sweep gold glitter polish along the tips in a crisp smile line.
- Keep the smile line even on all ten nails for a polished look.
- Finish with a glossy top coat to smooth the glitter texture.
Salon wording is simple: a French manicure with gold glitter tips. At home, use French tip guides or a steady hand with a detail brush — paint the glitter tip slightly thicker than you think, as glitter polish is sheerer than it looks. Clean up the smile line with a flat brush dipped in acetone before it dries. For extra precision, do the glitter tips first on a sticky base, then fill in the nude — though most beginners find the classic order easier. The design lasts ten to fourteen days in gel, and the nude base means regrowth stays subtle.
Midnight Blue Nails with Silver Sparkle
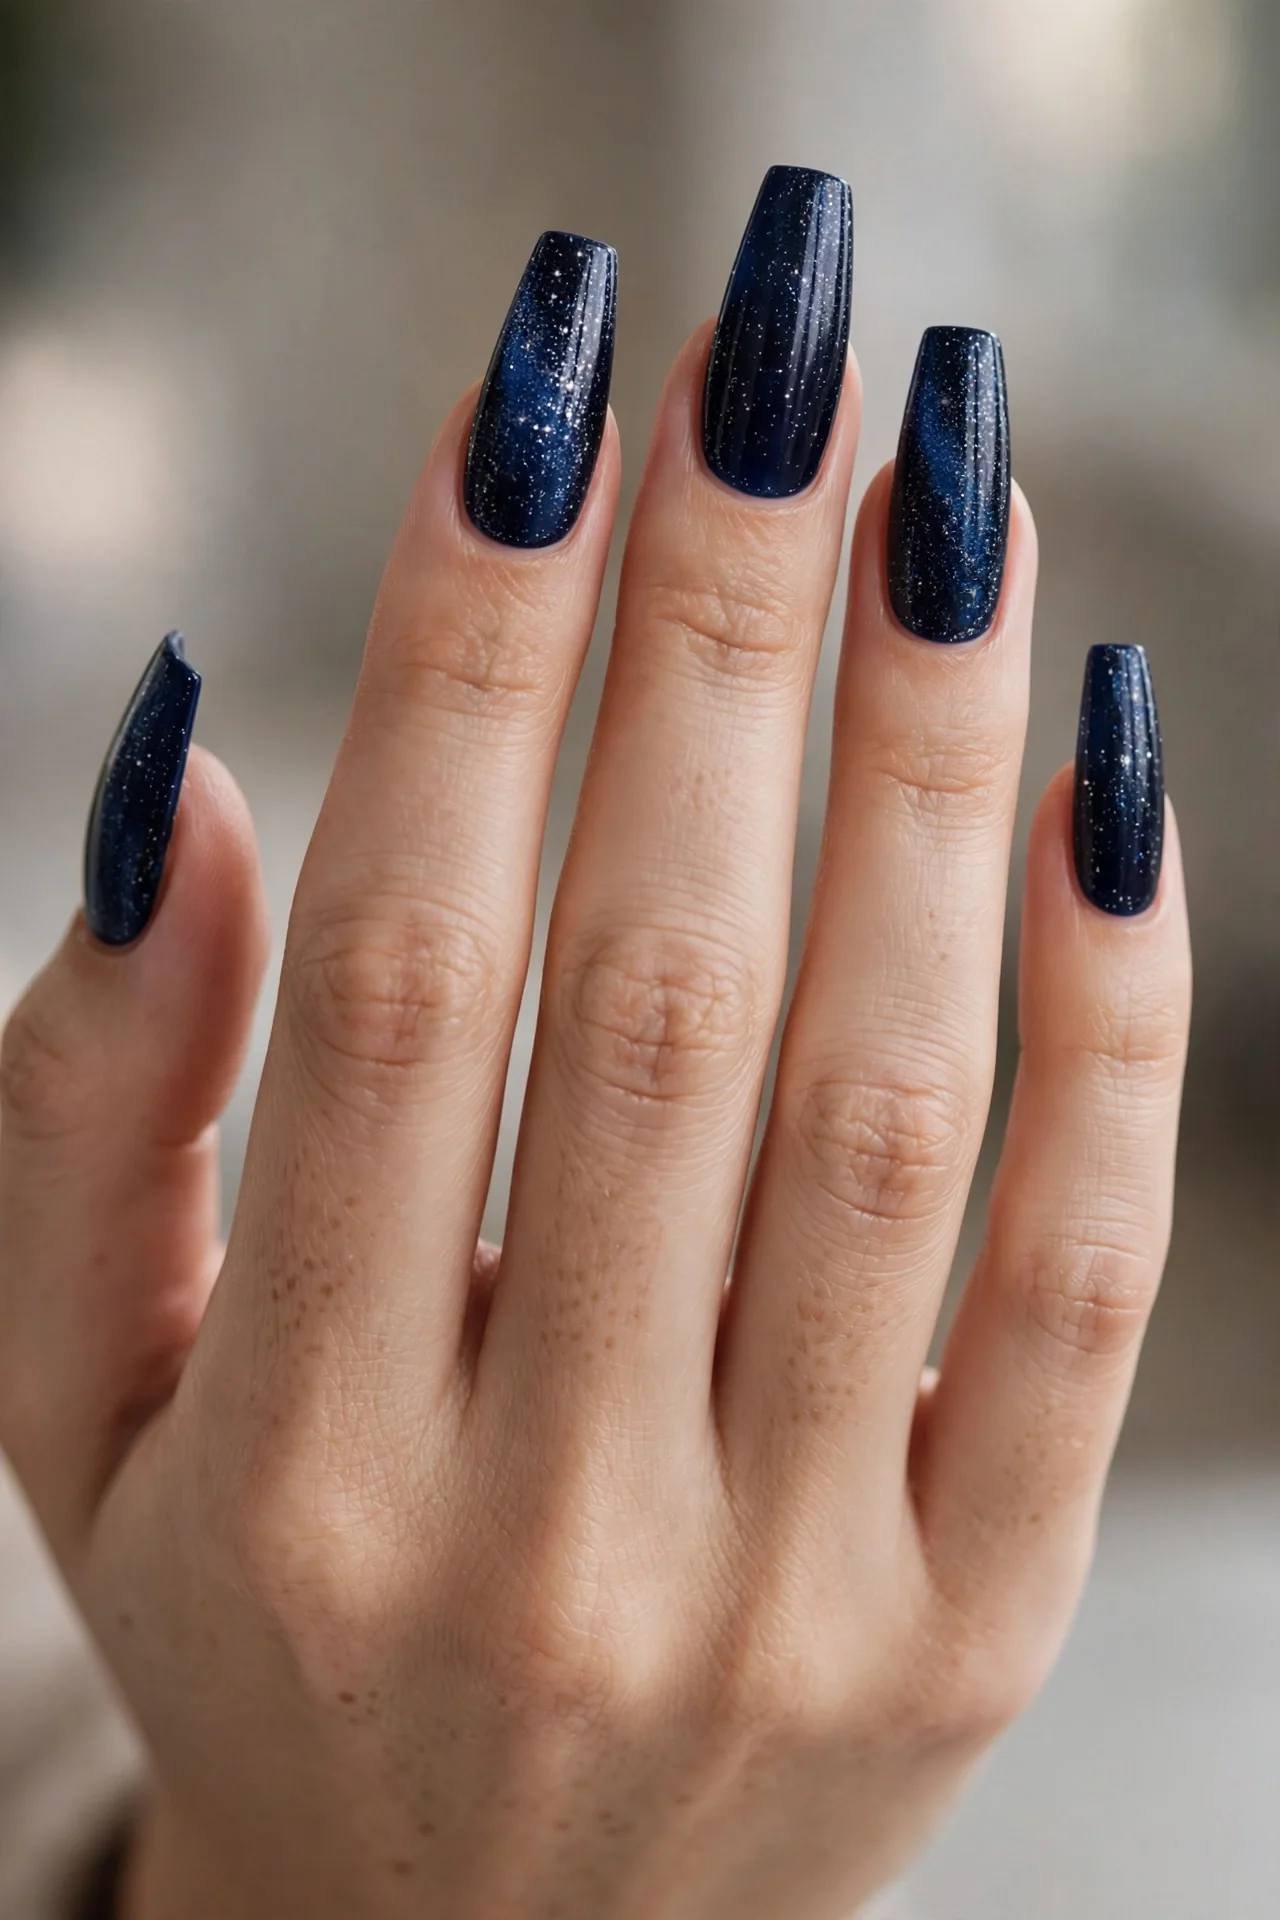
Deep midnight blue dusted with silver micro-glitter is the night sky rendered in manicure form — dramatic, moody, and utterly captivating under evening lights. The rich navy base reads almost black in dim rooms but reveals its blue depth in the light, while the silver sparkle twinkles like distant stars. Long coffin and stiletto shapes amplify the drama, though a sleek almond works beautifully too. Cool skin tones glow against this shade, and it pairs stunningly with silver jewellery and jewel-toned velvet. If gold feels too expected, this is your alternative path to NYE glamour.
- Apply a rich midnight-blue gel in two opaque coats.
- Dust fine silver micro-glitter evenly over the tacky surface.
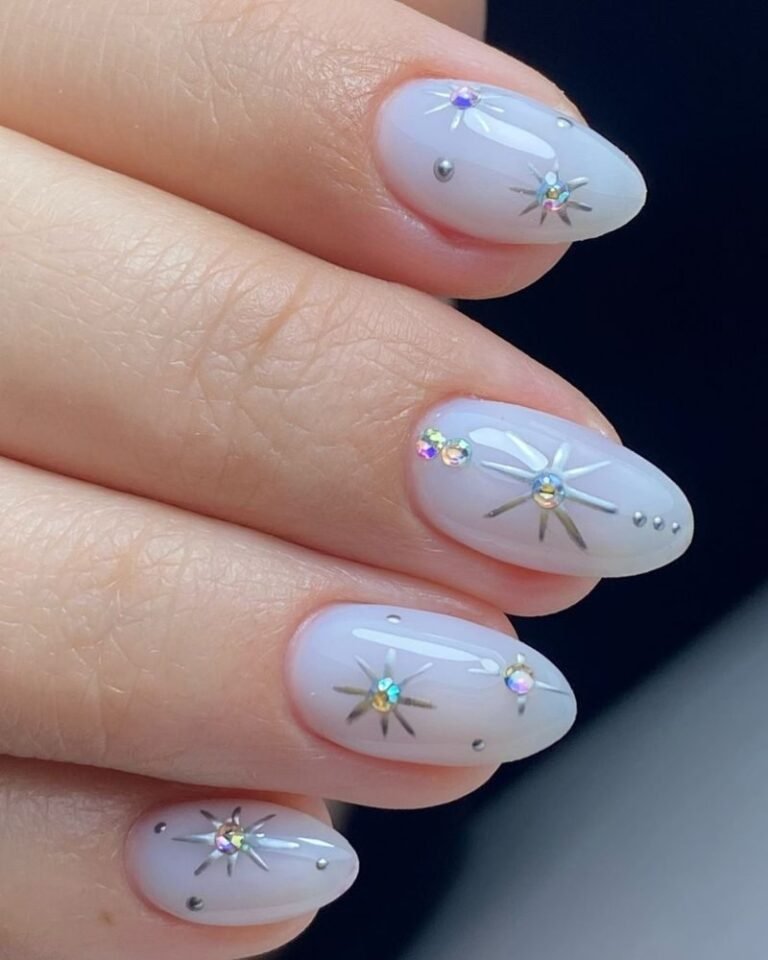
- Add one starburst or rhinestone accent nail per hand.
- Seal with a high-gloss top coat for a glassy, deep finish.
Ask your salon for midnight-blue gel with silver micro-glitter burnished on top. DIY requires a steady hand with loose glitter: apply the blue polish, and while the second coat is still tacky, sprinkle or press micro-glitter on with a fan brush, then seal thoroughly. Alternatively, use a blue polish with built-in shimmer for a simpler one-step version. The dark base shows chips more readily than nudes, so cap the free edge carefully and keep top coat handy for touch-ups. Gel wear runs two to three weeks; the deep colour stays rich as long as you moisturise your cuticles daily.
Gold Confetti Party Nails
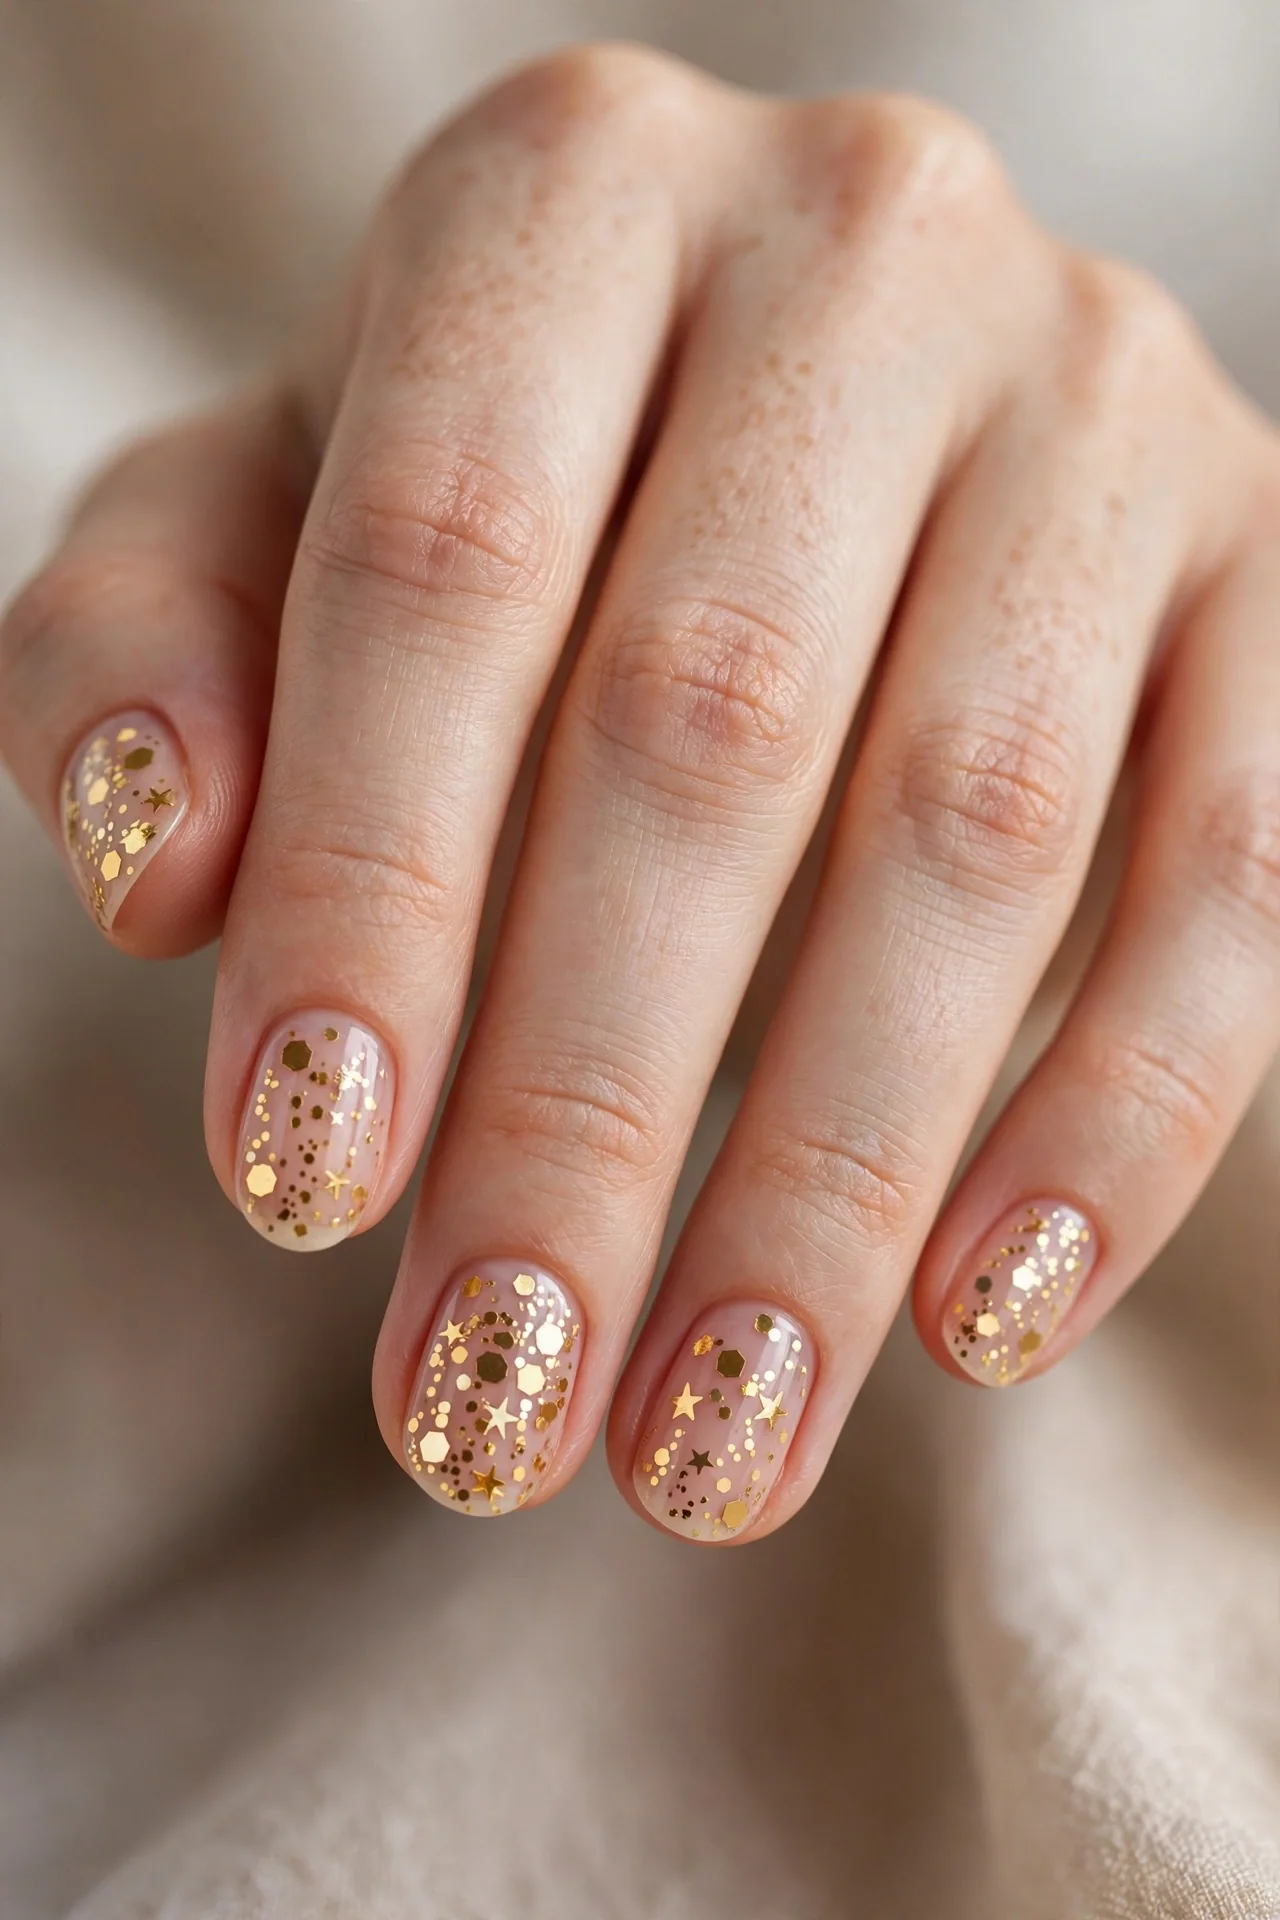
Why settle for glitter when you can wear actual confetti? Gold confetti nails scatter mixed shapes — tiny dots, hexagons, stars, and crescents — over a clear or nude base, like the moment the balloons drop frozen on your fingertips. The playful mix of shapes catches light from every angle, giving more dimension than uniform glitter. It suits short to medium nails best, where the confetti reads as intentional art rather than clutter. This is pure celebration in manicure form, ideal for the life of the party who wants nails as joyful as the night itself.
- Use a clear or sheer nude base so the confetti stands out.
- Scatter gold confetti pieces in mixed shapes and sizes.
- Press each piece flat with a silicone tool before sealing.
- Ask for an encapsulated finish so the surface feels perfectly smooth.
In the salon, ask for encapsulated gold confetti over a nude gel base — the technician will place the pieces and seal them under a layer of clear builder gel. At home, apply pieces to tacky polish with tweezers or a wax-tipped tool, pressing gently so they lie flat. Work one nail at a time so the polish stays tacky, then flood with two thick coats of top coat. Confetti near the free edge can catch on things, so keep pieces slightly away from the very tip. The design wears up to two weeks, and removal is easier than dense glitter since the pieces lift away with the polish.
Molten Copper Metallic for NYE Nails
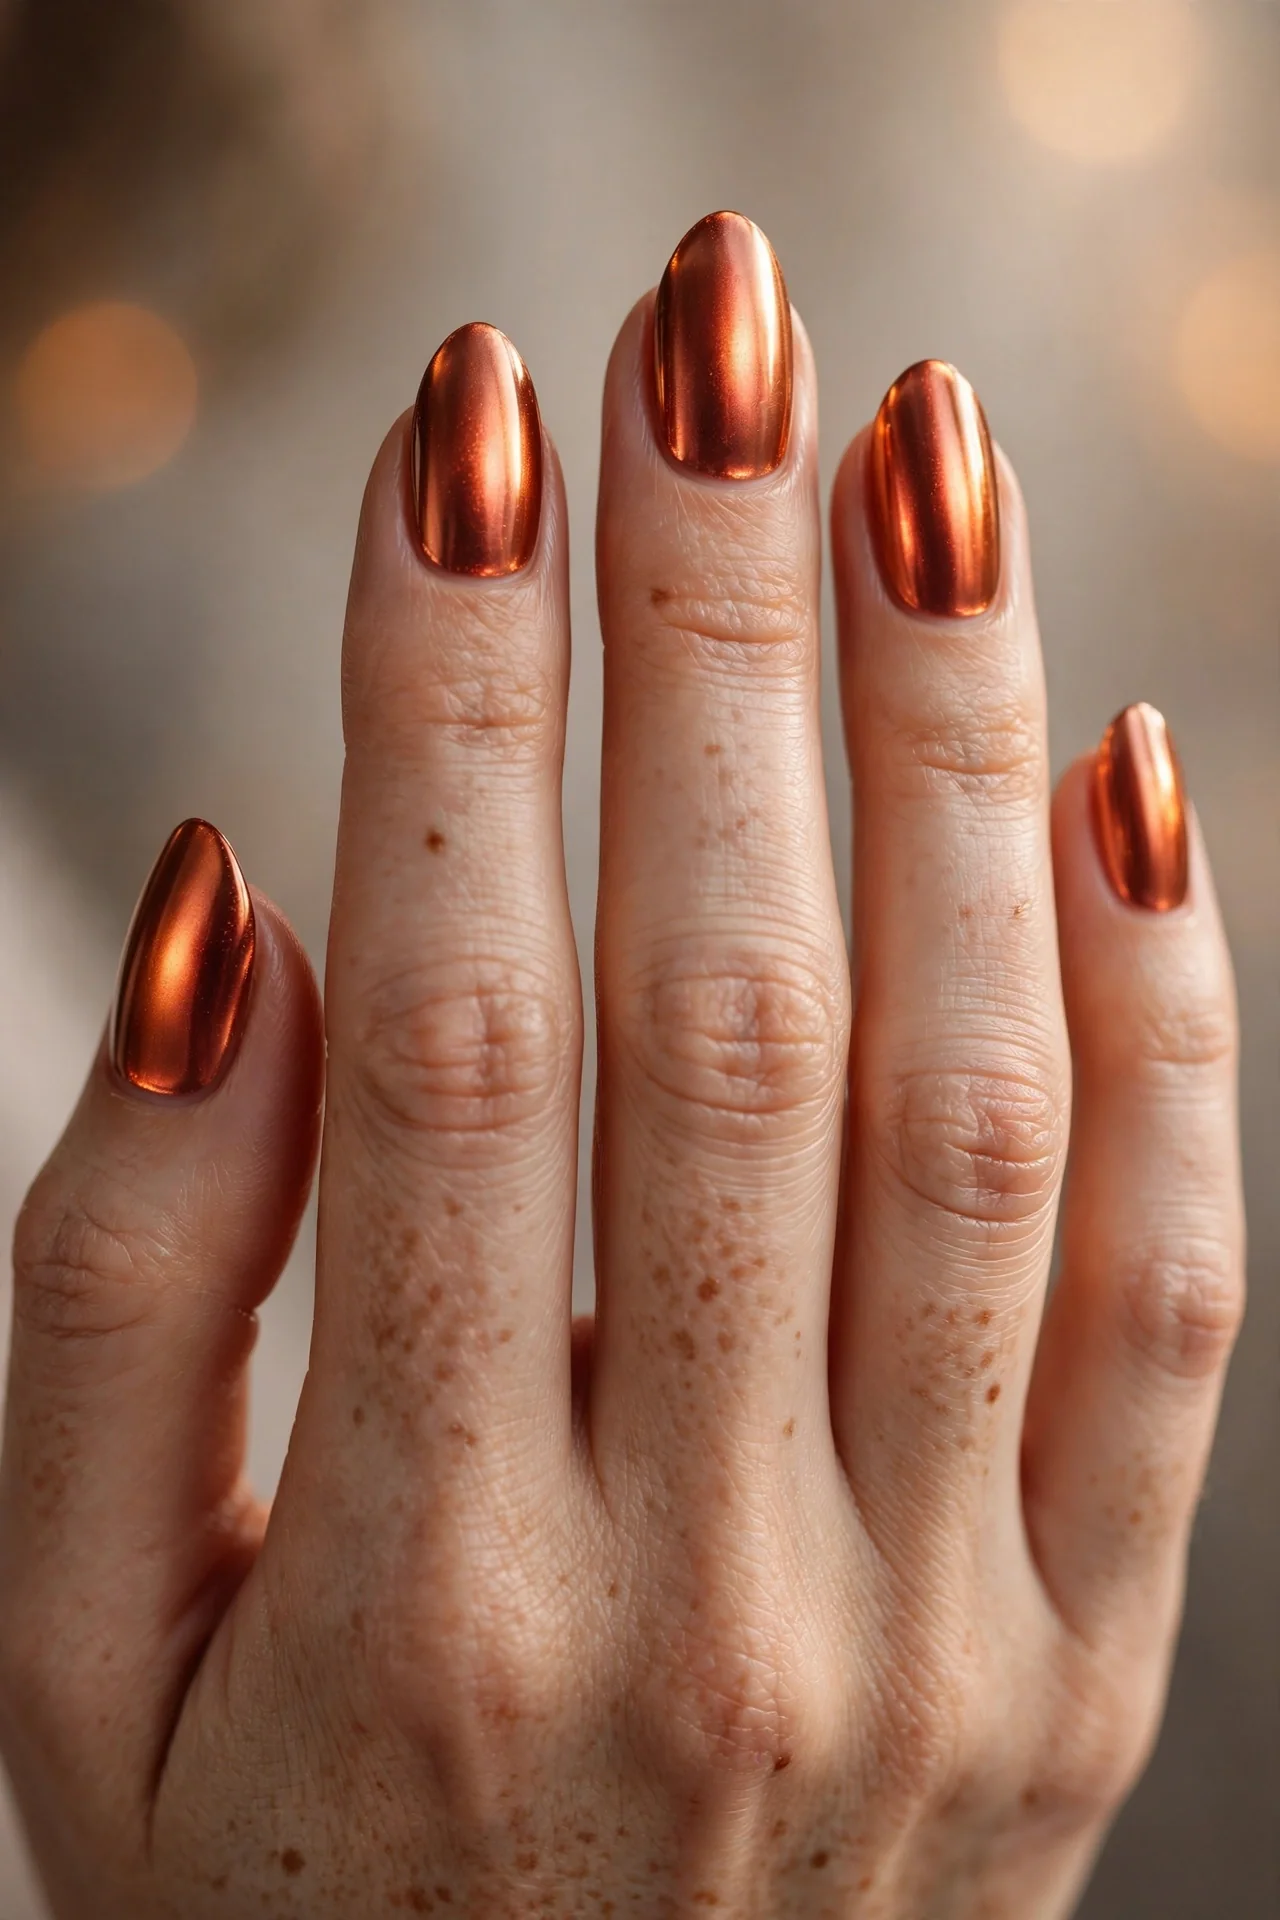
Copper is gold’s moodier, more intriguing sibling — a burnished metallic that glows like embers and flatters warm skin tones like nothing else. The molten finish shifts between rose, bronze, and amber as it moves, giving your NYE nails a rich, dimensional warmth that stands apart from the usual gold-and-silver crowd. It suits medium-length almond and coffin nails, where the metallic has room to show its colour play. Pair it with bronze eye makeup and warm-toned jewellery for a fully coordinated glow, or let it warm up an all-black outfit.
- Choose a copper chrome pigment over a warm brown gel base.
- Buff the pigment firmly until it melts into a mirror shine.
- Build the colour in thin layers for a truly molten depth.
- Seal with a chrome-safe top coat to preserve the reflectivity.
Salon technicians will know this as a copper chrome manicure — ask for it over a warm brown or bronze base rather than black, which keeps the finish rich instead of harsh. DIY chrome kits work well here: cure a no-wipe gel base, burnish the copper powder on with the included applicator, then seal. The brown undercoat is the secret — it deepens the copper to that molten, ember-like tone. Wear lasts two to three weeks in gel. Like all chromes, it hates edge-lifting, so avoid using your nails as tools and reapply top coat if the shine starts to dull.
White and Gold Minimalist Accents
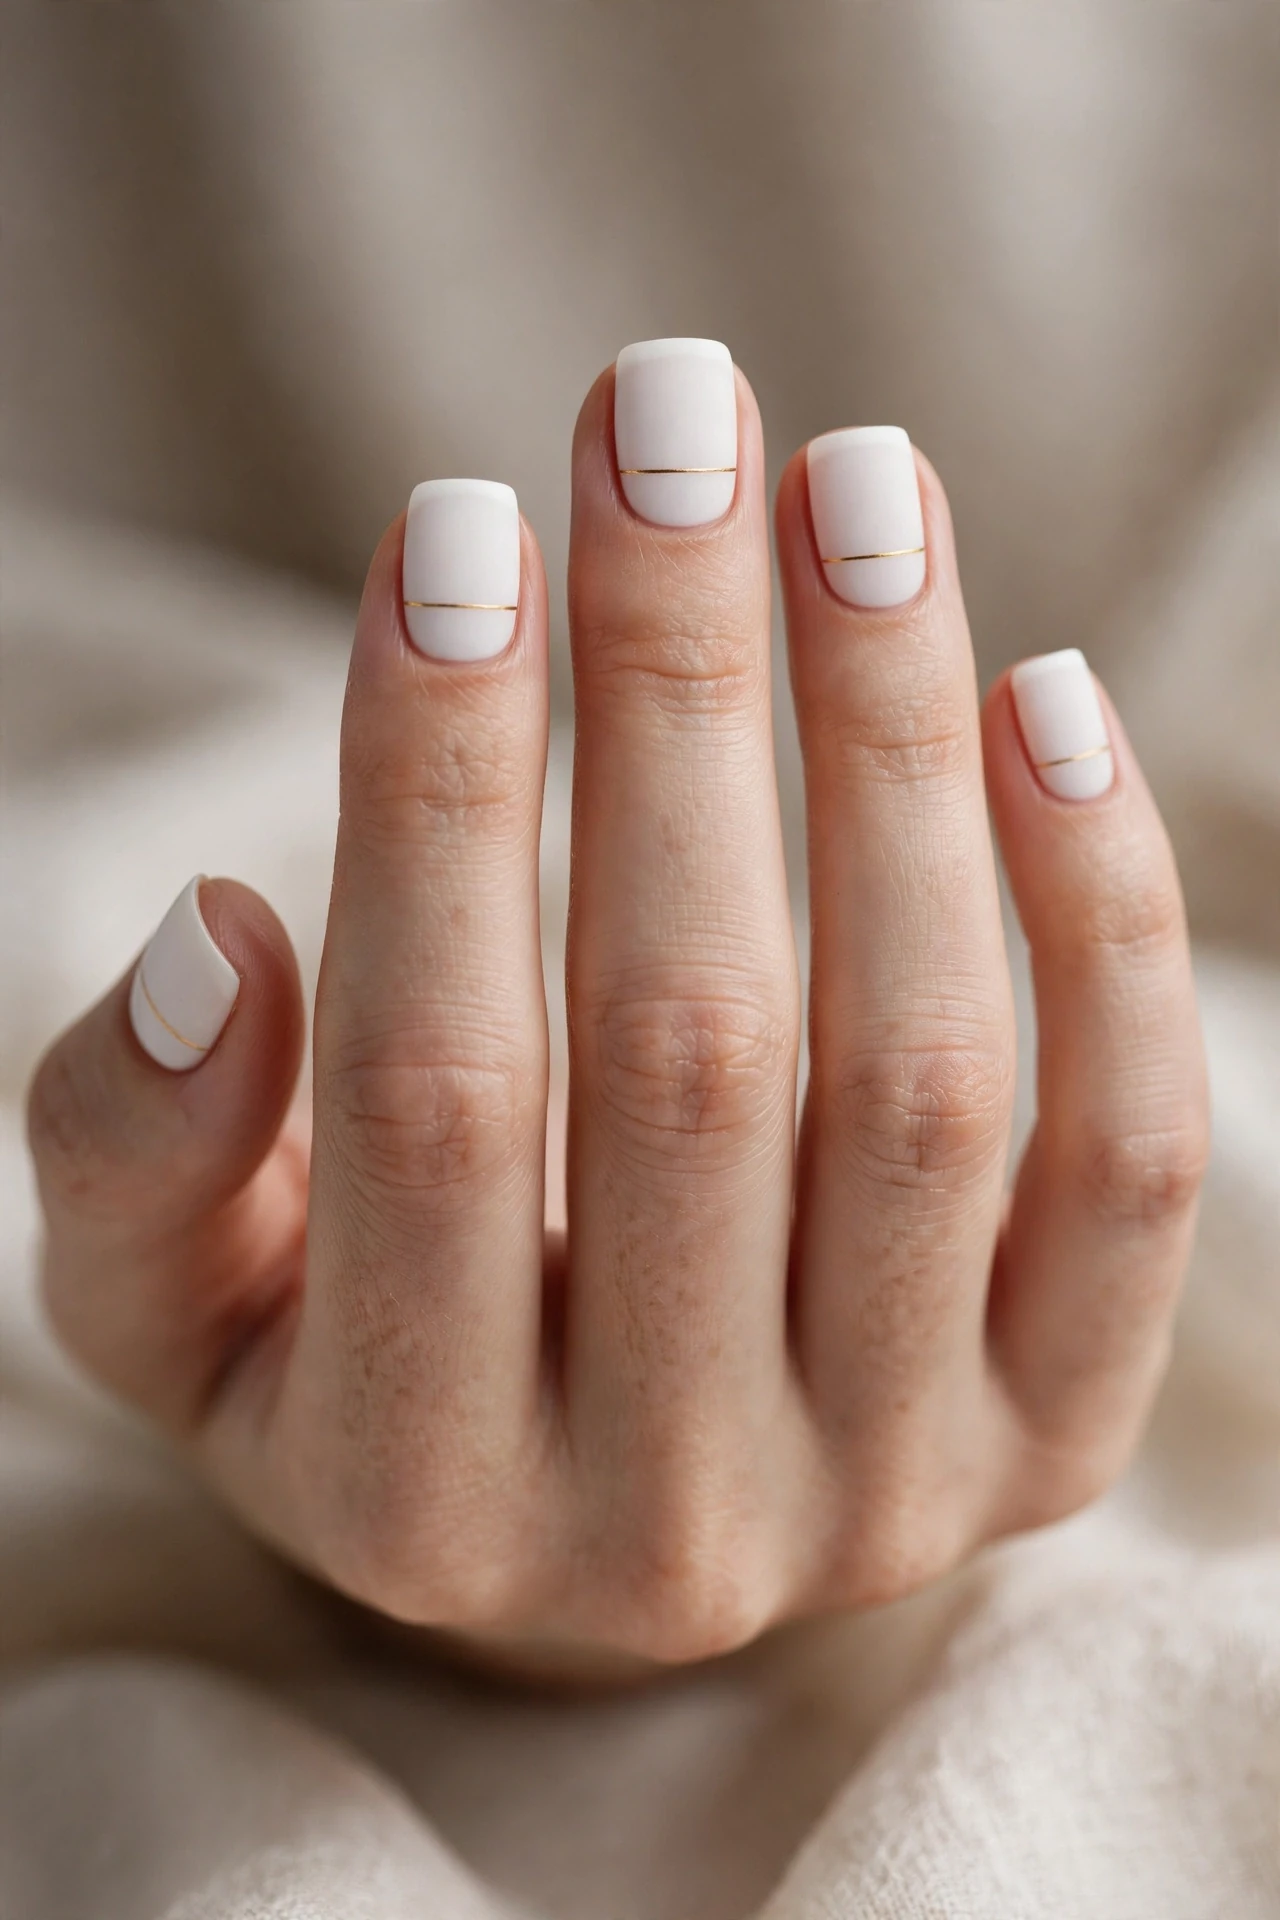
Proof that NYE glamour does not have to shout: crisp white nails with a single fine gold accent per nail. One delicate line, a tiny gold dot at the cuticle, or a slim metallic half-moon — the restraint is the luxury. This quiet-luxury look suits short square and squoval nails, where the clean geometry looks sharpest. It flatters every skin tone and pairs with absolutely everything, from minimalist silk to full sequins. Choose this if your style is understated elegance and you want festive nails that whisper rather than sparkle-shout.
- Paint a clean, opaque white base in two to three coats.
- Add one fine gold line, dot, or half-moon per nail.
- Keep generous negative space so the design breathes.
- Use a glossy top coat to make the gold accents gleam.
At the salon, ask for white gel with minimal gold line art — bring a reference photo, as “minimalist” means different things to different technicians. DIY is very forgiving: white polish shows streaks, so use thin coats and let each dry fully. Apply the gold detail with striping tape, a dotting tool, or a metallic gold pen for the steadiest lines. A matte white base with glossy gold accents is a gorgeous textural twist if you want subtle contrast. The look wears ten to fourteen days, and white shows wear at the tips first — cap the free edge well and keep a white polish pen handy.
Sequinned Champagne Sparkle
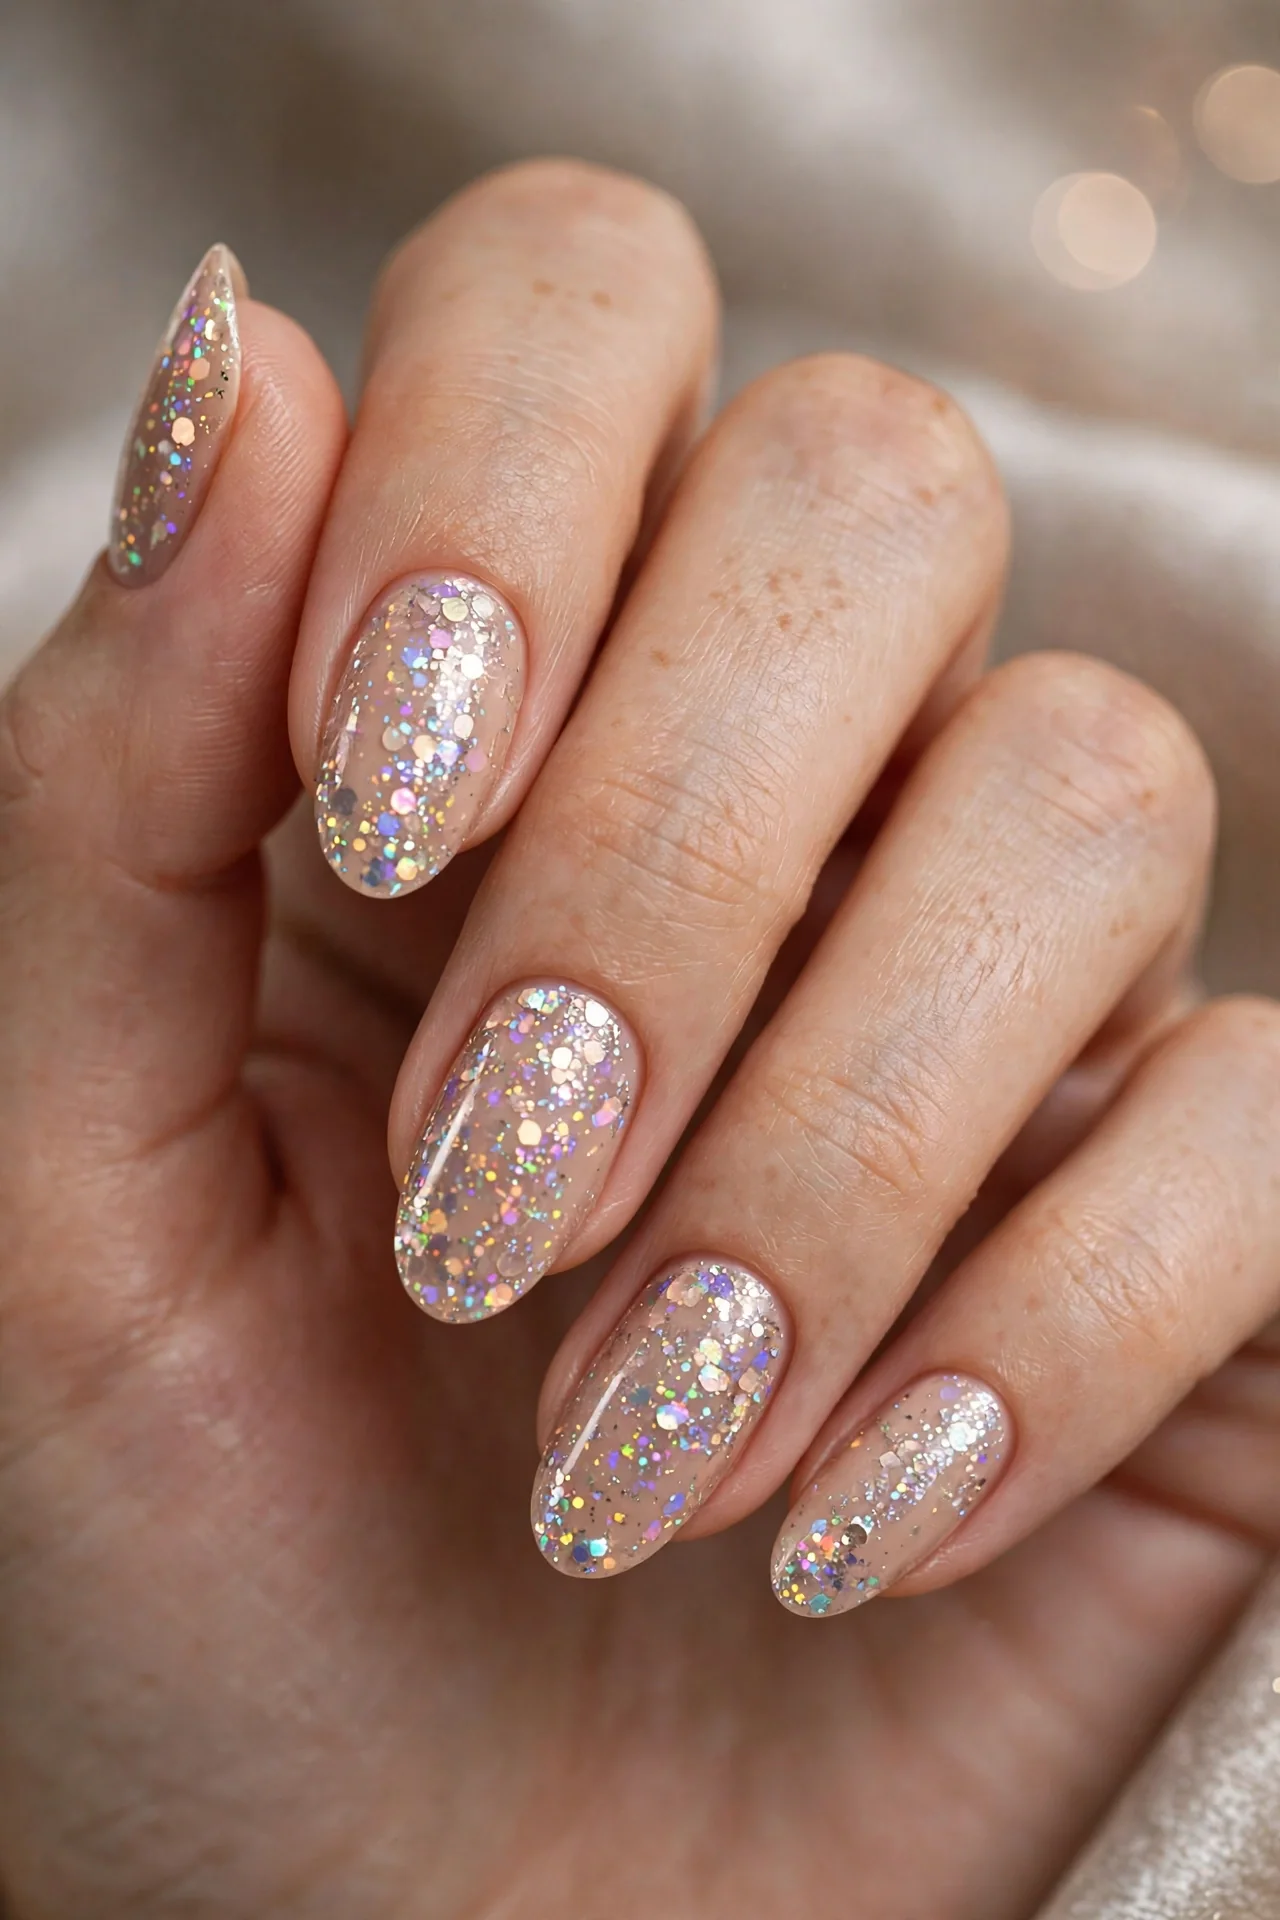
Imagine a disco ball poured into a champagne glass — that is the energy of sequinned champagne nails. A warm champagne-nude base layered with iridescent sequin glitters creates a multi-dimensional sparkle that shifts between gold, pink, and pearl as you move. The larger sequin pieces give more drama than fine glitter, making this a true party nail. Medium almond and coffin shapes carry the layered texture best. It is unapologetically festive, made for dance floors, photo booths, and anyone whose NYE motto is “more is more.”
- Start with a warm champagne-nude base in two coats.
- Press iridescent sequin glitters onto the tacky surface.
- Layer sequins densely for a full disco-ball effect.
- Seal with two thick top coats to smooth the chunky texture.
Ask your salon for champagne gel with encapsulated iridescent sequin glitter — encapsulation under clear builder gel gives the smoothest, longest-wearing result. At home, apply sequins to tacky polish with tweezers, mixing large and small pieces for dimension. Press each piece flat and seal with two generous coats of a thick, gel-effect top coat; chunky glitter needs levelling or it will catch on everything. This is one of the longer-wearing party designs at two to three weeks in gel, since the encapsulated texture resists chipping. Removal takes patience — the foil-soak method works best.
Golden Ombré Coffin Nails
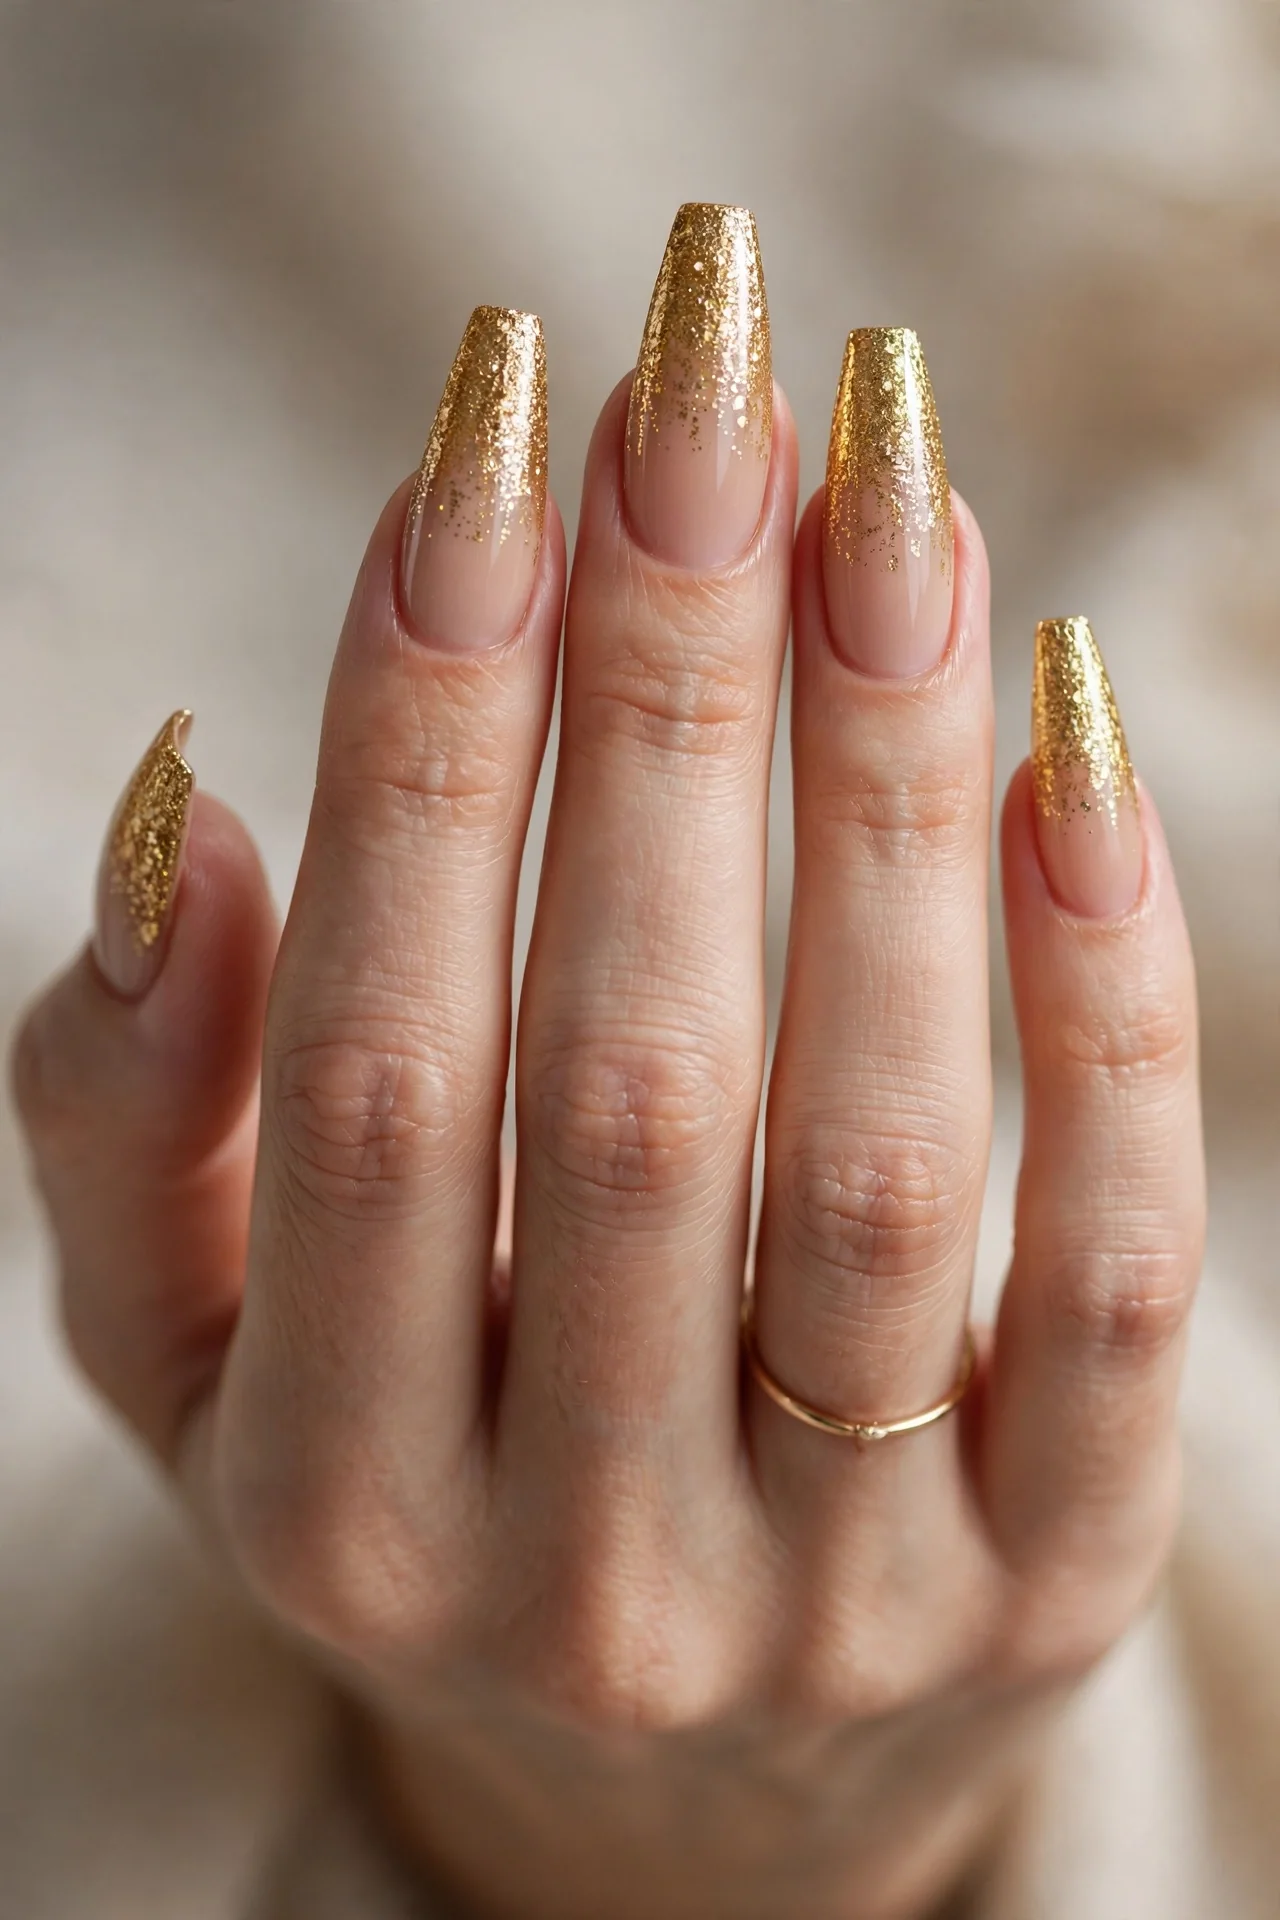
Nude melting into molten gold across long coffin nails — this is the statement manicure of the season. The gradient starts soft and natural at the cuticle, then builds to dense, blazing gold glitter at the tips, like the last light of sunset held on your hands. The coffin shape is essential here: its long, tapered canvas gives the ombré room to breathe and makes hands look incredibly elegant. This design demands attention, so wear it with confidence — and with an outfit that lets your hands do the talking, like a sleek clutch held just so in every photo.
- Fade a nude base into gold glitter, densest at the free edge.
- Use a makeup sponge to blend the transition seamlessly.
- Build glitter density gradually in thin, layered dabs.
- Seal with a glossy top coat for a smooth, glassy finish.
In the salon, ask for a nude-to-gold glitter ombré on coffin extensions or long natural nails. DIY with a sponge: paint the nude base, then dab gold glitter polish from the tips downward, fading pressure as you go. Let each sponged layer dry before adding the next to avoid muddiness. A thin coat of clear polish between the nude and glitter layers helps the blend melt. Because the tips carry the most glitter, cap them carefully with top coat to prevent premature wear. Gel versions last two to three weeks and grow out gracefully thanks to the nude cuticle area.
Glitter Gradient Blooming from the Cuticle
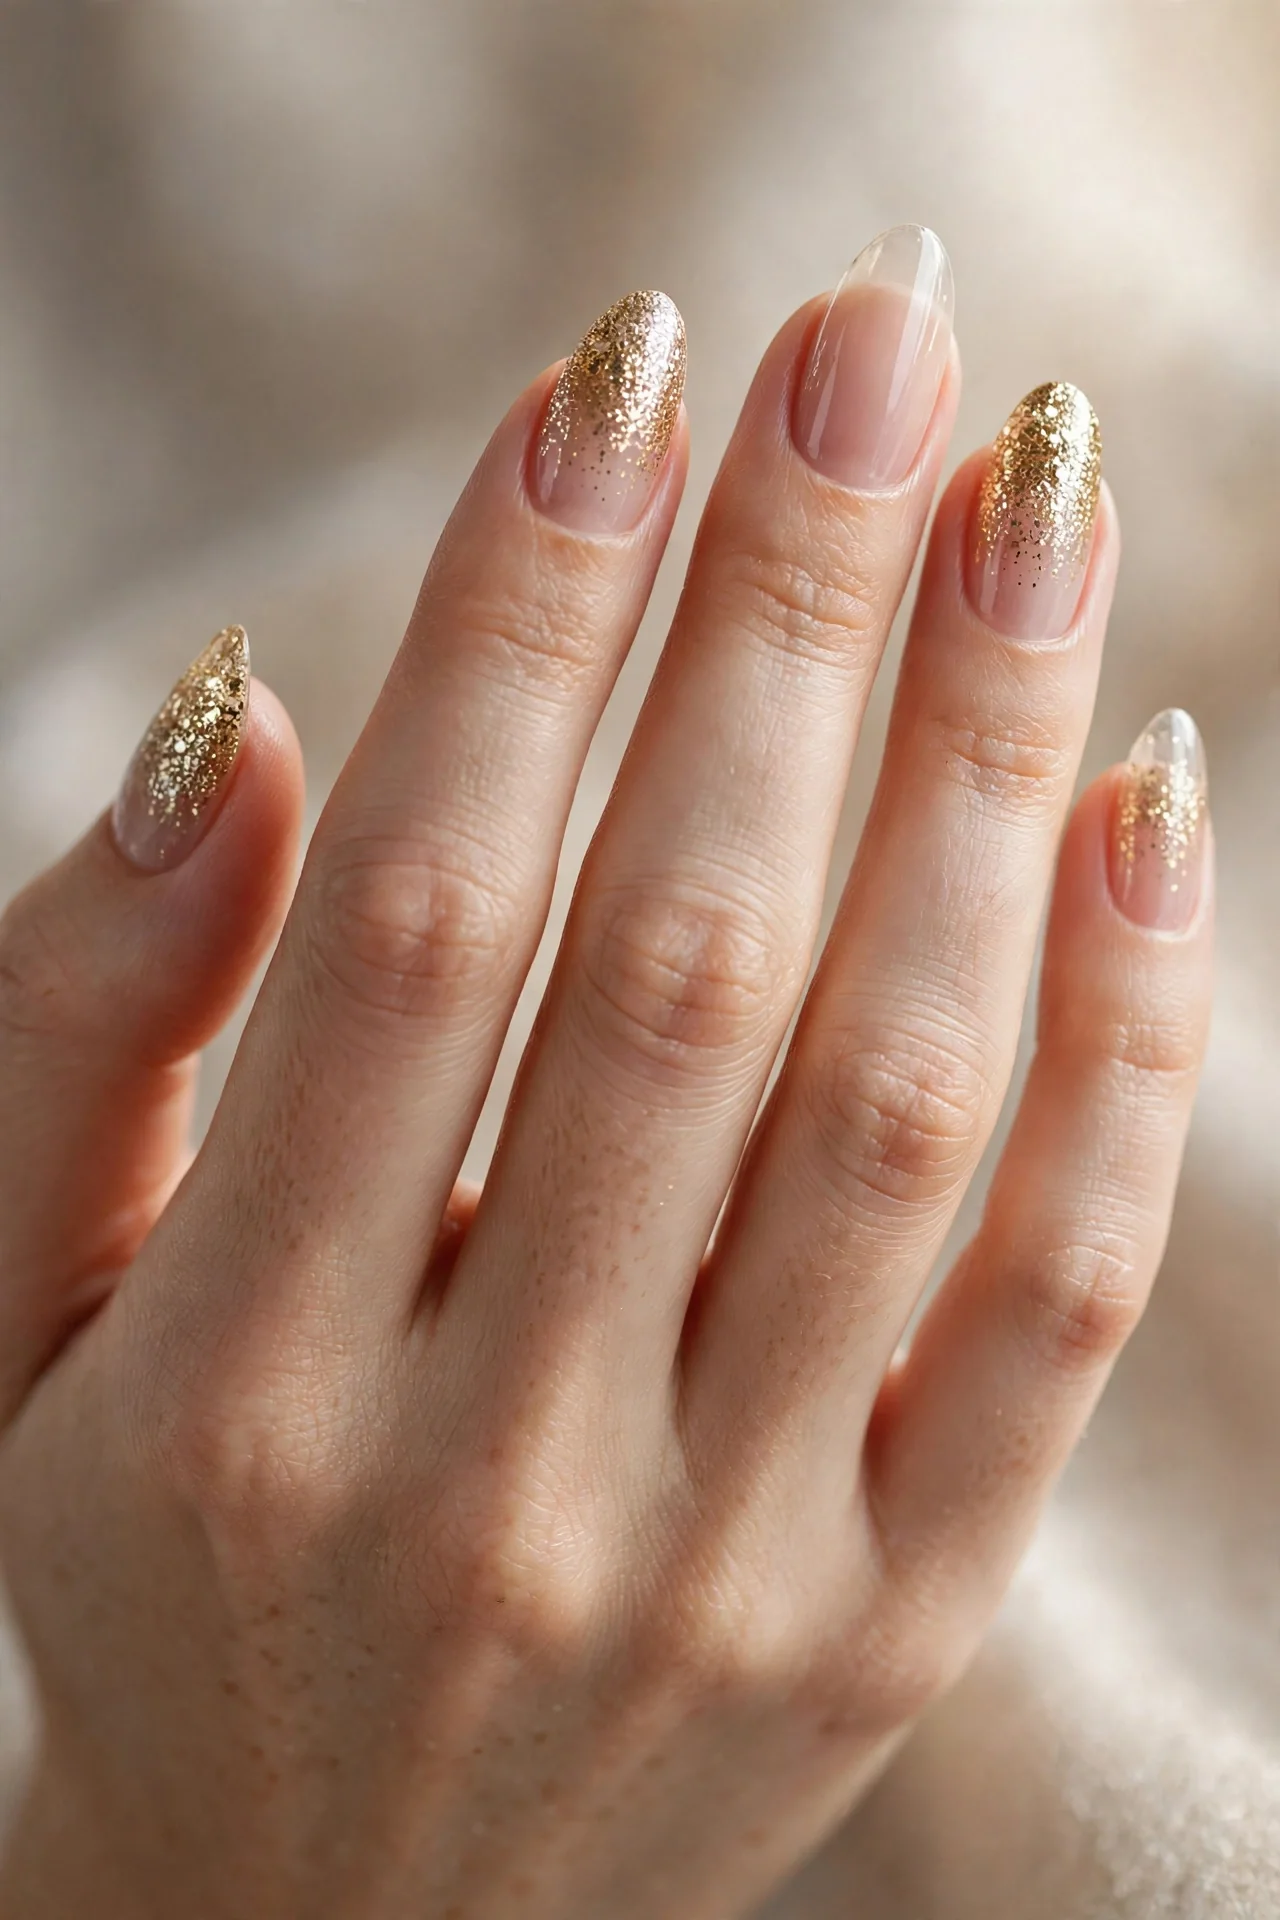
Flip the classic ombré on its head: concentrate dense gold glitter at the cuticle and let it dissolve toward a sheer, natural tip. This reverse gradient looks like stardust blooming outward from the base of each nail — unexpected, artistic, and incredibly flattering, since the eye is drawn to the glitter rather than the nail length. It suits oval and almond shapes at any length, including short nails, and flatters every skin tone. If you have danced through every standard glitter fade, this fresh take will make your NYE nails feel genuinely original.
- Concentrate fine gold glitter densely at the cuticle area.
- Fade it softly outward toward a sheer, natural tip.
- Use fine-milled glitter for a soft bloom, not harsh chunks.
- Seal carefully and shape the free edge for a clean finish.
Ask your salon for a reverse glitter gradient — glitter at the cuticle fading to sheer. DIY is easier than it looks: apply a sheer nude base, then use a small detail brush to stipple gold glitter polish near the cuticle, fading outward with a dry brush technique. Keep glitter slightly away from the actual cuticle skin to avoid irritation and to make cleanup easy. Fine glitter is essential here; chunky pieces look messy in a reverse fade. Seal with two top coats, and expect ten to fourteen days of wear. The sheer tips mean chips barely show, making this one of the most forgiving party designs to maintain.
Conclusion
As the clock counts down and the confetti falls, your manicure should feel like the final flourish of your New Year’s Eve look — a little glitter, a little gold, and a whole lot of glamour. Whether you choose full-coverage sparkle, a sleek rose-gold chrome, or a whisper of white-and-gold minimalism, each of these fifteen designs is made for candlelight, camera flashes, and clinking glasses. Book your salon appointment a few days before the big night, or set aside an evening to paint them yourself with a good playlist and something fizzy on ice. And if your festive heart leans toward a timeless colour instead, our cherry red nail ideas carry the same party-ready spirit in a classic shade. Here is to a sparkling start to 2026 — may your year shine as brightly as your nails.