15 Soap Nails: The Clean, Sheer Manicure Everyone’s Saving
Introduction
If your saved folder is full of barely-there manicures that look freshly washed, you’re looking at **soap nails** — the sheer, milky nail trend that made the leap from niche nail-tech speak to one of the most pinned clean-girl manicure looks of 2026. Soap nails get their name from that just-rinsed look: translucent, milky color, ultra-glossy finish, and nail beds that look impossibly healthy and hydrated. They flatter every skin tone, grow out gracefully because there’s no opaque color to clash with, and work for literally any occasion — office, wedding, or weekend. If you love soft finishes, you’ll also adore our 10 Fall Nails 2026 Trends roundup, but nothing captures the clean aesthetic like a perfect soap manicure. Below are 15 soap-nail variations — from classic milky coats to pearlized and jelly versions — with salon wording, DIY steps, and maintenance tips for each so you can nail the look on your first try.
Classic Milky Soap Nails
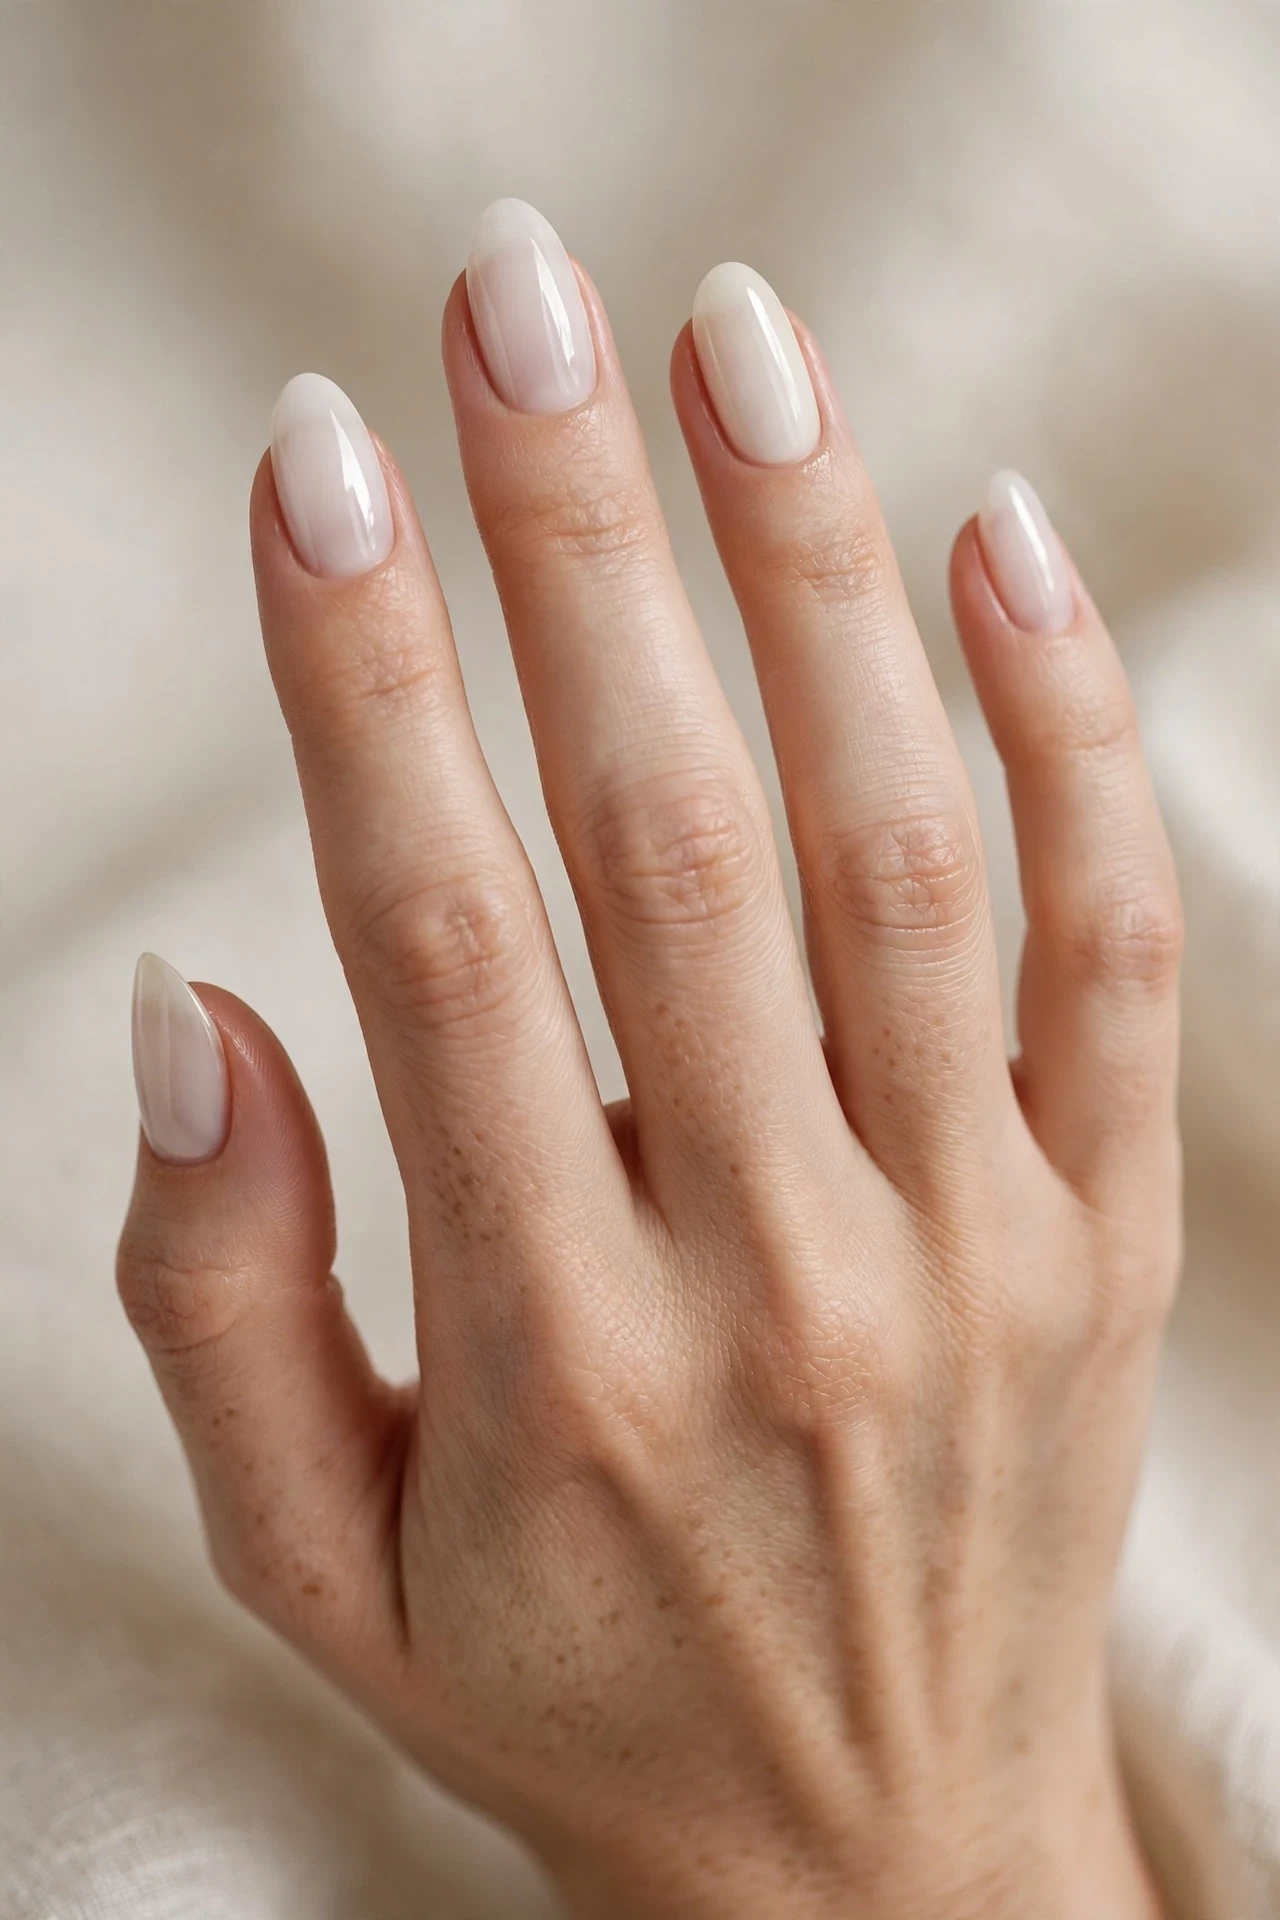
The signature look that started it all: two sheer coats of milky white or soft ivory polish over a natural nail bed, finished with a high-gloss top coat that mimics the look of clean, wet nails. This is the purest form of soap nails, and it’s the one flooding Pinterest boards because it suits everyone. Short and long nails both work beautifully, and the translucent finish means visible nail-line and slight imperfections disappear rather than stand out. Fair skin glows against the milky tone, medium and deep skin tones get a gorgeous contrast that reads fresh rather than stark. It works for job interviews, weddings, and everyday wear — the kind of manicure that quietly elevates everything you touch.
- Apply a ridge-filling base coat to create a perfectly smooth, even canvas.
- Layer two thin coats of milky white sheer polish instead of one thick coat.
- Seal every manicure with a glass-finish top coat for that wet-soap look.
- Ask your salon tech for “sheer milky white, two coats, glossy — the soap nail look.”
At the salon, request a regular or gel manicure and say the words “soap nails” — most techs know the trend now. For a DIY version, grab a milky sheer polish and apply it over bare, buffed nails after cuticle care. Keep coats thin; thick sheer polish streaks and takes forever to dry. Wear time is excellent: the sheer finish hides chips and regrowth, so a standard polish version lasts 5-7 days and gel stretches to 3 weeks. Refresh the top coat on day 3 or 4 to revive the glassy shine, and keep cuticle oil on your desk — hydrated cuticles are what sell this look.
Sheer Opal-White Glow

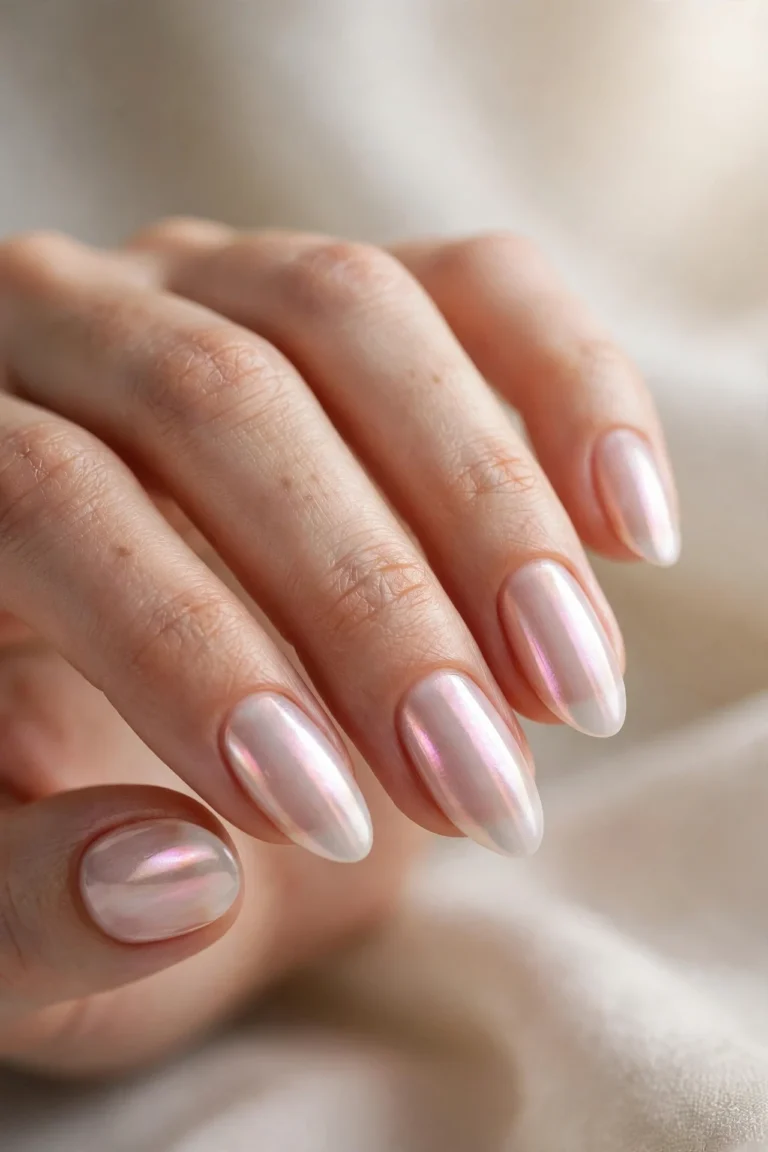
This variation adds a whisper of opal shimmer to the classic milky base — the same clean sheer look, but with a luminous inner glow that catches light when you move your hands. Think of it as soap nails with a soft-focus filter: the opal particles are so fine they’re invisible head-on but bloom at an angle. It’s perfect if the classic milky look feels slightly flat on you, especially on longer almond or coffin shapes where light play shows off the length. Medium to deep skin tones look stunning here because the shimmer lifts the sheer white into something multidimensional. Wear it to evening events, date nights, or anywhere you want your clean manicure to have a little secret sparkle.
- Apply one sheer coat of milky white as your base layer.
- Layer one coat of fine opal or aurora shimmer topper over the milk.
- Seal with a glossy top coat to smooth the shimmer into the finish.
- Ask for “milky sheer with an opal shimmer topper, glossy finish.”
For a salon gel manicure, the tech can mix the effect by layering a sheer white builder gel with an iridescent chrome or cat-eye shimmer flashed lightly. At home, layer any fine shimmer topper (avoid chunky glitter) over your milky base and cap the free edge each time. This finish wears like the classic version — 5-7 days in regular polish, up to 3 weeks in gel. The shimmer actually helps camouflage tip wear, extending the fresh look. Keep a top coat handy; glossy refreshes matter even more here because dullness kills the opal effect fast.
Frosted Vanilla Sheer Coat
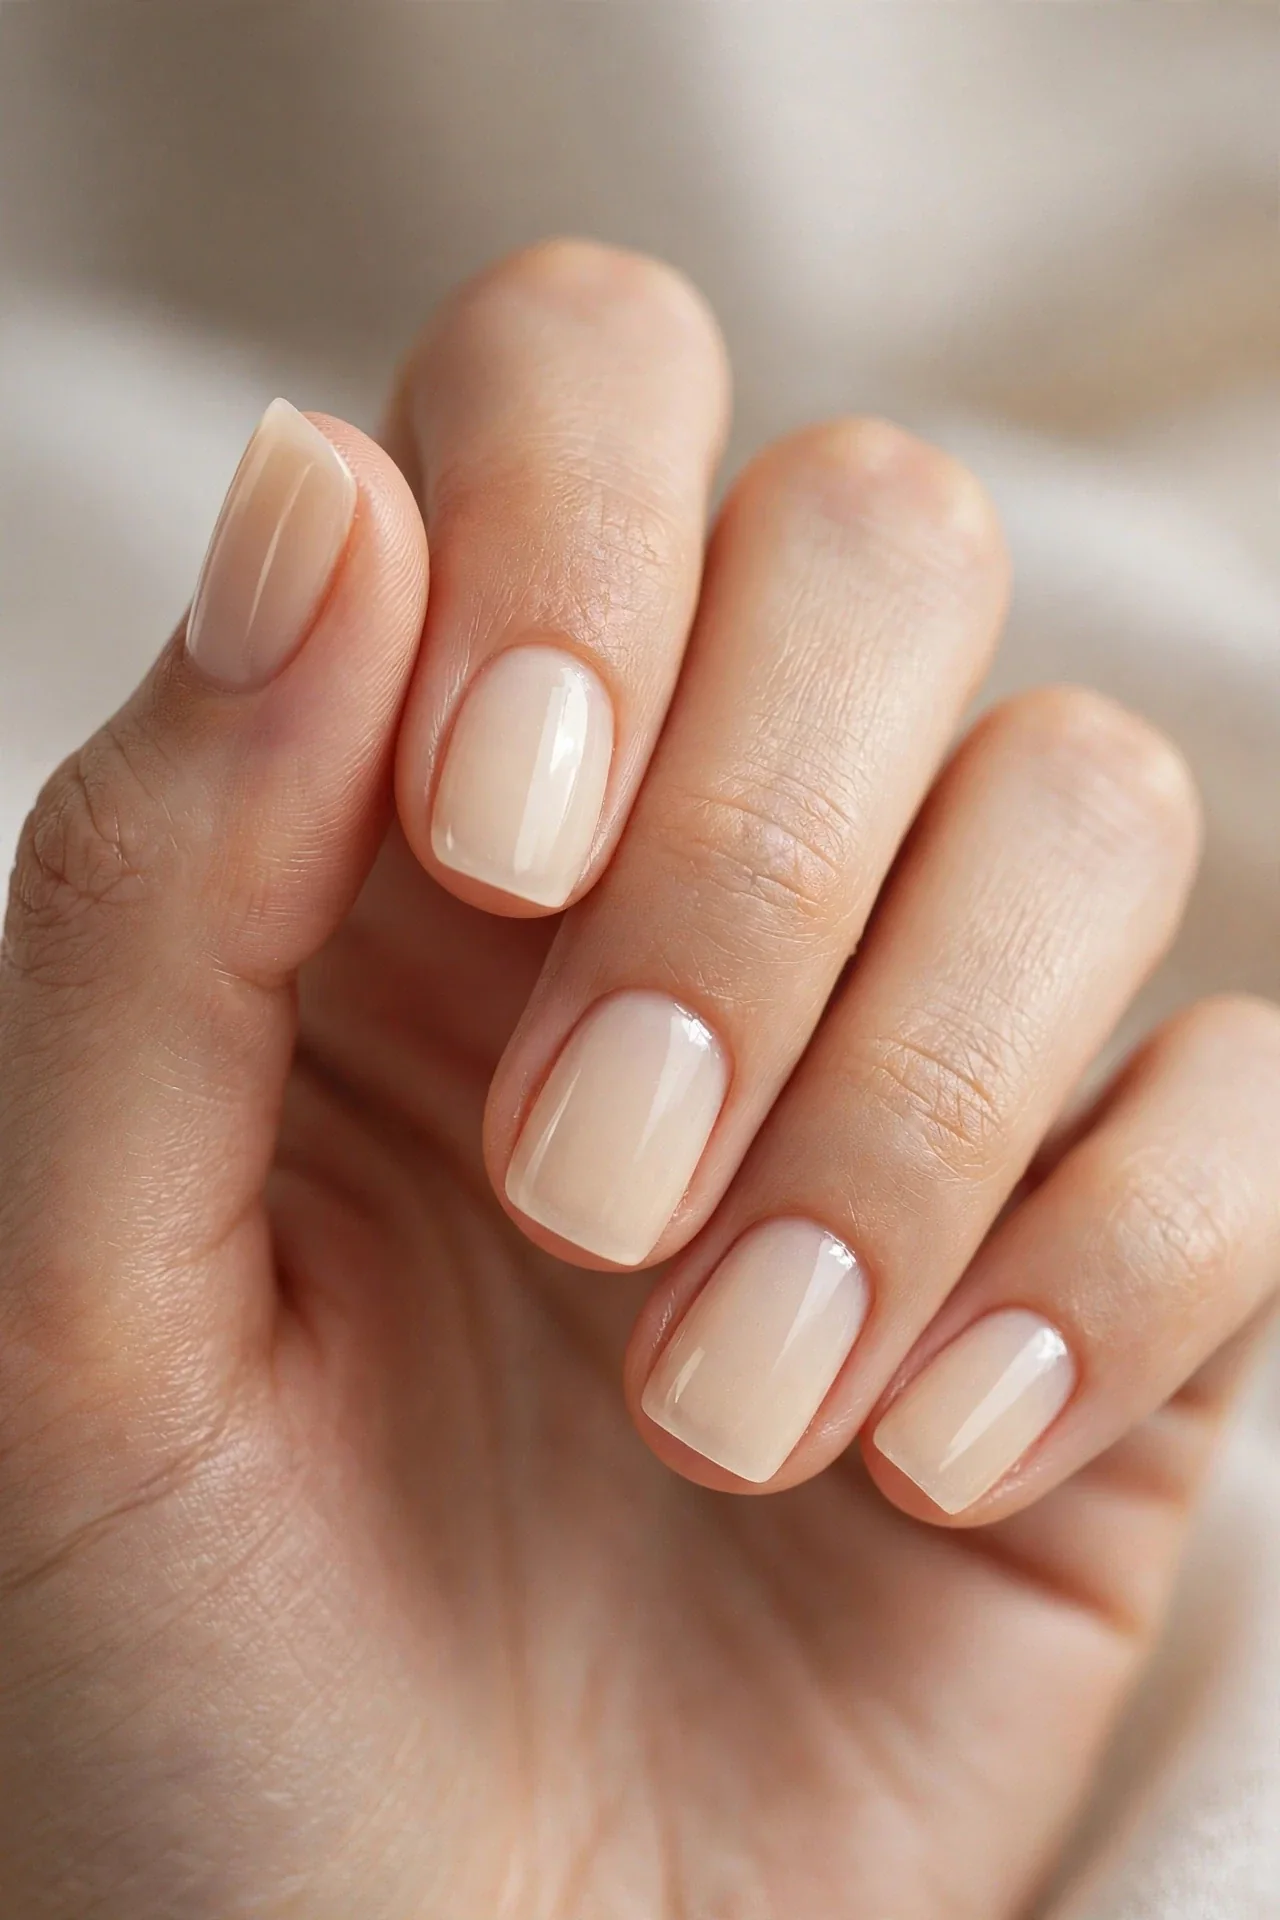
A slightly warmer take on soap nails: a vanilla-tinted sheer that reads like steamed milk instead of cold water. Where the classic milky look can feel cool and crisp, frosted vanilla adds warmth that flatters golden and olive undertones beautifully. This is the soap-nail version for people who love creamy neutrals but find stark white shades harsh against their skin. It’s incredibly office-friendly and photographs like a dream — that warm translucency looks expensive in natural light. Try it on short squoval or oval nails for the coziest, most polished everyday manicure, or on long almonds for a latte-inspired elegance that pairs with every fall outfit you own.
- Apply a warm ivory sheer polish in two thin, even coats.
- Layer a third micro-coat only at the free edge if tips look too sheer.
- Seal with a high-shine top coat to keep the vanilla tone luminous.
- Ask for “warm sheer vanilla, translucent, glossy — soap nails but warmer.”
DIY is easy here because warm sheers are forgiving — streaks blend into the creamy tone. At the salon, mention your undertone (“I need it warmer than standard milky white”) so the tech picks the right sheer. Gel versions last a full 3 weeks and grow out invisibly, making this one of the lowest-maintenance manicures you can get. For regular polish, expect 5-7 days with a top-coat refresh midweek. Cuticle oil is non-negotiable: warm sheers highlight dry cuticles more than cool whites do, so oil twice daily to keep the frame around the nail soft.
Clean-Girl Glassy Micro-French
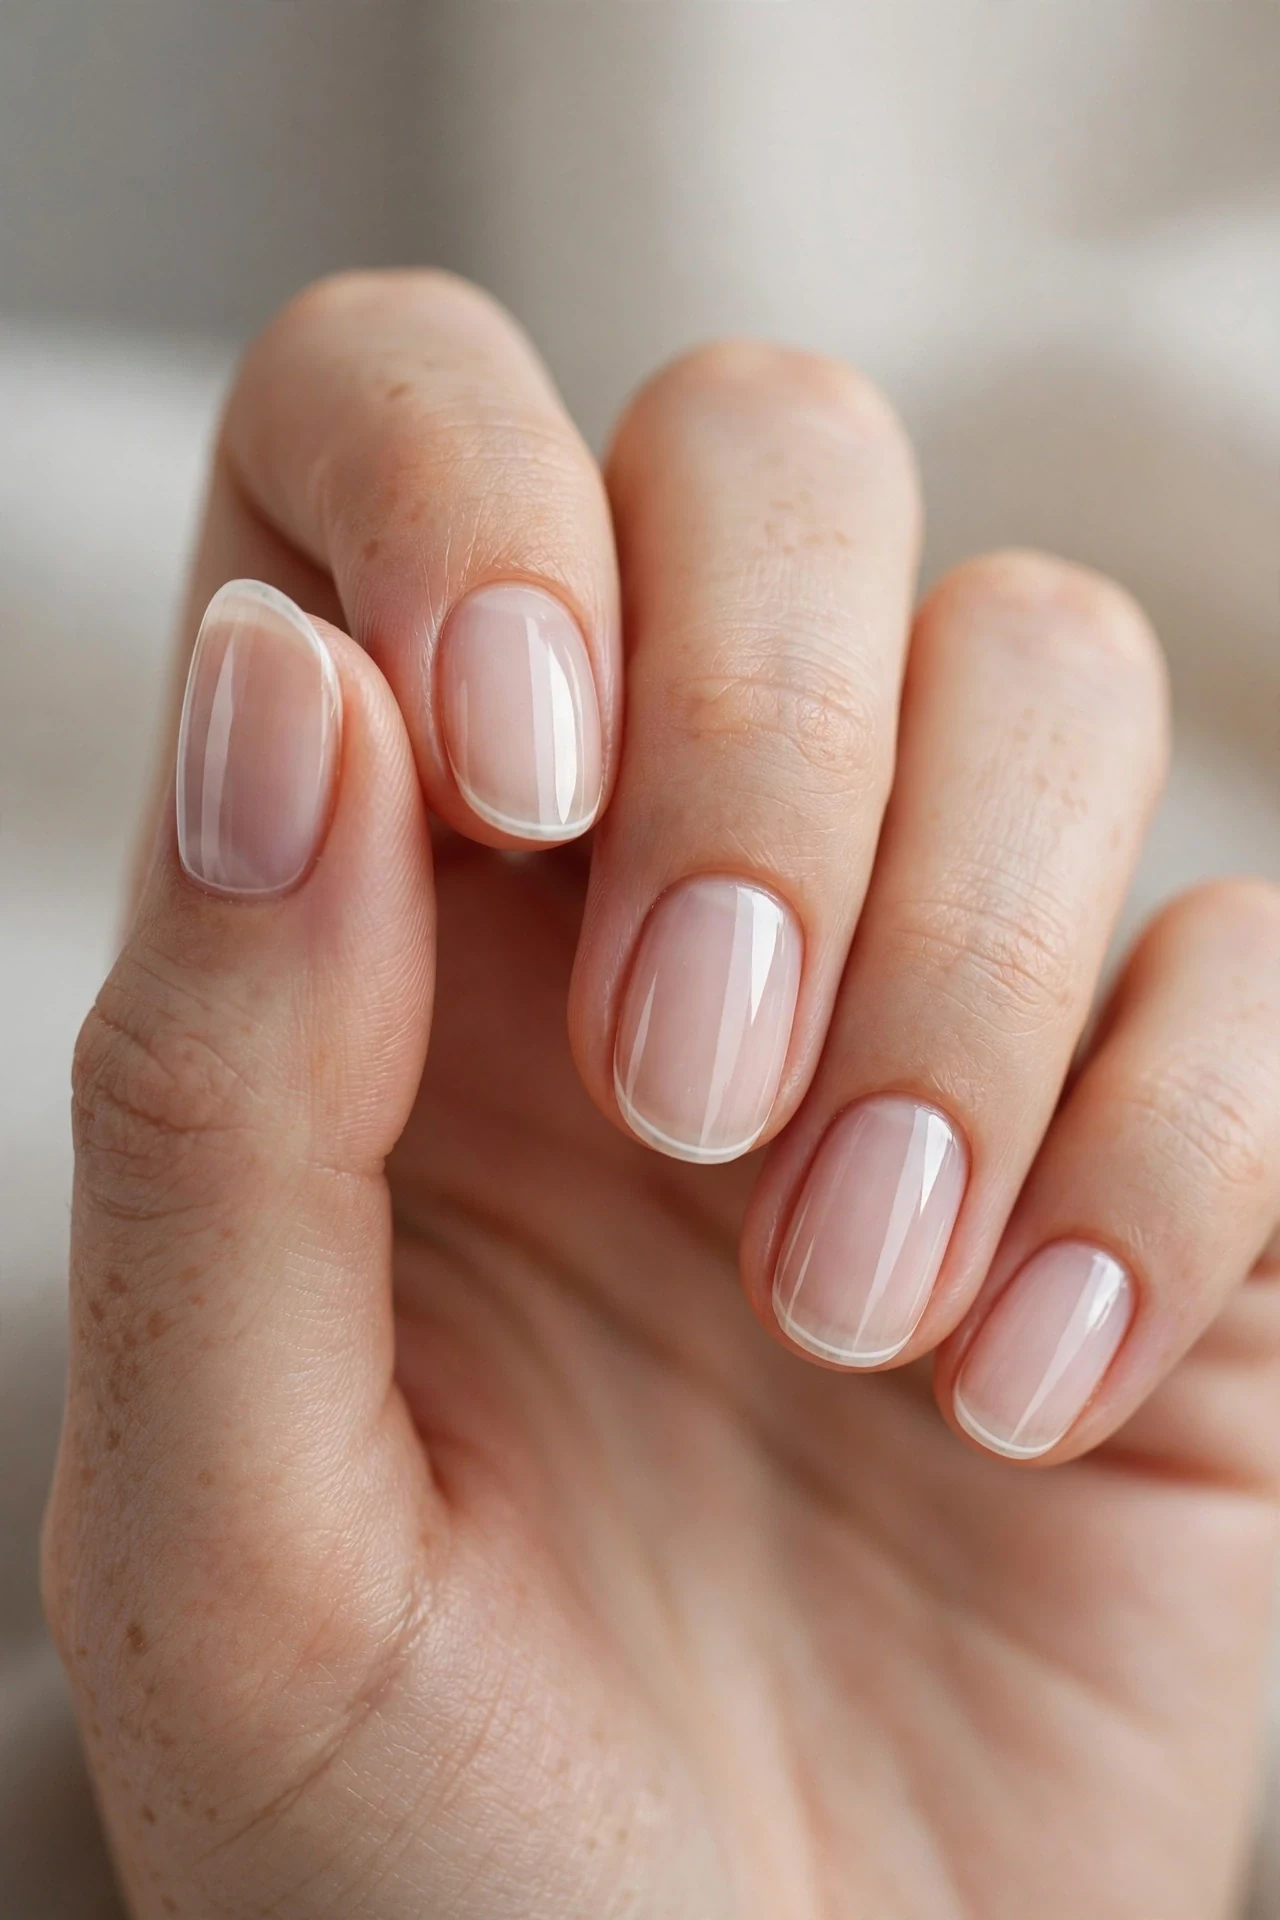
Soap nails meet the micro-French: a sheer milky base with an ultra-thin white line at the very tip — the cleanest, most refined French you’ll ever wear. The tip line is barely a millimeter wide, so it reads less like a traditional French and more like a crisp, bright edge on an otherwise translucent nail. This is the answer if you want soap nails with a bit more structure and definition, especially on medium-length nails where the thin white tip elongates the finger. It suits job interviews, professional headshots, and minimalist brides who want their hands to look immaculate without visible nail art. Every skin tone works because the sheer base is your natural nail, just perfected.
- Apply a clear-to-milky sheer base across the whole nail in two coats.
- Paint a hairline white tip using the edge of a thin liner brush.
- Layer the base color back over the tip lightly to soften the line.
- Ask for “sheer soap-nail base with a micro white French tip.”
This is one to book at the salon if freehand lines intimidate you — techs paint micro-French tips daily. Ask for gel if you want it to last: the thin tip line is the first thing to wear in regular polish. At home, try French-tip guide stickers or a silicone stamper for crisp lines, then soften with a sheer coat over the top. Wear time in gel is 2-3 weeks with minimal visible growth since the base is translucent. In regular polish, cap the free edge generously with top coat and refresh it every other day — that thin white line chips first, and the top coat is its bodyguard.
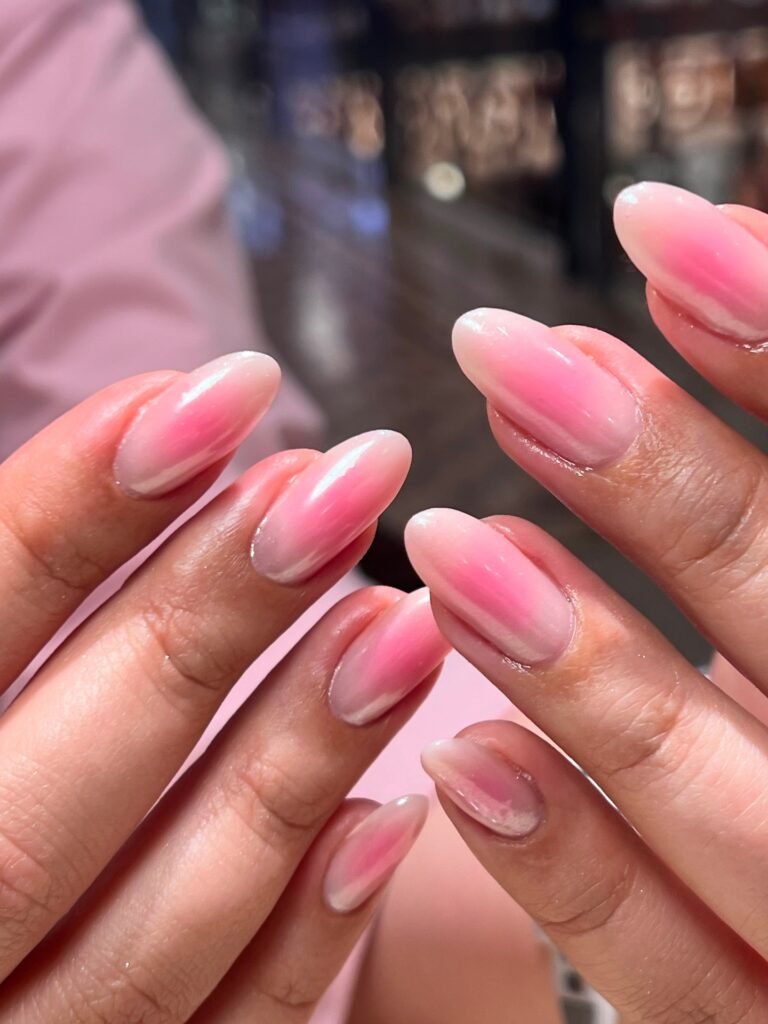
Barely-There Blush Wash
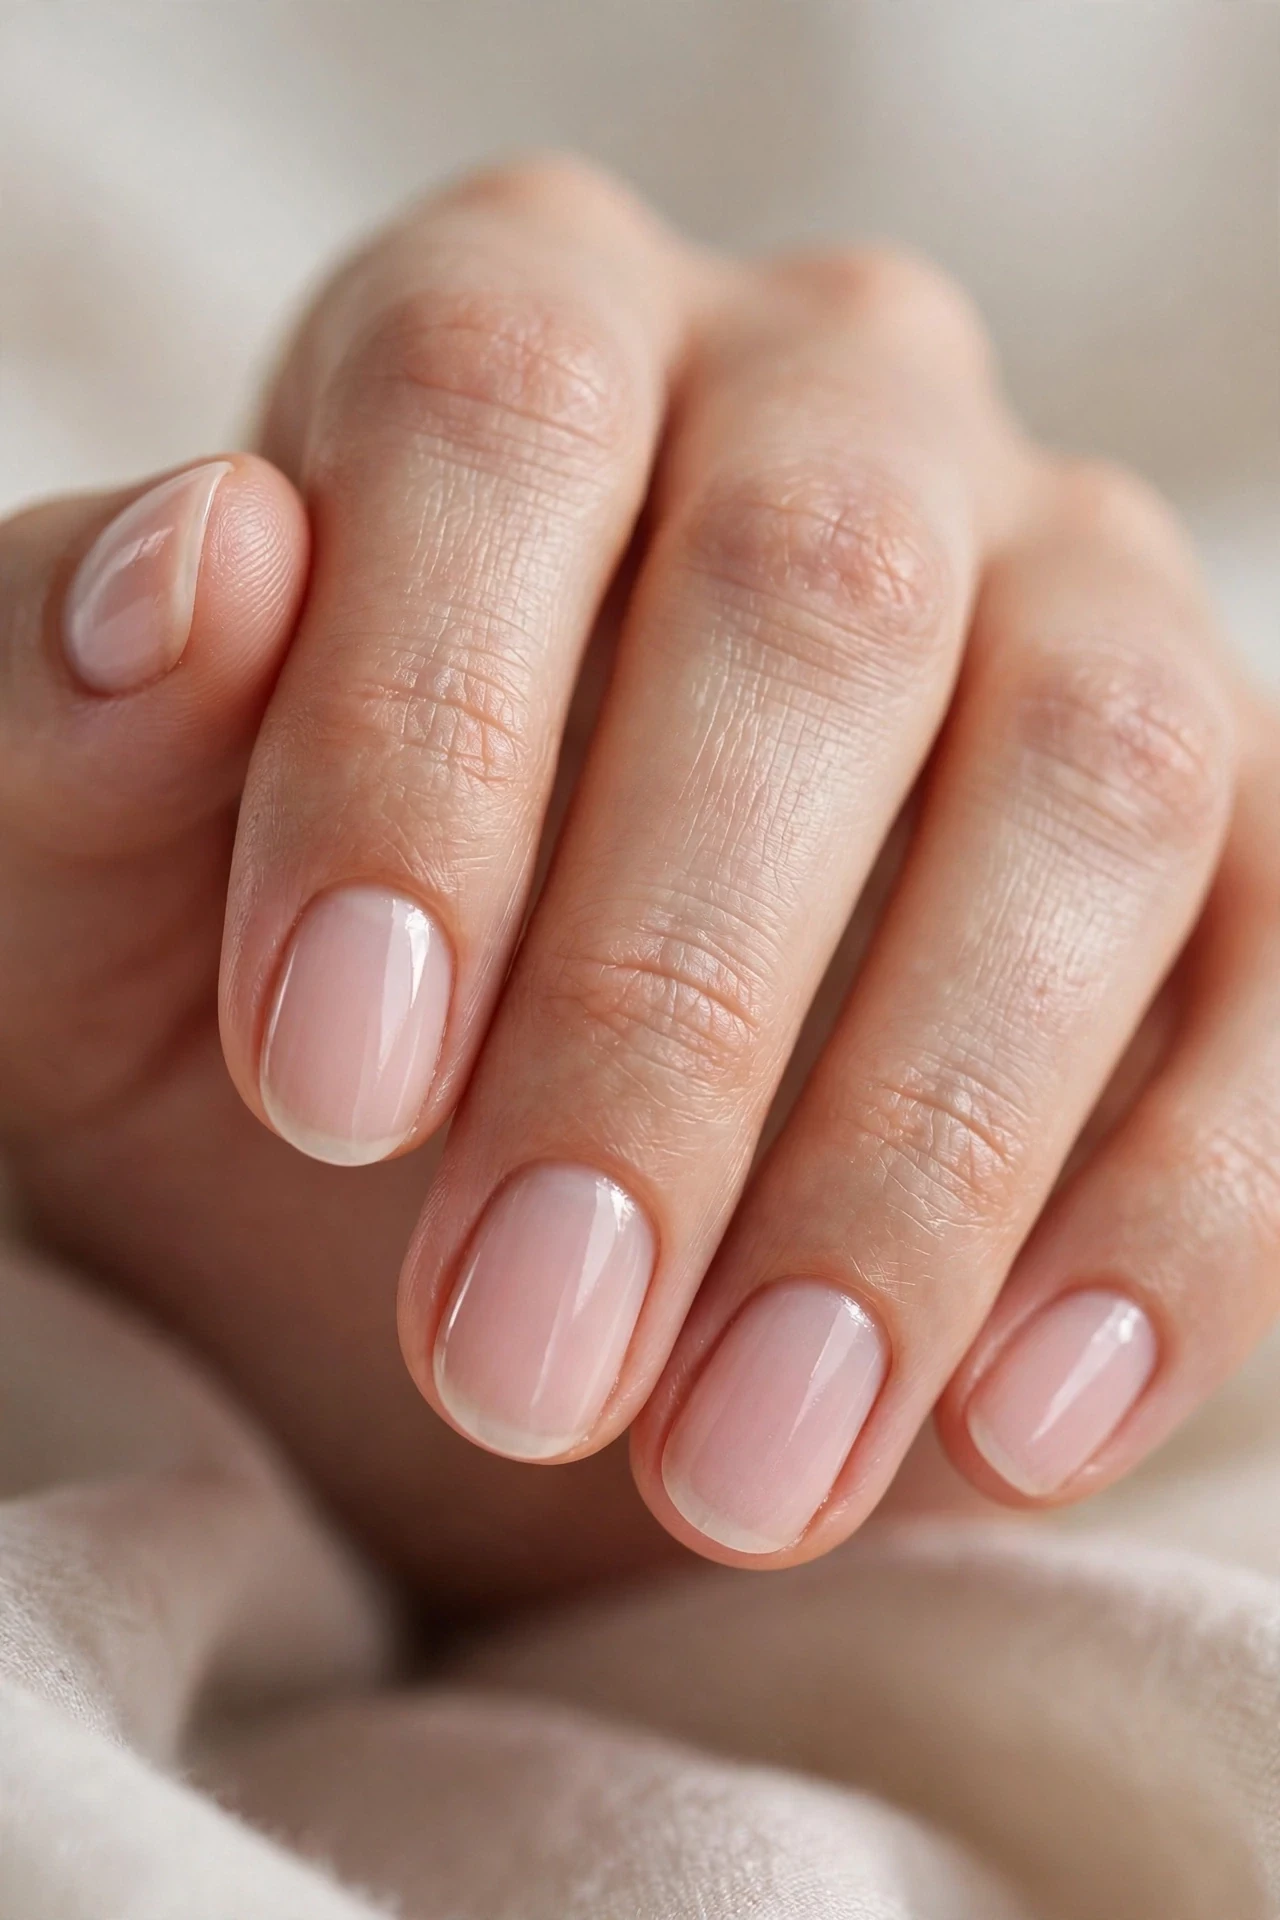
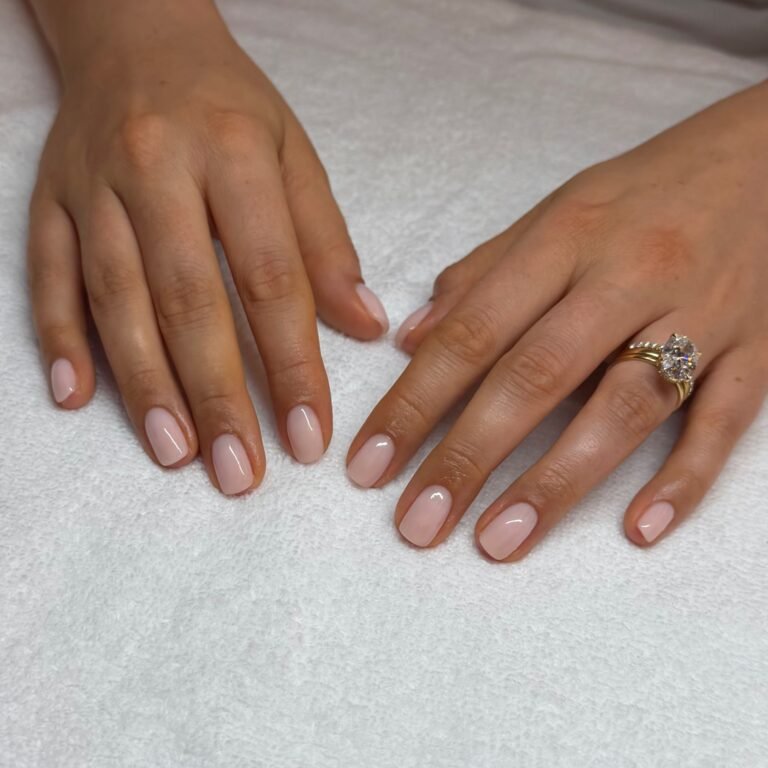
A soap-nail base tinted the faintest pink — like your nails flushed from a hot shower. The blush wash adds warmth and life to the sheer look while staying firmly in clean territory, and it’s the variation that suits the widest range of skin tones because the pink reads as healthy nail-bed color rather than polish. If your natural nails tend to look yellow or dull, this sheer pink cancels the sallowness and makes your hands look younger. It’s the perfect everyday manicure for anyone who finds milky white slightly stark, and it pairs beautifully with gold jewelry and warm-toned outfits. Brides love it as a “my nails but better” wedding-day option that photographs timelessly.
- Apply a sheer blush-pink polish in two thin, even coats.
- Layer a third sheer coat only if your nail bed shows through too strongly.
- Seal with a glossy top coat to keep the pink looking wet and fresh.
- Ask for “sheer blush pink, barely-there, glossy — soap nails in pink.”
At the salon, request a sheer pink builder gel or gel polish — this shade category is enormous, so ask the tech to hold bottles against your skin before committing. DIY is wonderfully easy: blush sheers are the most forgiving formula in existence, hiding every streak. Wear time matches the classic look, 5-7 days in regular polish and up to 3 weeks in gel, with growth lines nearly invisible. Because the tint is so light, even noticeable chips are easy to patch: dab a little polish on the chip and seal with top coat, and nobody will ever know.
Pearlized Soap-Nail Shimmer
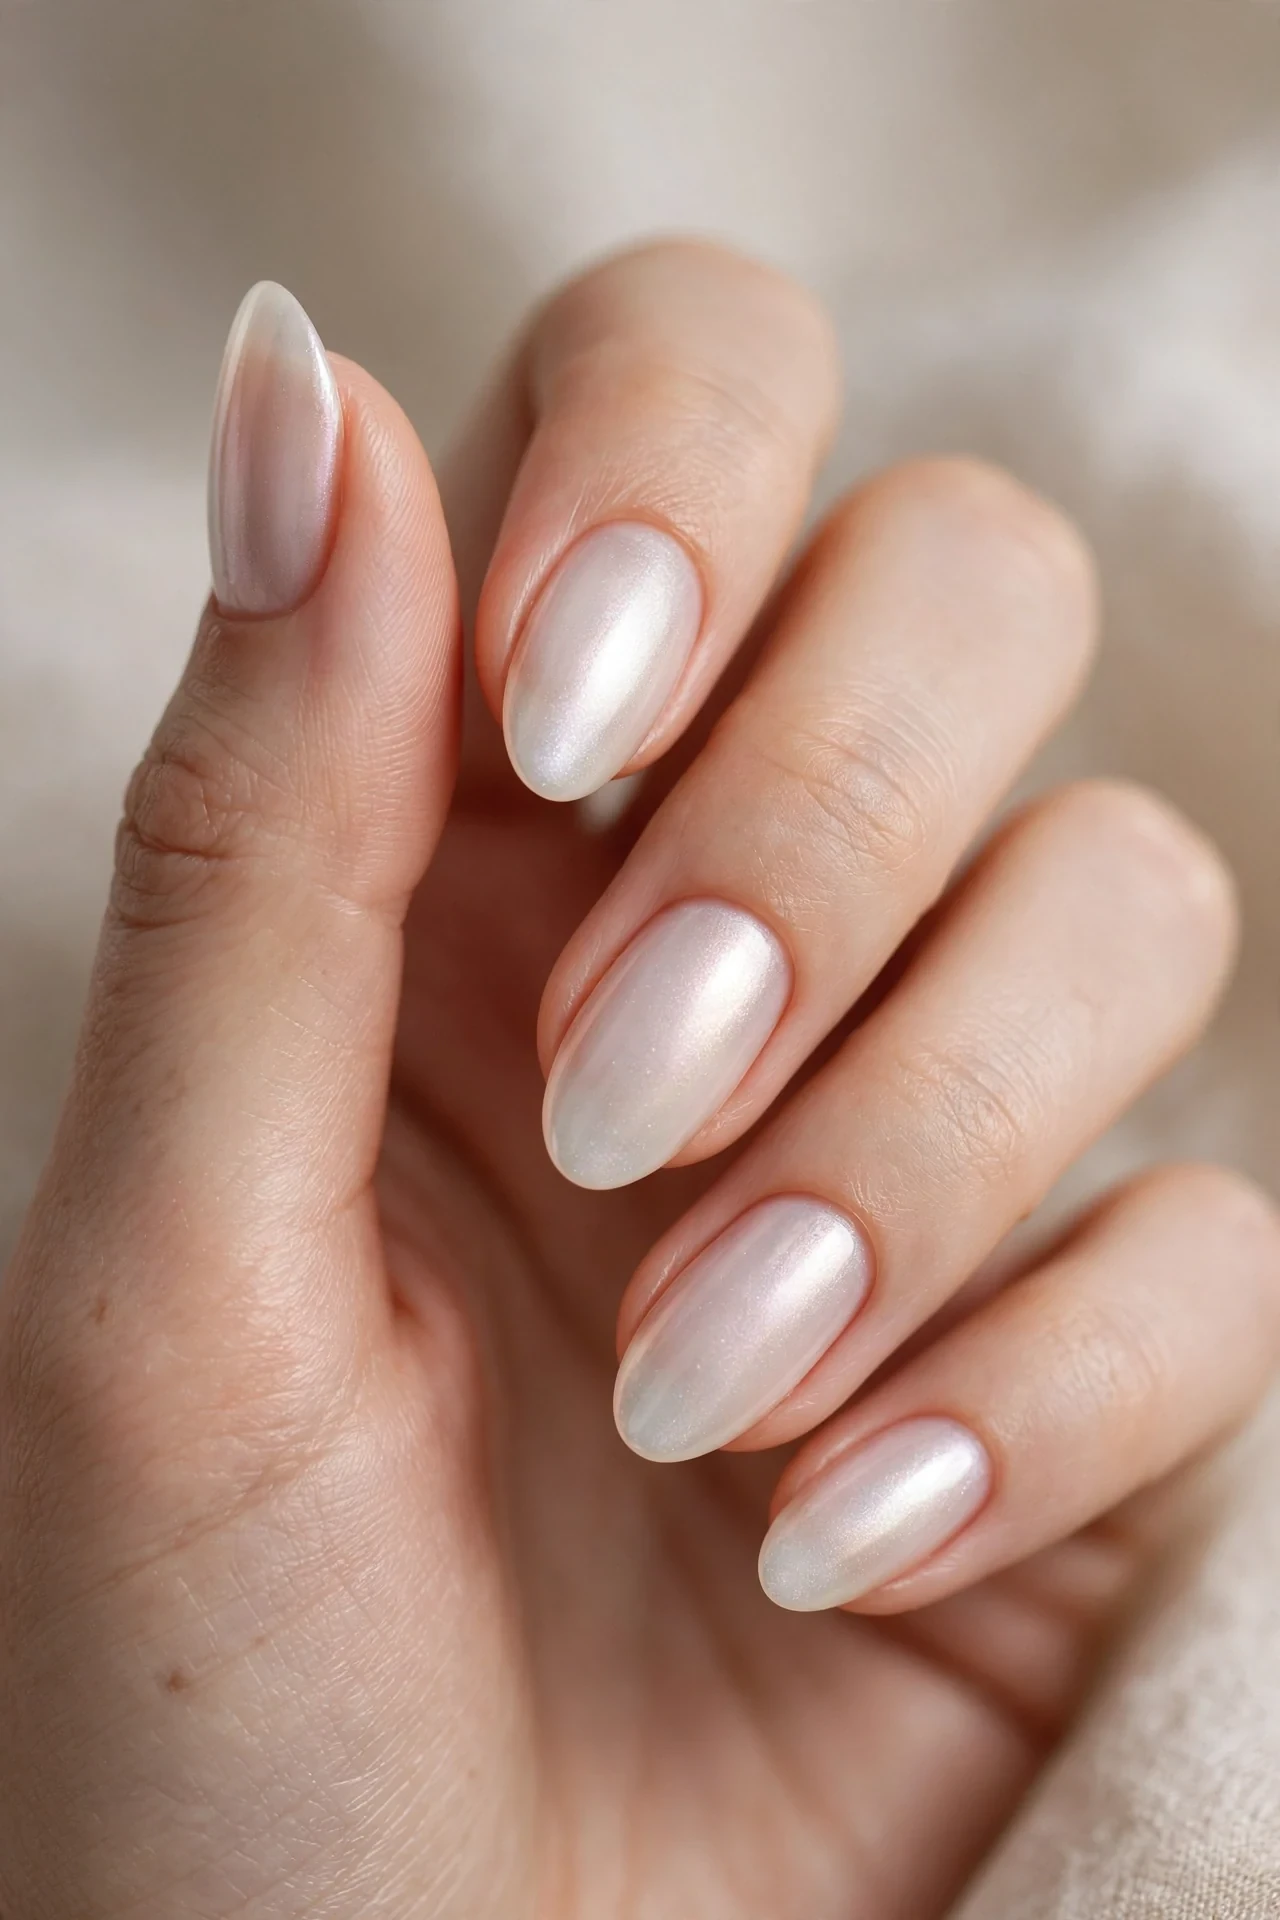
This is the soap nails look with a soft pearl finish folded in — a nod to the glazed-donut trend, but subtler and cleaner. A milky sheer base gets a fine pearl chrome powder burnished over it, creating that lit-from-within luminescence while keeping the translucent, freshly-washed feeling intact. If you’ve been saving pearl manicures but find full chrome too bold for daily wear, this is your middle ground: the pearl reads as glow, not glitter. It flatters every nail length but truly sings on almond and oval shapes, where the curved surface catches the pearly light. For a deeper dive into the pearly side, browse our 15 Pearl Chrome Nail Ideas for a Dreamy Iridescent Finish for inspiration.
- Apply two thin coats of milky sheer polish or builder gel.
- Burnish fine pearl chrome powder over the tacky layer with a sponge applicator.
- Seal with a no-wipe top coat to lock the pearl and add glass shine.
- Ask for “milky sheer with pearl chrome, subtle — not full mirror.”
This is best done at the salon, where techs have the right chrome powders and can control the subtlety — too much powder and it becomes full glazed donut. At home, you can fake it with a pearl-finish topper polish layered over your milky base; it won’t be as smooth as true chrome but reads beautifully at arm’s length. Gel versions last the full 3 weeks with the pearl intact. In regular polish, the shimmer layer can dull after a few days, so refresh with a glossy top coat midweek. Remove chrome with the soak-off method to avoid staining the nail plate.
Icy Milk-Bath Short Squares
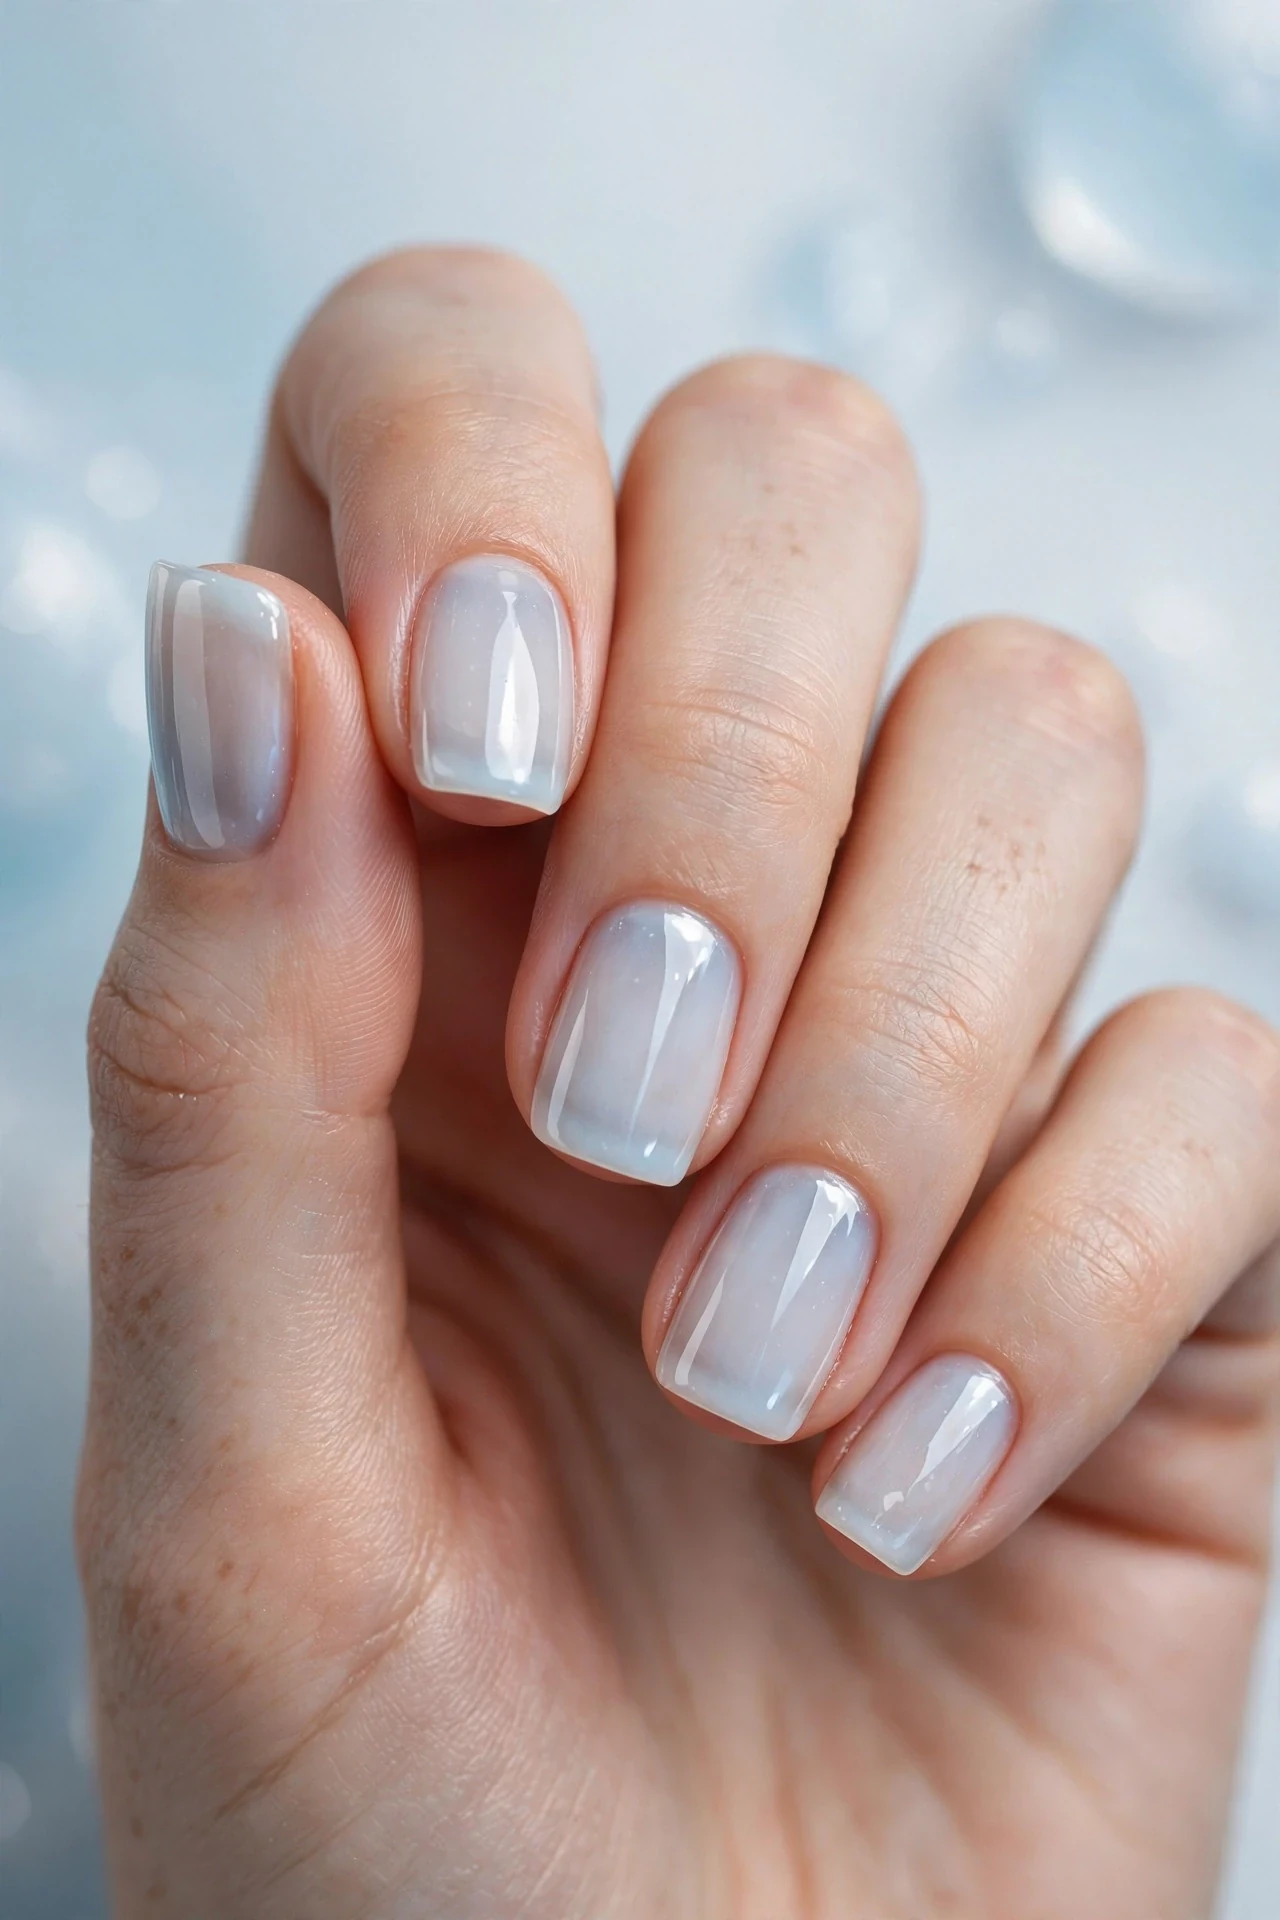
Short, neat square nails dipped in the coolest, iciest milky sheer — soap nails with a crisp, modern edge. The short square shape keeps the look practical (typing, workouts, daily life), while the icy tone gives it a fresh, almost wintry clarity that feels very now. This variation is perfect for anyone who keeps nails short by necessity or preference but still wants them to look intentional and polished. The cool undertone flatters pink and neutral undertones especially well, and the geometric square edge adds just enough structure to keep the soft sheer color from feeling shapeless. It’s the ultimate low-effort power manicure for busy weeks.
- Apply a cool-toned milky sheer in two thin, even coats.
- Keep the square shape sharp — file straight across, then soften corners slightly.
- Seal with a glossy top coat, capping the free edge twice.
- Ask for “short squares, icy milky sheer, glossy — clean soap nails.”
File the shape before polish: straight across the tip with a gentle corner softening so the square reads modern, not harsh. At the salon, this is a quick service — sheer polish on short nails takes minutes. DIY is ideal for beginners since short nails forgive uneven application. Wear time is 5-7 days in regular polish; short squares show tip wear first, so cap edges well and refresh the top coat on day 3. In gel, expect 2-3 weeks of flawless wear. Because the look is so minimal, keep cuticles immaculate — short nails put the nail frame on full display, and oil plus gentle pushing makes all the difference.
Transparent Pink Watercolor Tips
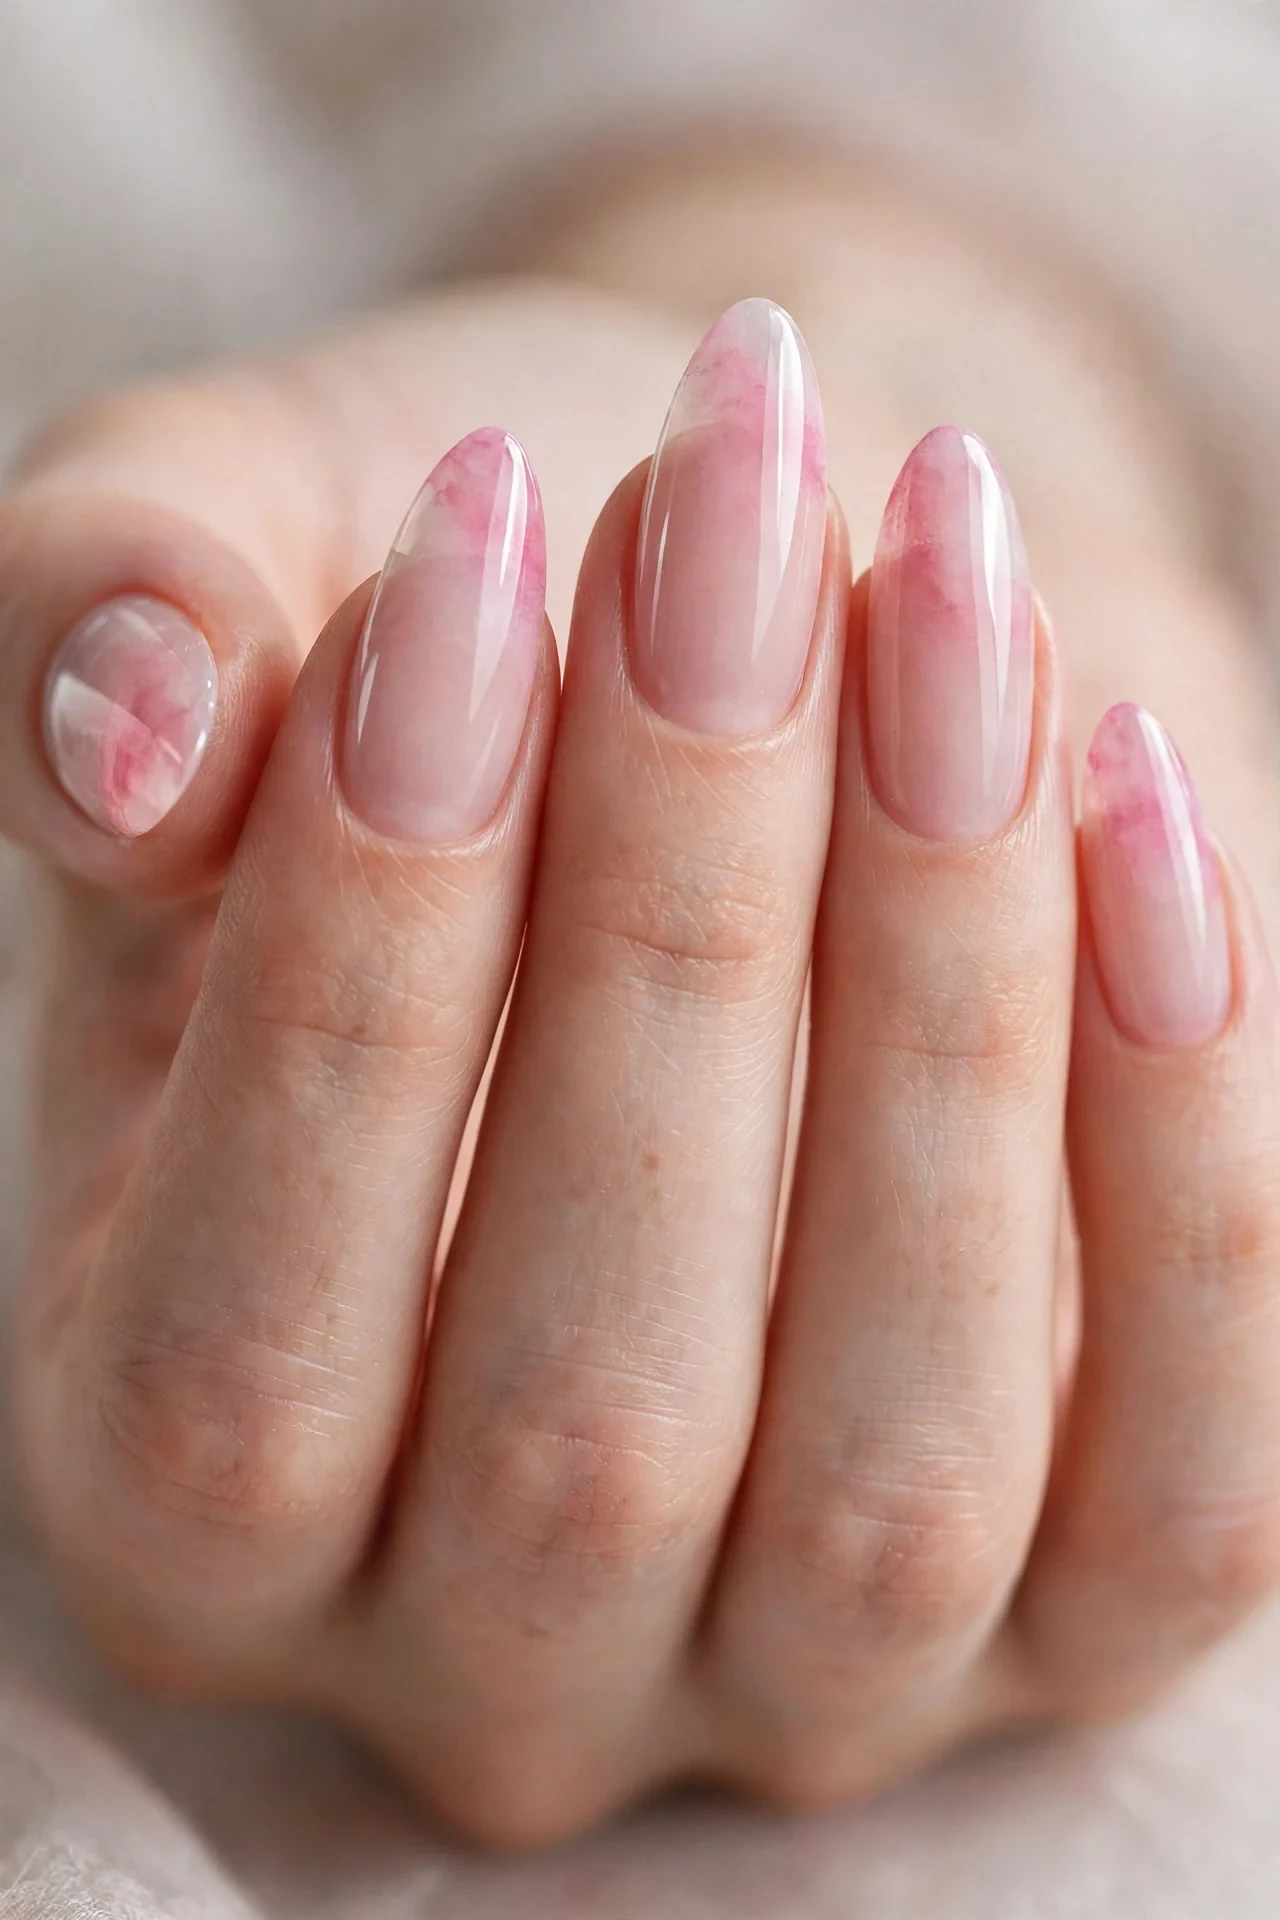
A dreamy gradient where a sheer milky base melts into soft pink at the tips — like watercolor paint blooming across glass. This is the most artistic soap-nail variation: the pink fades so gradually into the milky base that there’s no visible line, just a blush of color that deepens toward the free edge. It works gorgeously on medium to long nails where the gradient has room to breathe, and it’s a beautiful choice for spring events, baby showers, or anyone who wants their clean manicure with a romantic twist. Fair to medium skin tones get a lovely flush from the pink tips; deeper skin tones get a striking, elegant contrast.
- Apply a milky sheer base in two thin coats and let it dry fully.
- Sponge sheer pink polish onto the tips, blending downward with a dabbing motion.
- Layer a second sponged pass for deeper color at the very edge.
- Ask for “milky-to-pink airbrushed ombré tips, glossy.”
At the salon, ask for an airbrush or sponge ombré — techs achieve the seamless melt in minutes. DIY is very doable: use a makeup sponge, dab pink polish on the tip area, and bounce it downward to fade. Clean up around the cuticles with a brush dipped in remover for a professional finish. Wear time is 5-7 days in regular polish; the gradient hides tip wear surprisingly well since the tip is already colored. Gel versions last 2-3 weeks. Seal with two layers of top coat to level the sponged texture into glass — the smooth finish is what keeps it reading as soap nails rather than nail art.
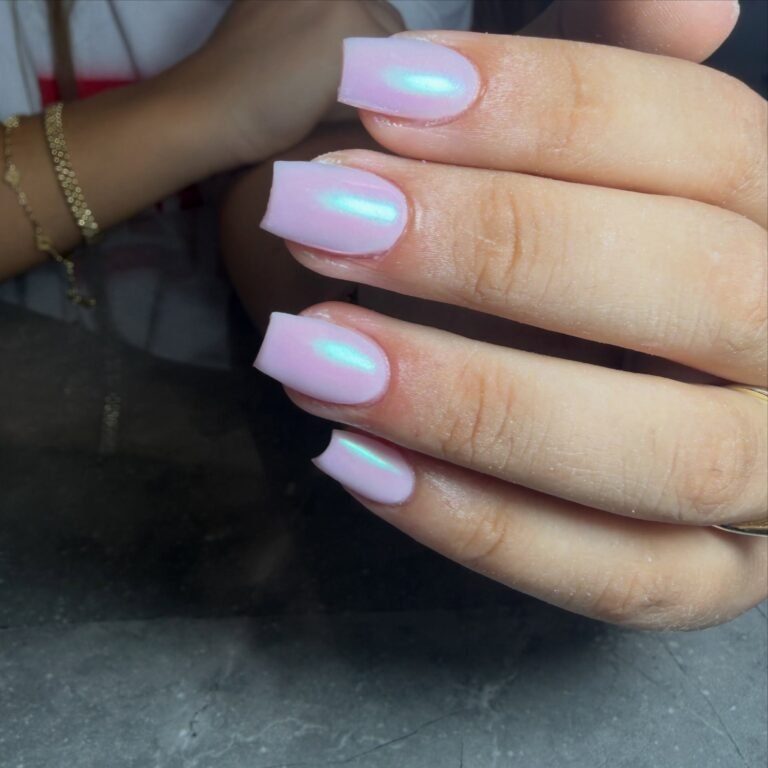
Soft-Lilac Sheer Veil

The cool-girl cousin of soap nails: a sheer veil of the palest lilac over a milky base, giving your manicure a dreamy, almost ethereal cast. Lilac is having a major moment — soap nails named among the hottest nail trends are increasingly showing up in tinted variations — and this version keeps the clean sheer DNA while adding personality. The lavender tone flatters cool undertones beautifully and looks stunning against silver jewelry. It’s the variation for you if classic soap nails feel a little safe and you want your clean manicure to have a signature. Works on every length, but the tint shows most elegantly on medium almonds and ovals.
- Apply one coat of milky sheer as a brightening base layer.
- Layer one thin coat of pale lilac sheer over the milk.
- Seal with a glossy top coat to keep the veil luminous, not chalky.
- Ask for “milky base with a sheer lilac veil, glossy.”
Color choice matters: test the lilac sheer on one nail first, because some formulas lean grey and can look dull rather than dreamy. At the salon, ask the tech to layer rather than using a pre-mixed shade — layering over milk keeps it translucent. DIY is straightforward since sheer purples self-level well. Wear time is standard: 5-7 days in regular polish, up to 3 weeks in gel. The lilac can stain slightly on removal, so use a good base coat and don’t skip it. Refresh the top coat midweek; sheers in pastel tones dull faster than whites, and gloss is everything for this look.
Almond Milk Nude Sheers
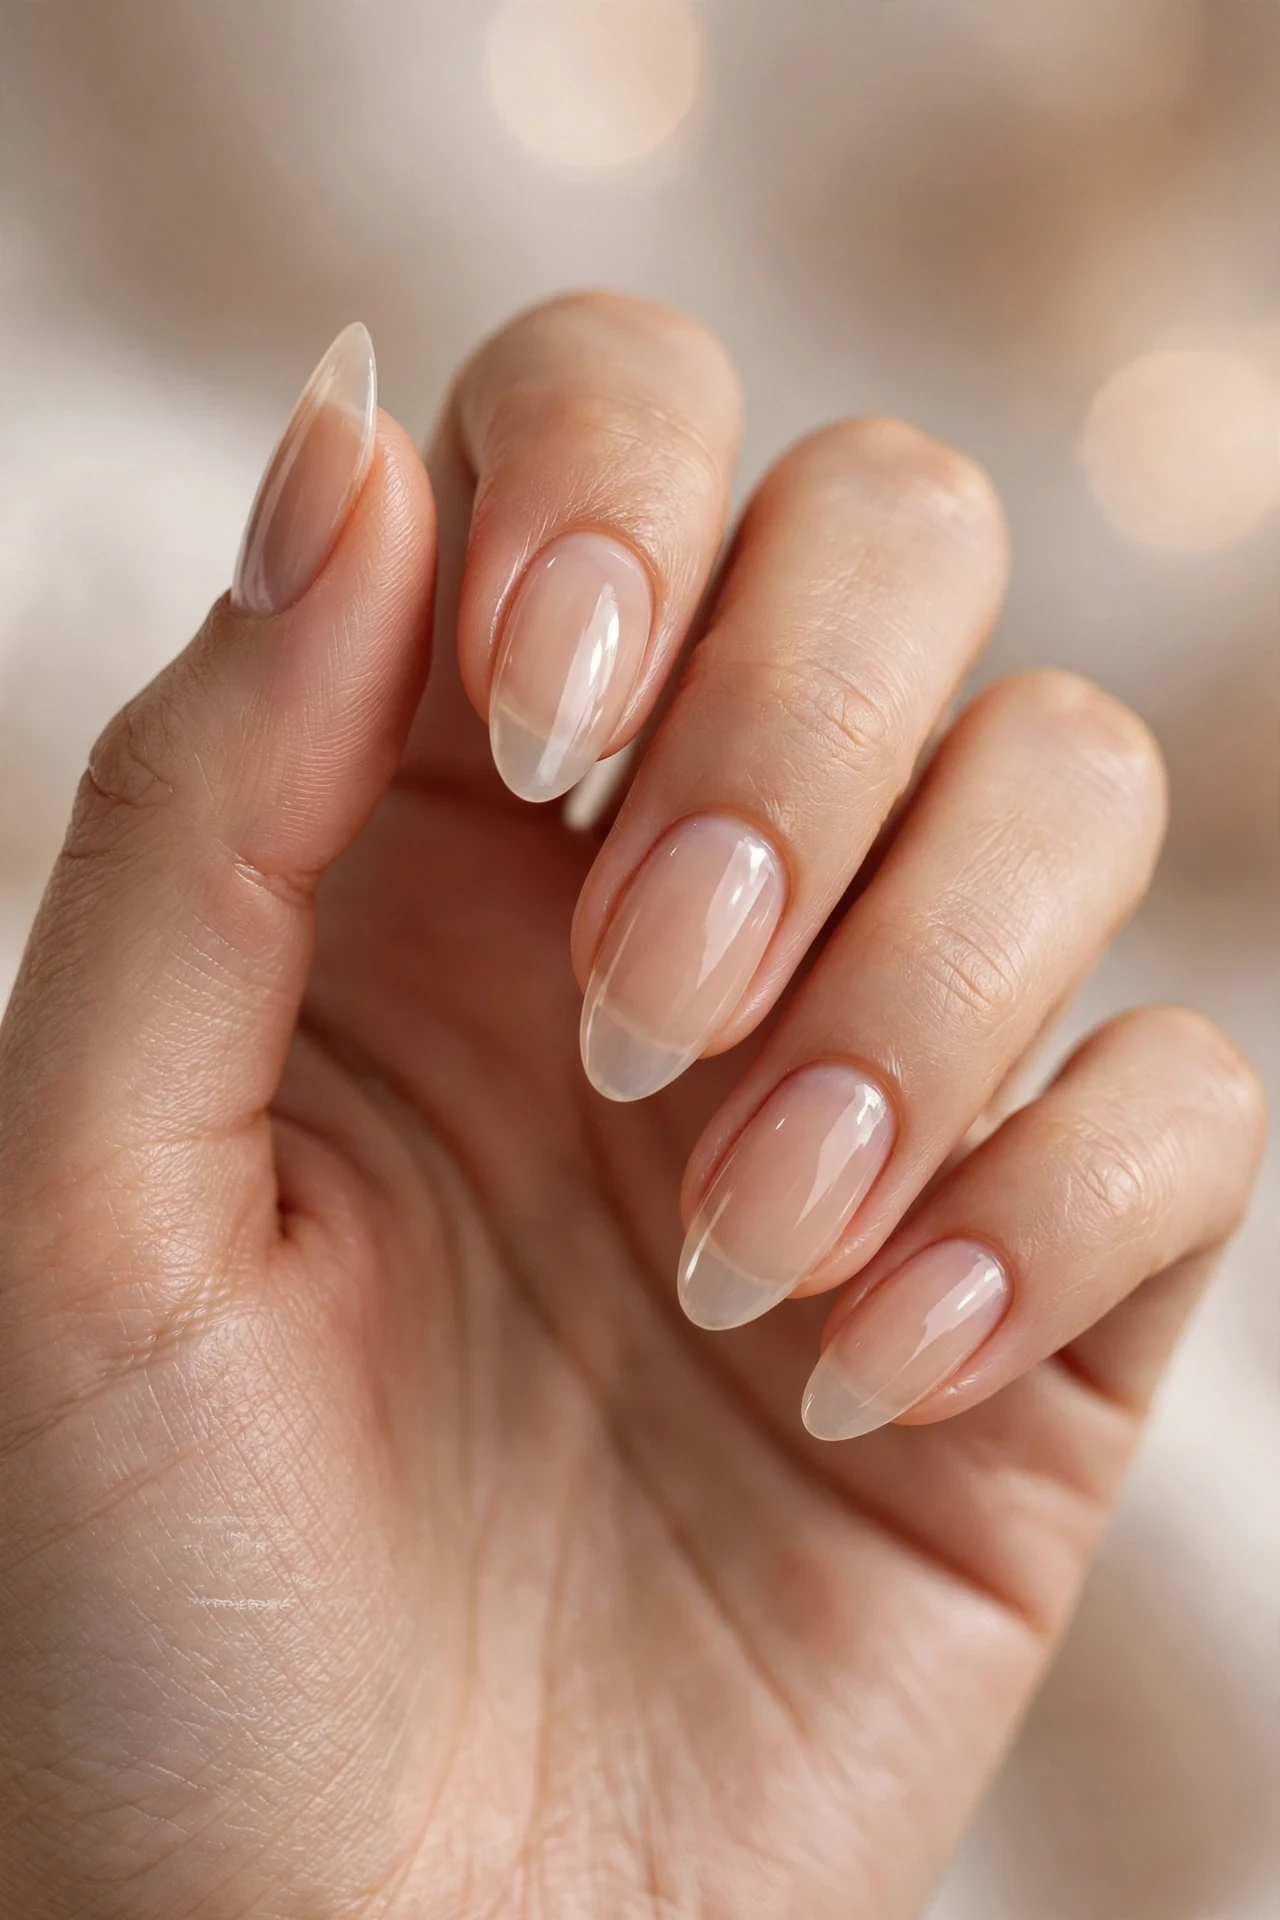
Warm beige-nude sheers layered for a soap-nail effect that disappears into your skin tone — the ultimate “are those even polished?” manicure. Unlike milky white, which contrasts against the skin, almond-milk nudes blend: the result is nails that look longer, fingers that look slimmer, and hands that look effortlessly groomed. This is the variation for deeper skin tones especially — milky white can read stark, but a sheer nude in your tone family looks like the most expensive version of your natural nails. It’s also the most conservative soap-nail option, perfect for strict dress codes, client-facing roles, and anyone who wants polish that never competes with an outfit.
- Apply a sheer nude close to your skin tone in two thin coats.
- Layer a third coat only at the tips if they look too translucent.
- Seal with a glossy top coat for the wet, hydrated finish.
- Ask for “sheer nude matching my skin tone, glossy — soap nails in nude.”
Shade matching is the whole game: at the salon, hold three nude sheers against your fingertip in natural light and pick the one that vanishes. Too pink, too brown, or too grey will all look wrong, so take the time. DIY works well since nude sheers hide streaks. Wear time is 5-7 days in regular polish and up to 3 weeks in gel, with regrowth essentially invisible — this is the longest-looking-fresh manicure on this list. Keep cuticle oil going daily; nude sheers show dry skin around the nail more than any other variation here, and neat cuticles are what make it look luxurious.
High-Gloss Soap-Nail Finish

Sometimes the variation isn’t the color — it’s the shine. This look takes the classic milky sheer and pushes the gloss to its absolute limit: a glass-like, almost wet top coat that makes soap nails look like they’ve just been dipped in water. The extreme shine does something magical — it deepens the milky tone, sharpens the reflection on every nail, and makes even the simplest manicure look expensive. This is for you if you love the soap-nail color but want maximum impact with minimum color: the finish becomes the statement. It suits every nail length and shape, photographs incredibly well for social media, and turns an everyday manicure into something people actually notice and ask about.
- Apply two thin coats of your favorite milky sheer polish.
- Layer a gel-effect or plumping top coat for extra depth and dimension.
- Seal with a second glossy top coat after the first is fully dry.
- Ask for “milky sheer with the glossiest top coat you have — glass finish.”
The secret is in the top coat, not the color: invest in a true glass-finish or gel-effect topper rather than a standard shiny one. At the salon, ask for a gel top coat over regular polish (a “gel sandwich”) for two weeks of mirror shine without a full gel manicure. DIY is simple — just double up on top coat and reapply a fresh layer every 2-3 days to maintain the wet look. Wear time depends on your maintenance: with top-coat refreshes, regular polish lasts a full week looking pristine. Keep nails out of harsh chemicals and wear gloves for cleaning, because even the best gloss dulls fast against detergents.
Cloud-White Jelly Fade

A soft fade from a denser milky white at the cuticle to a sheer, almost-clear tip — like a cloud dissolving at the edges. This jelly fade is the most modern soap-nail variation: it keeps the clean milky feel but adds dimension through the gradient, and the sheer tips make nails look longer and more delicate. It’s stunning on long almond or coffin shapes where the fade has room to develop, and it’s a beautiful bridal or special-occasion option that reads ethereal in photos. Fair skin gets a porcelain effect; medium and deep tones get a gorgeous milky contrast that looks intentional and high-fashion rather than stark.
- Apply a sheer milky base across the whole nail in one thin coat.
- Sponge or blend a denser milky white at the cuticle, fading toward the tip.
- Layer top coat generously to melt the gradient into one smooth surface.
- Ask for “milky jelly fade — denser at the cuticle, sheer at the tip.”
Salon application is fastest with an airbrush, but a skilled tech can sponge-blend it beautifully — show a reference photo so the direction of the fade is clear (denser at cuticle, not at tip, which distinguishes it from a baby boomer). DIY: use a wedge sponge, dab milky polish near the cuticle, and bounce downward to fade. The gradient hides regrowth brilliantly, so gel versions look fresh for 3 full weeks. In regular polish, expect 5-7 days. Because the tip is sheer, chips are barely visible — just seal with top coat and carry on. This is one of the most forgiving long-wear looks on the list.
Sheer Champagne Mist Coat
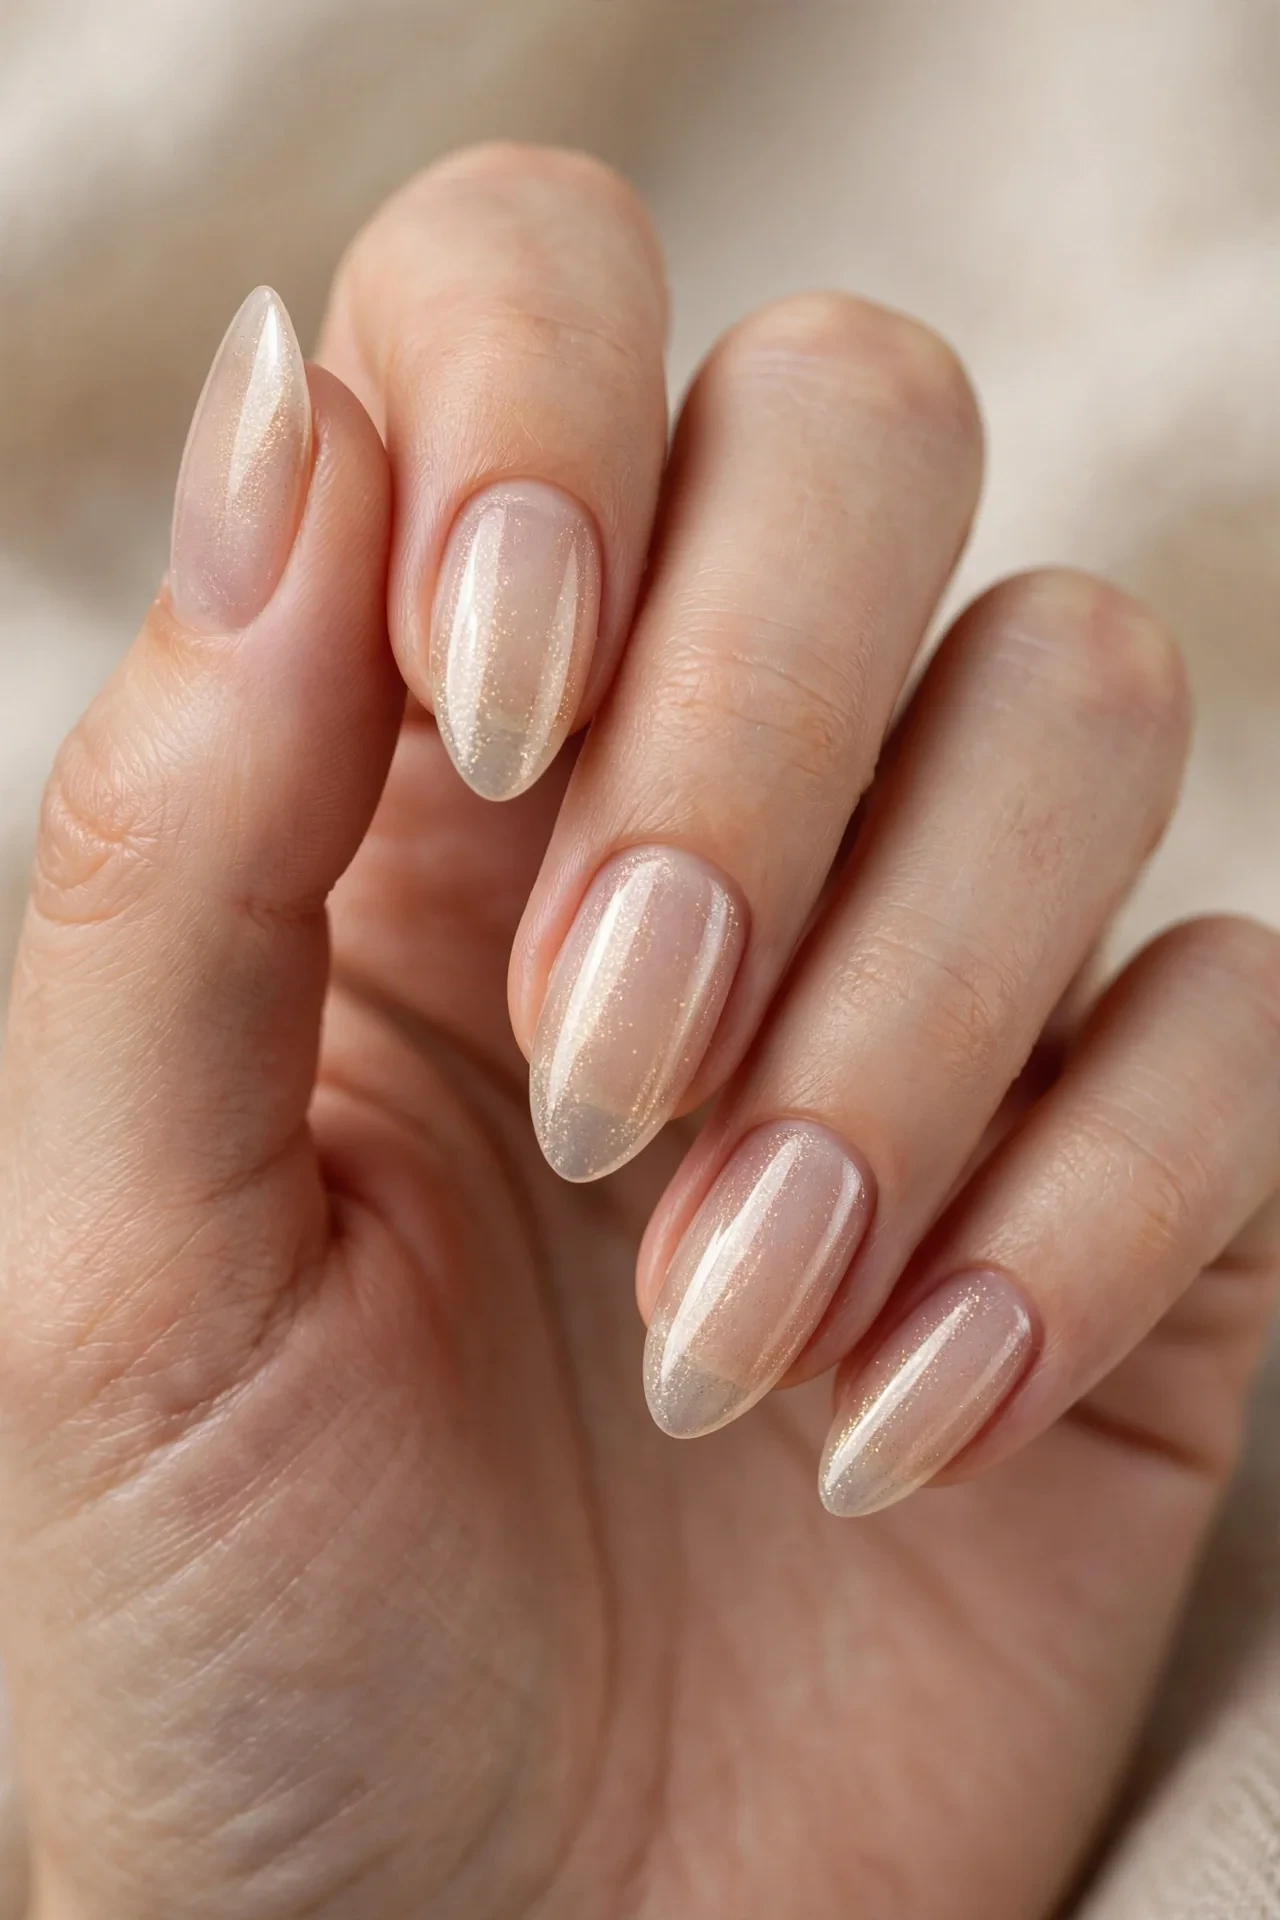
The festive soap nail: a whisper of warm champagne shimmer misted over the classic milky base, like catching golden hour on your fingertips. The champagne tone adds warmth and a hint of celebration without leaving clean territory — it’s the variation to wear through the holiday season, to winter weddings, or whenever you want your minimal manicure to feel a little bit dressed up. The golden shimmer flatters warm and neutral undertones beautifully and looks incredible with gold jewelry and candlelight. On short to medium nails it reads elegant and understated; on long nails it becomes quietly glamorous. If your clean manicure needs to work from the office straight to a party, this is the one.
- Apply two thin coats of milky sheer as your base.
- Mist one light coat of champagne shimmer topper over the milk.
- Seal with a glossy top coat to fuse the shimmer into the finish.
- Ask for “milky sheer with a champagne shimmer mist, glossy.”
At the salon, this is a quick add-on to any soap-nail service — the tech layers a champagne chrome or shimmer polish over the sheer base. For DIY, look for a “champagne” or “golden hour” topper with fine (not chunky) shimmer; one coat is enough, since two can turn it opaque. Wear time matches the classic look: 5-7 days in regular polish, up to 3 weeks in gel. The shimmer camouflages tip wear, so it ages gracefully. Refresh the top coat before any event to bring back the glassy glow — shimmer toppers lose their wet look faster than plain sheers, and a fresh top coat revives them instantly.
Clean Oval Nails with a Satin Sheen

Not every soap nail needs to be high-gloss: this variation pairs the sheer milky look with a soft satin-matte top coat for a velvety, expensive finish. The satin sheen mutes the shine just enough to look like the most perfect natural nails imaginable — think luxury skincare ad, not nail salon. It’s the most subtle entry on this list and the one for minimalists who find glossy finishes too “done.” The oval shape is key here: its soft curves match the muted finish for a look that’s all harmony. This variation suits professional settings, mature hands (matte finishes show less texture), and anyone whose personal style leans quiet luxury over shine.
- Apply two thin coats of milky sheer polish as usual.
- Layer a satin or velvet-matte top coat instead of glossy.
- Seal edges carefully — matte top coats chip faster at the tips.
- Ask for “milky sheer with a satin-matte top coat, not full matte.”
The top coat choice is everything: you want “satin” or “velvet,” not true matte, which can look flat and dry over sheer color. At the salon, ask the tech to show you the finish on a swatch stick first — satin varies wildly between brands. DIY is easy; just swap your top coat. Wear time is slightly shorter than glossy versions: matte and satin top coats show tip wear sooner, so expect 4-6 days in regular polish and 2 weeks in gel. Carry your satin top coat for touch-ups — a quick refresh on the tips every couple of days keeps the velvety finish even. Cuticle oil is still essential; it won’t disturb the satin finish if you keep it on the skin.
Winter-Ready Frosted Soap Nails

The seasonal finale: soap nails adapted for cold weather with a cooler, denser milky coat and a frosty, almost crystalline gloss that echoes winter light. Where the classic version is barely-there, this one leans slightly more opaque — like breath fogging on glass — which suits the season’s heavier fabrics and deeper palettes. It’s the soap-nail answer to winter’s moody manicure moment, and it pairs beautifully with the deeper shades in our 15 November Nail Colors: Transitioning Into Winter guide if you ever want to alternate. The cooler tone flatters winter-pale skin and looks striking against dark coats and chunky knits. Wear it from late fall straight through the holidays as your clean, polished constant.
- Apply a slightly denser milky white — two to three thin coats.
- Layer a frosty or icy shimmer topper for a crystalline finish.
- Seal with a high-gloss top coat to keep the frost luminous.
- Ask for “denser milky white, frosty shimmer, glossy — winter soap nails.”
Build opacity gradually with thin coats rather than one thick one — thick sheer polish goes streaky and lumpy. At the salon, a milky builder gel gives the perfect dense-but-translucent base in one product; ask for it if you’re getting gel. DIY works well with a “milky white” polish marketed as buildable. Wear time is excellent: the denser base hides everything, giving 7-10 days in regular polish and a full 3 weeks in gel. Winter dryness is the enemy of any manicure, so double down on cuticle oil and hand cream — hydrated hands are what keep this frosty look fresh instead of dull.
Conclusion
Soap nails earned their place as the clean-girl manicure of 2026 because they do what almost no trend does: they flatter everyone, suit every occasion, and practically maintain themselves thanks to that forgiving sheer finish. Whether you fell for the classic milky coat, the pearlized shimmer, the barely-there blush wash, or the winter-ready frosted version, you’ve got a manicure that grows out gracefully and never clashes with your outfit. Save your favorite of these 15 soap-nail ideas, show the wording to your nail tech (or grab a milky sheer and try it at home this weekend), and keep that cuticle oil close — hydrated nails are the real secret behind the look. For more soft, seasonal inspiration as the weather turns, explore our 15 November Nail Colors: Transitioning Into Winter next, and enjoy the cleanest manicure you’ve ever worn.